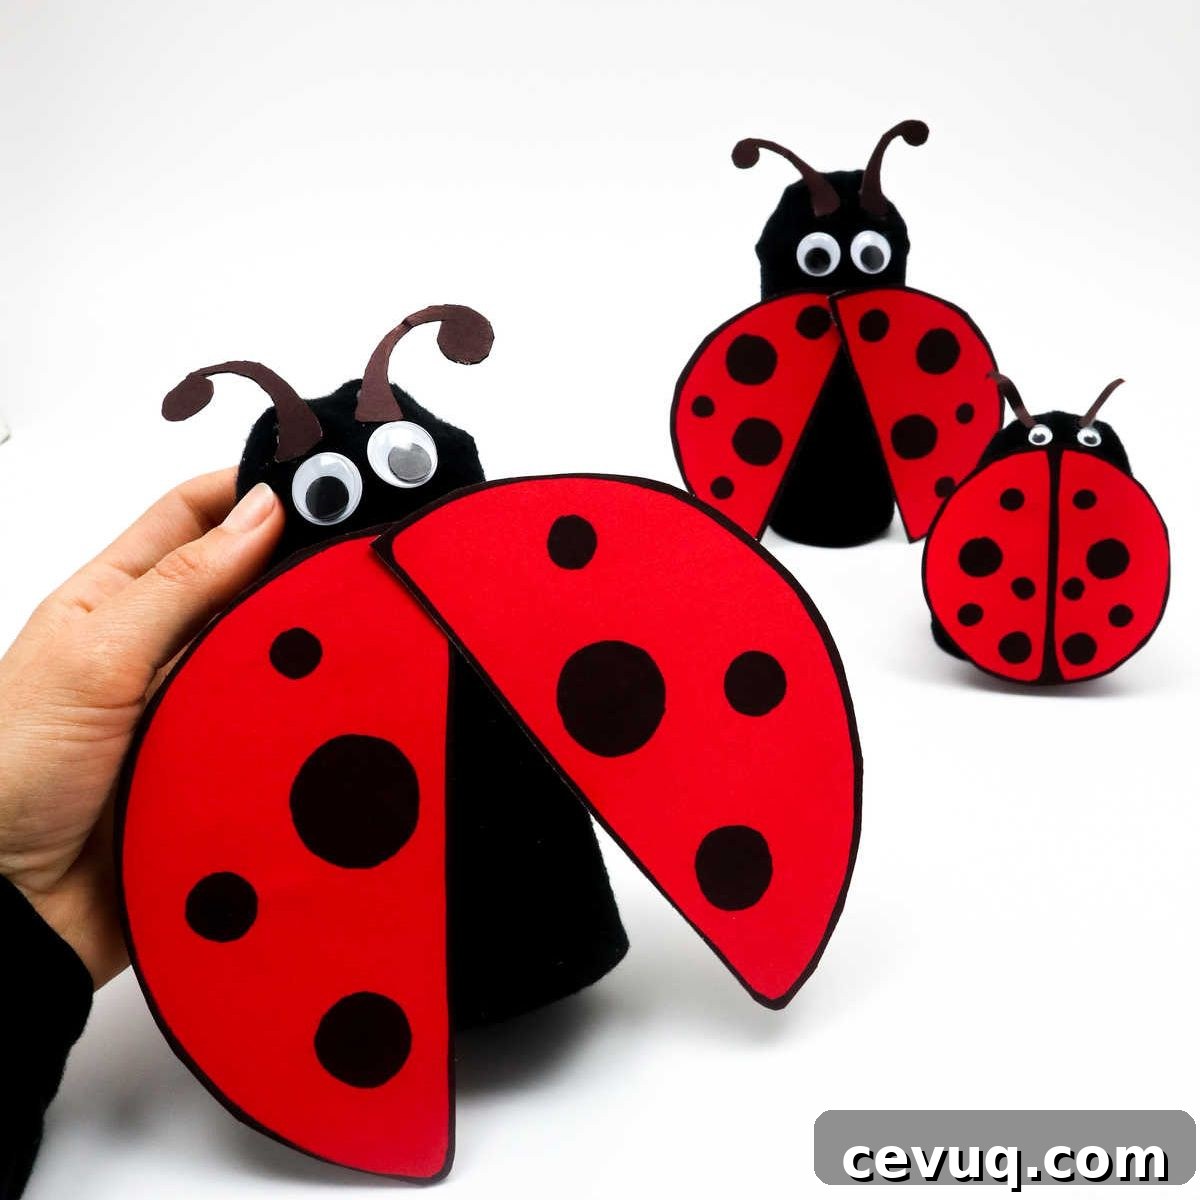
Make your own charming ladybug craft using toilet paper rolls — a simple, budget-friendly project that’s perfect for kids with adult supervision.
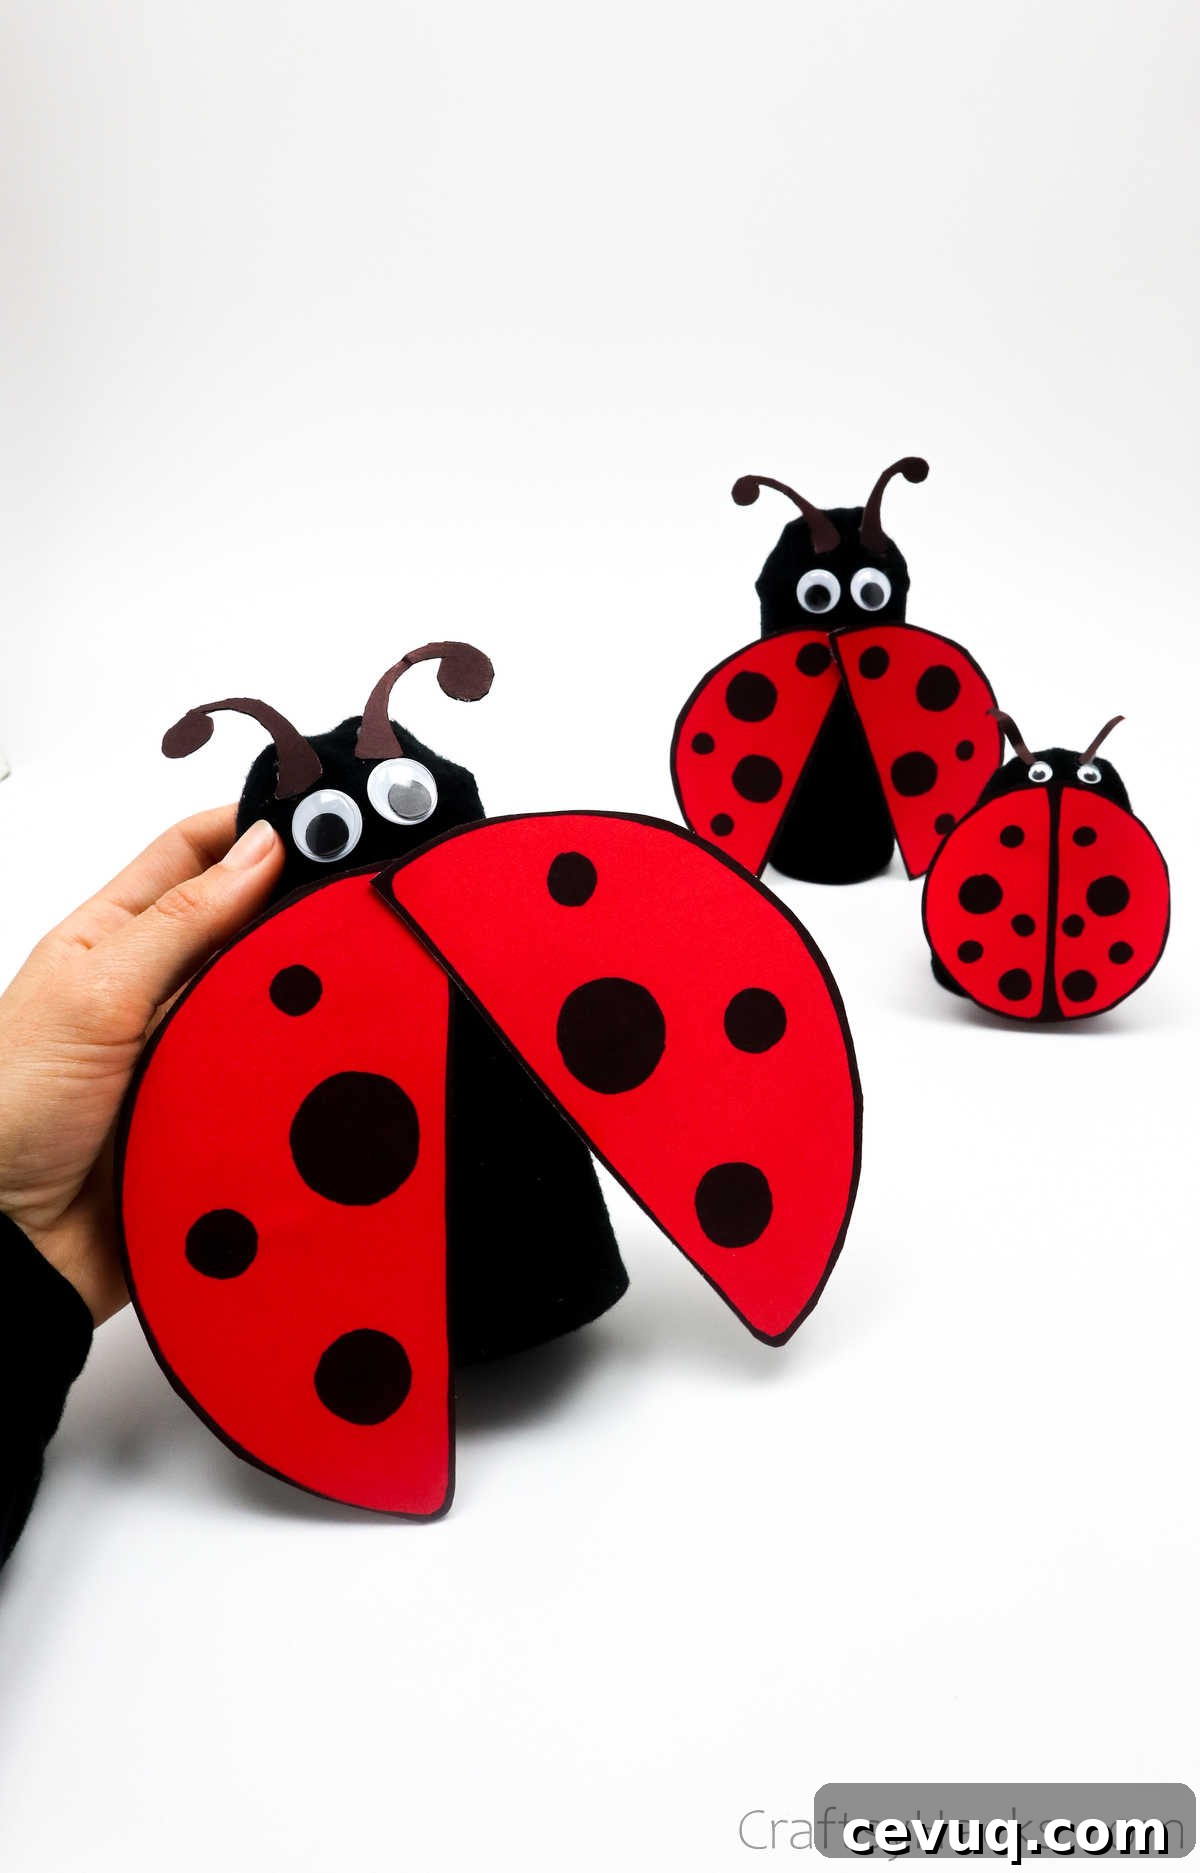
If you have young children, you know how often they bring in little treasures from outdoors — and ladybugs are a favorite. They’re bright, pretty, and inspire lots of curious questions.
Ladybugs are delightful to look at; if you want the cuteness without the crawliness, turn them into a craft. These colorful ladybugs are made from recycled toilet paper rolls, a pair of socks, red paper, and a few basic craft supplies.
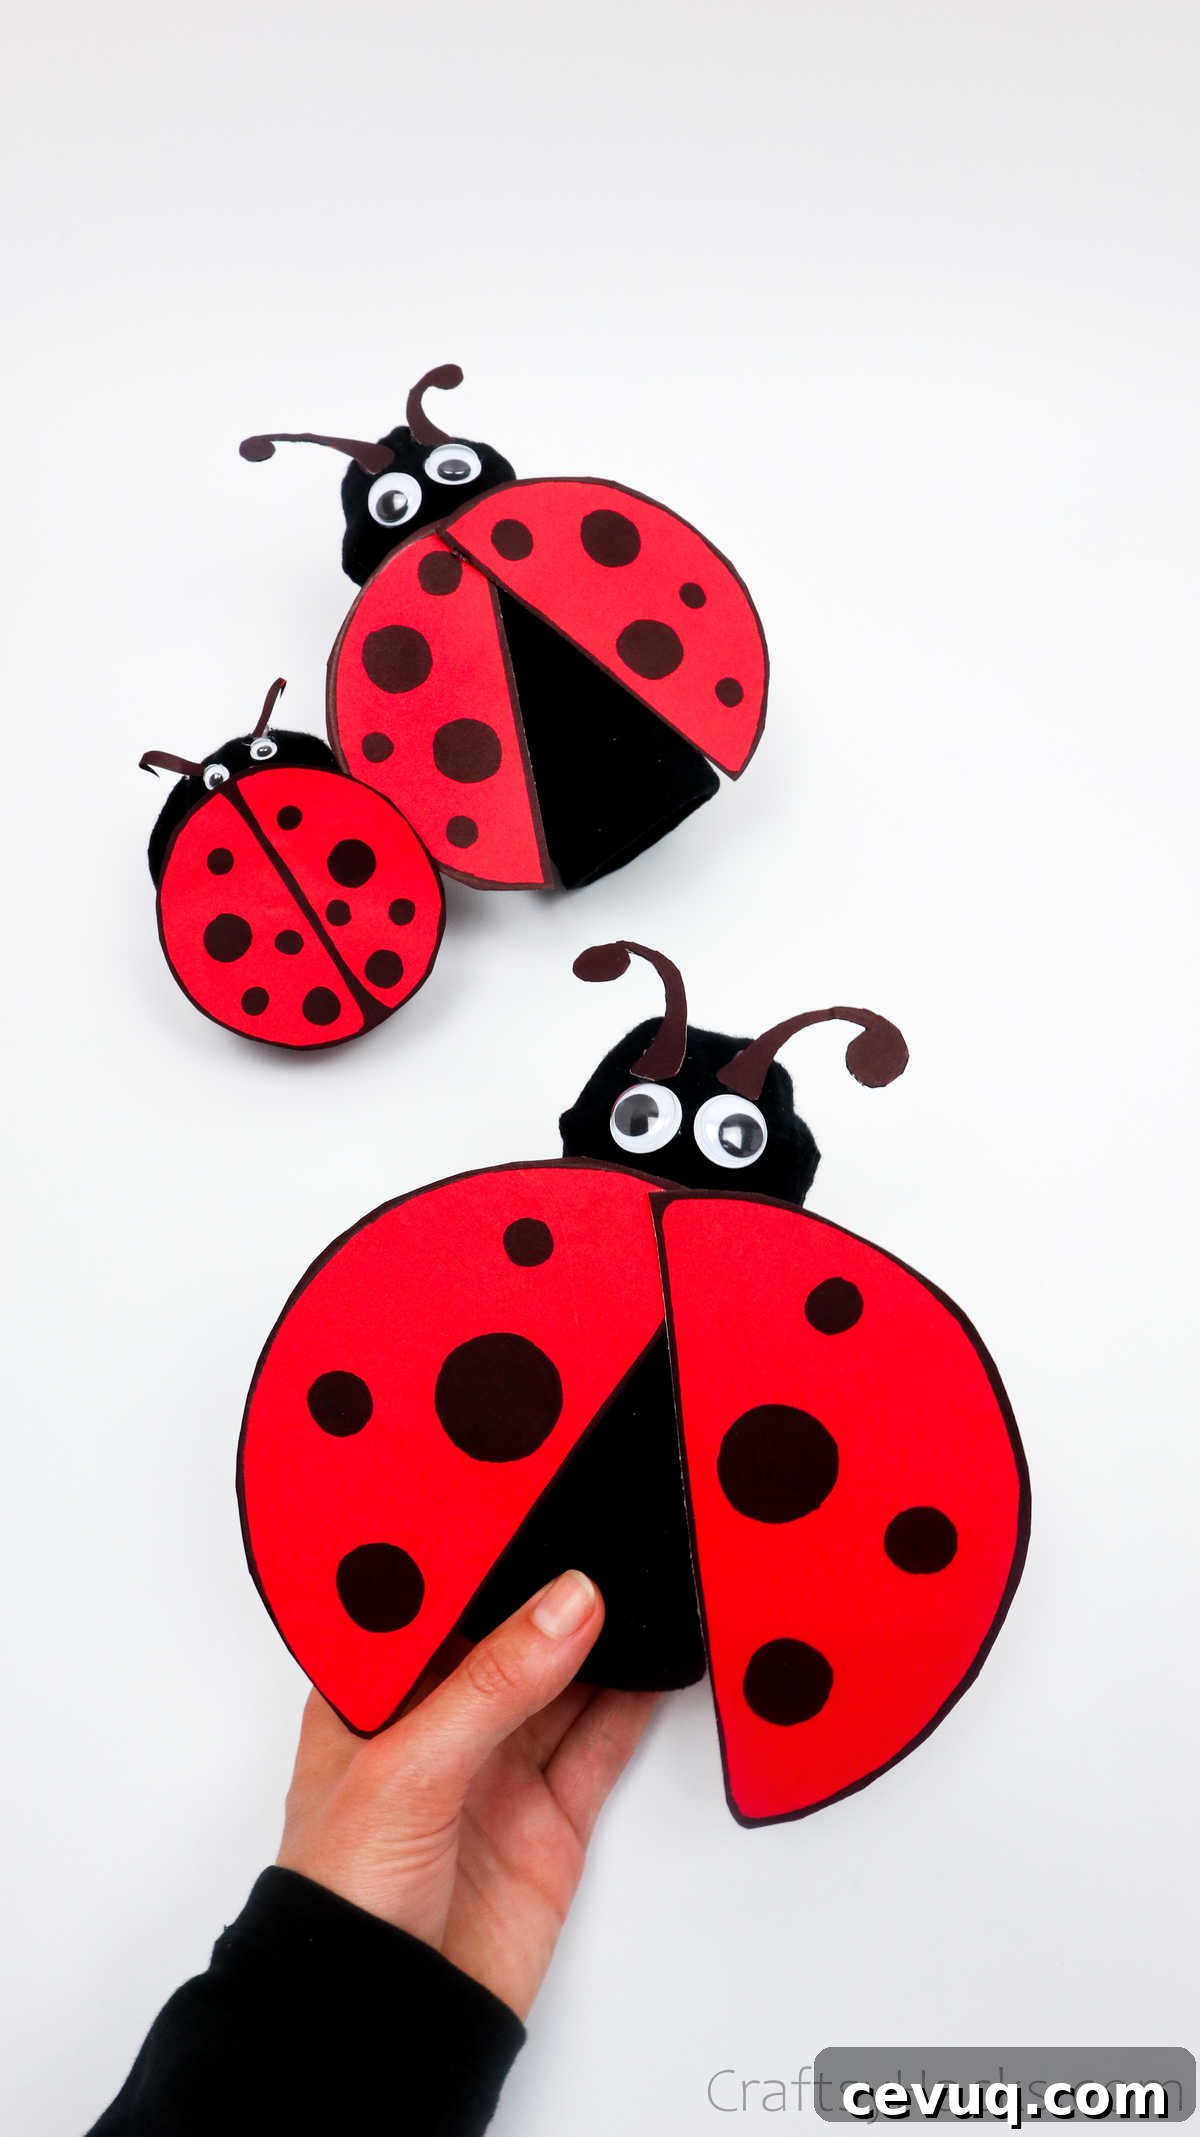
This project is inexpensive and easy to adapt by age: toddlers can help with stuffing and gluing while older kids can trace and cut more precisely. Below is a clear list of what you’ll need and step-by-step instructions to make your own cute ladybug.
Supplies and Tools You Will Need
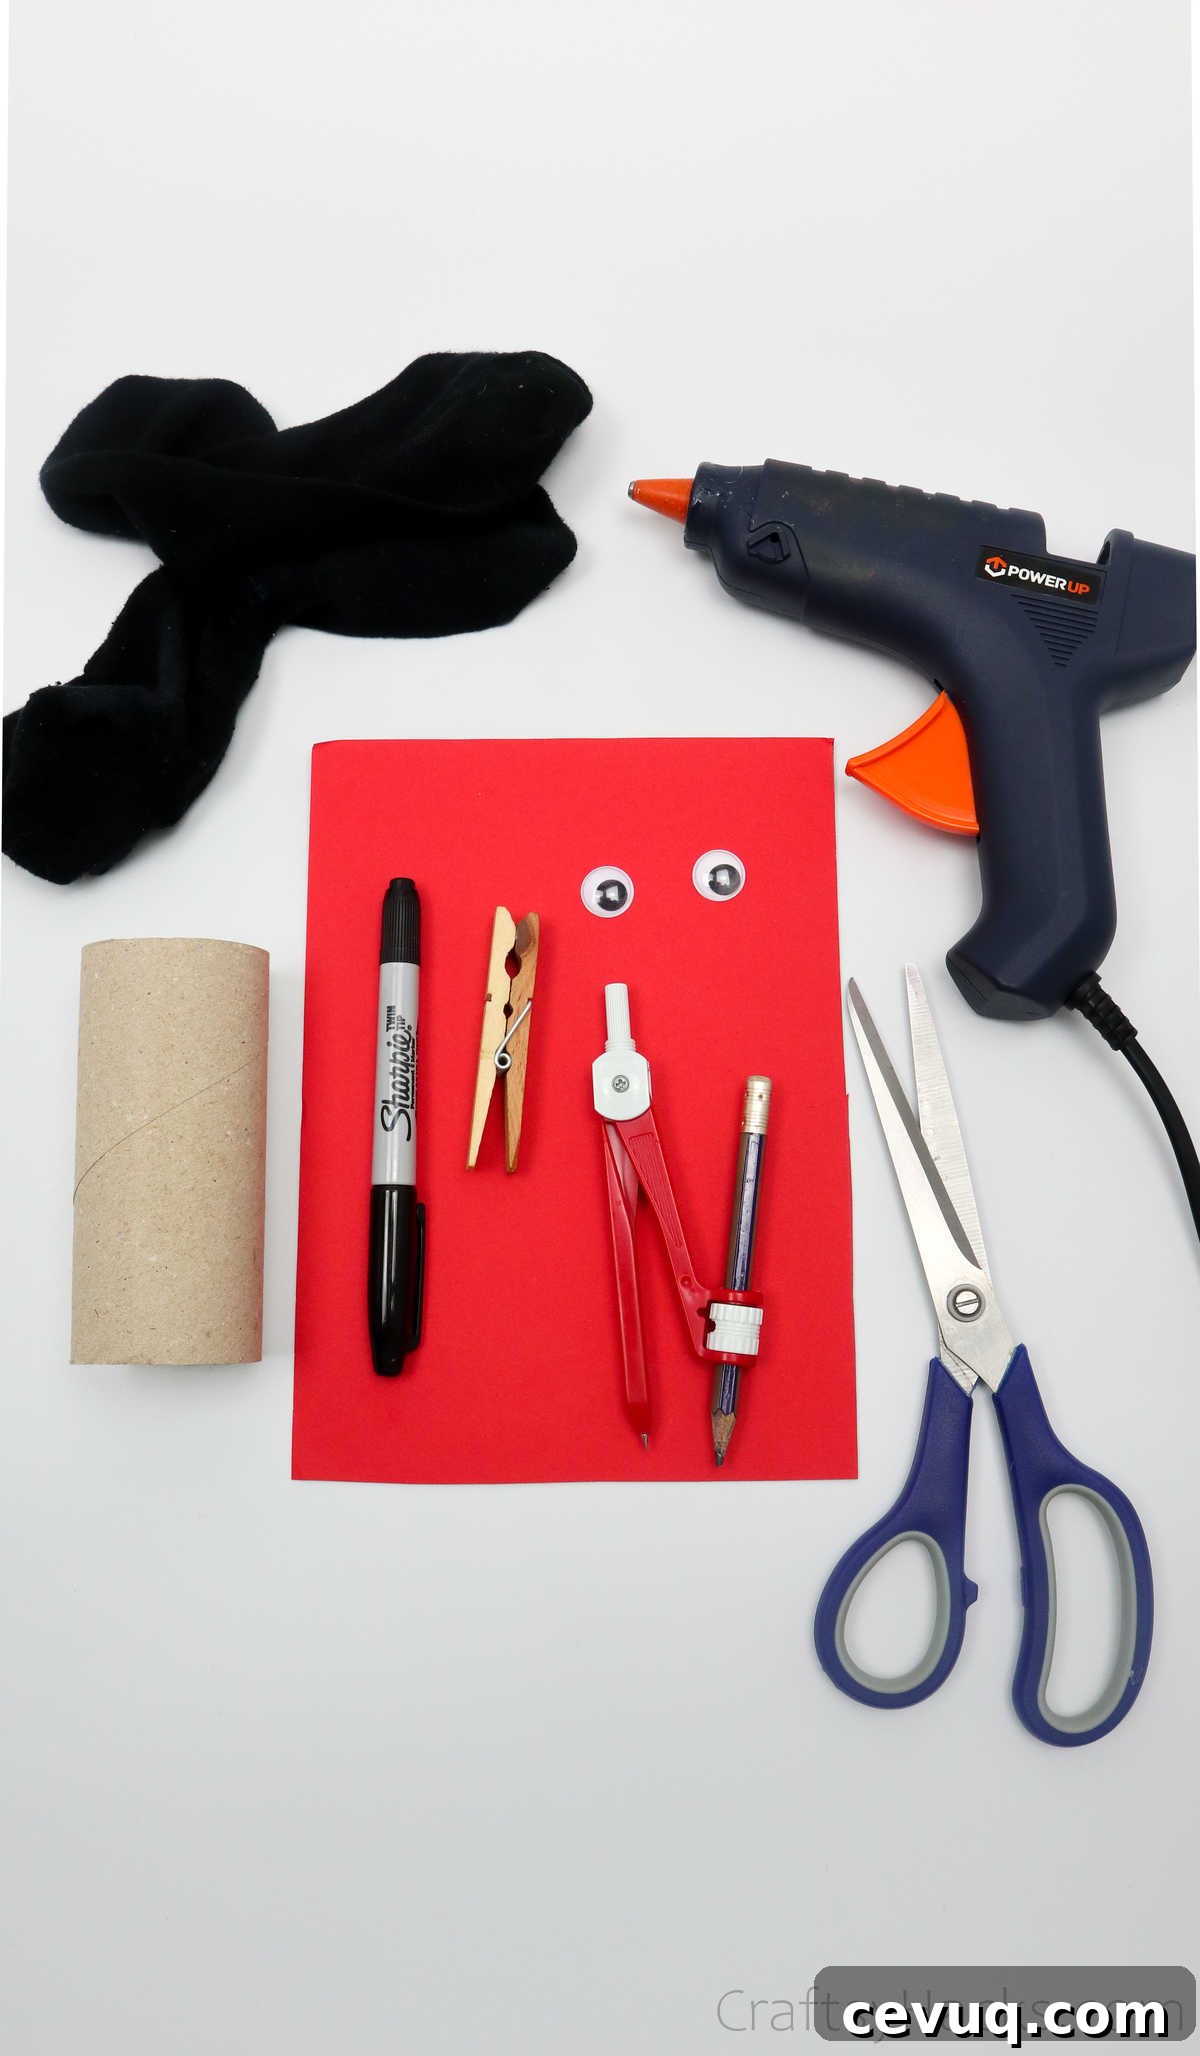
Gather these materials before you start:
- Empty toilet roll
- Thick red A5 sheet of paper
- Pair of black socks (longer than ankle length)
- Scissors
- Black marker
- Hot glue gun (or strong craft glue)
- Wiggle googly eyes
- Compass and pencil
- Clothespin (optional, for turning the ladybug into a clip)
How to Make a Ladybug Craft
Follow these steps to create a lovely ladybug from common household items. Take your time and let children participate according to their skill level.
Step 1
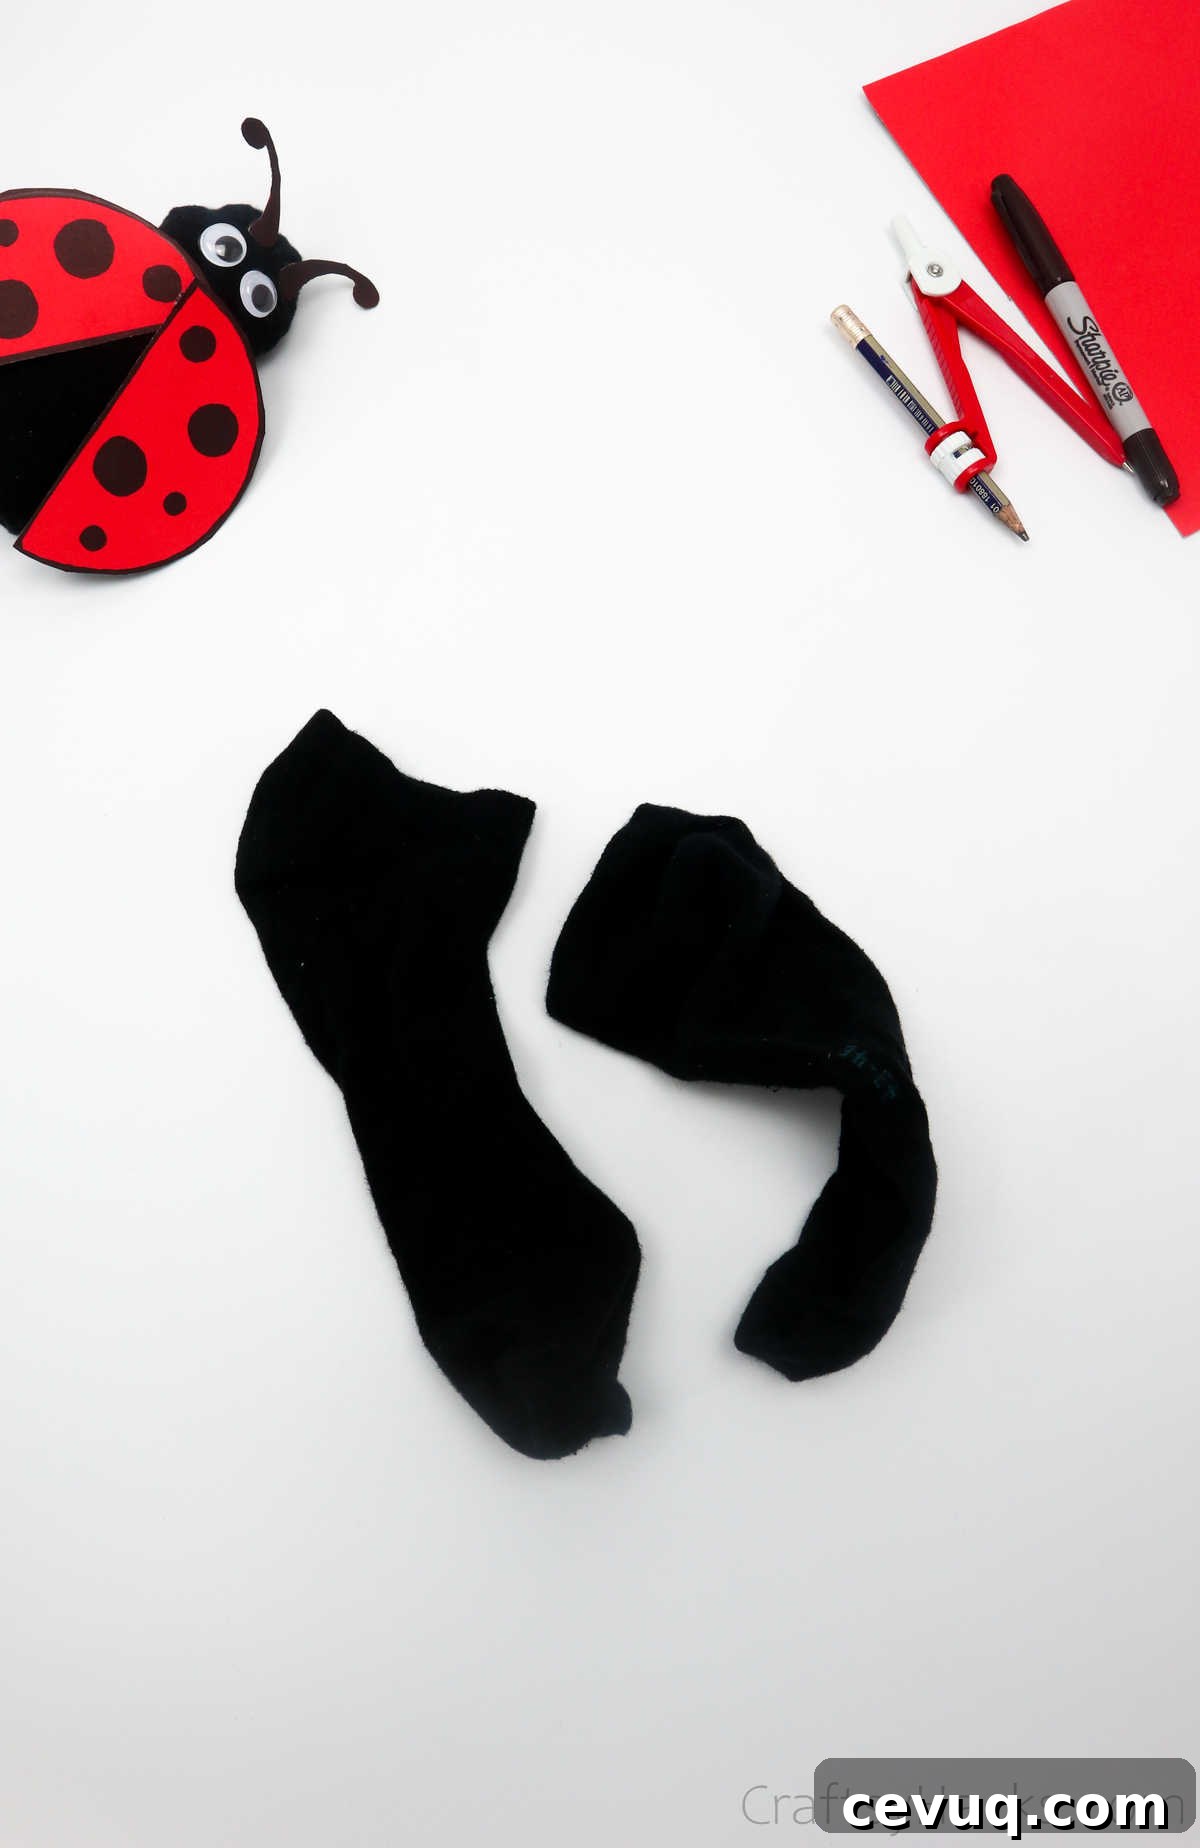
Roll one sock into a tight ball. Push that sock ball into the second sock and slide it all the way to the toe end so the ball forms the ladybug’s head and upper body.
Step 2
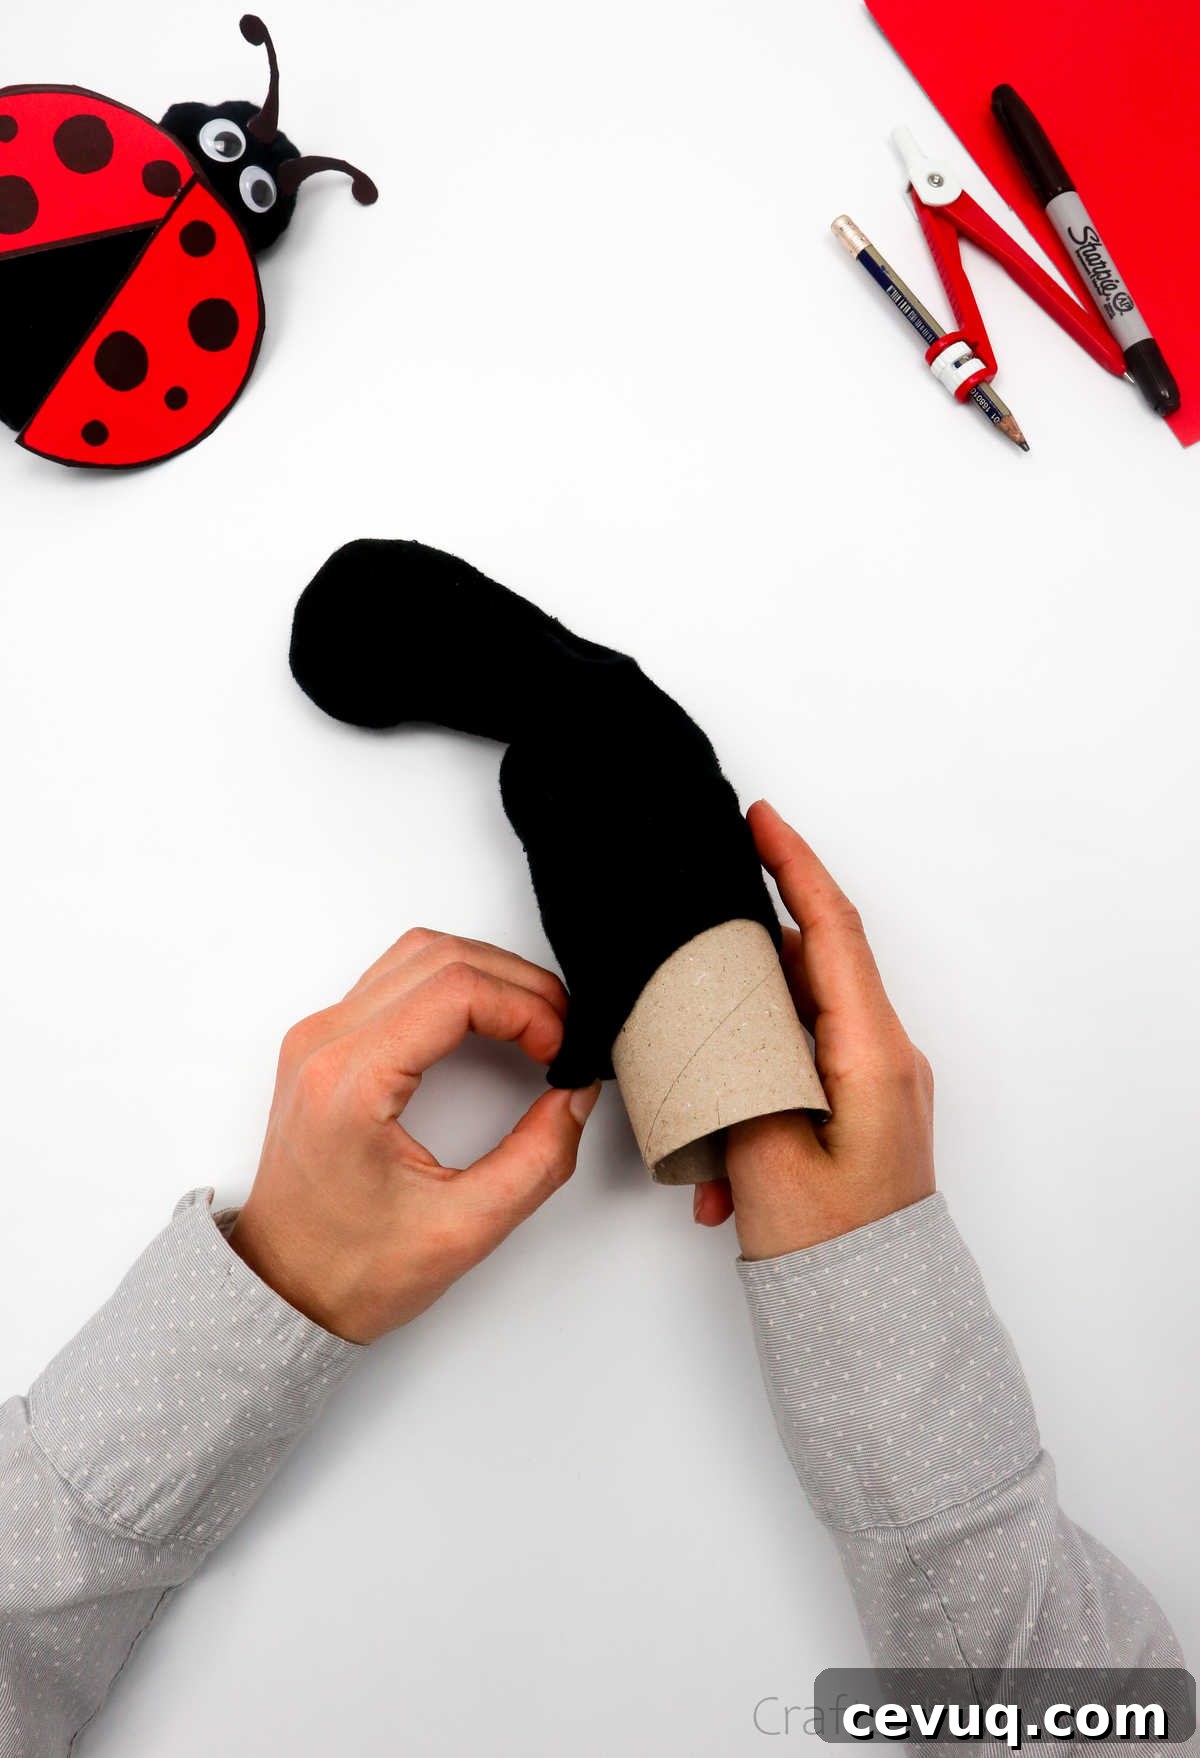
Push an empty toilet roll into the sock so the balled sock sits at the inner edge of the roll. The sock should cover the roll evenly; longer socks work best to avoid gaps.
Step 3
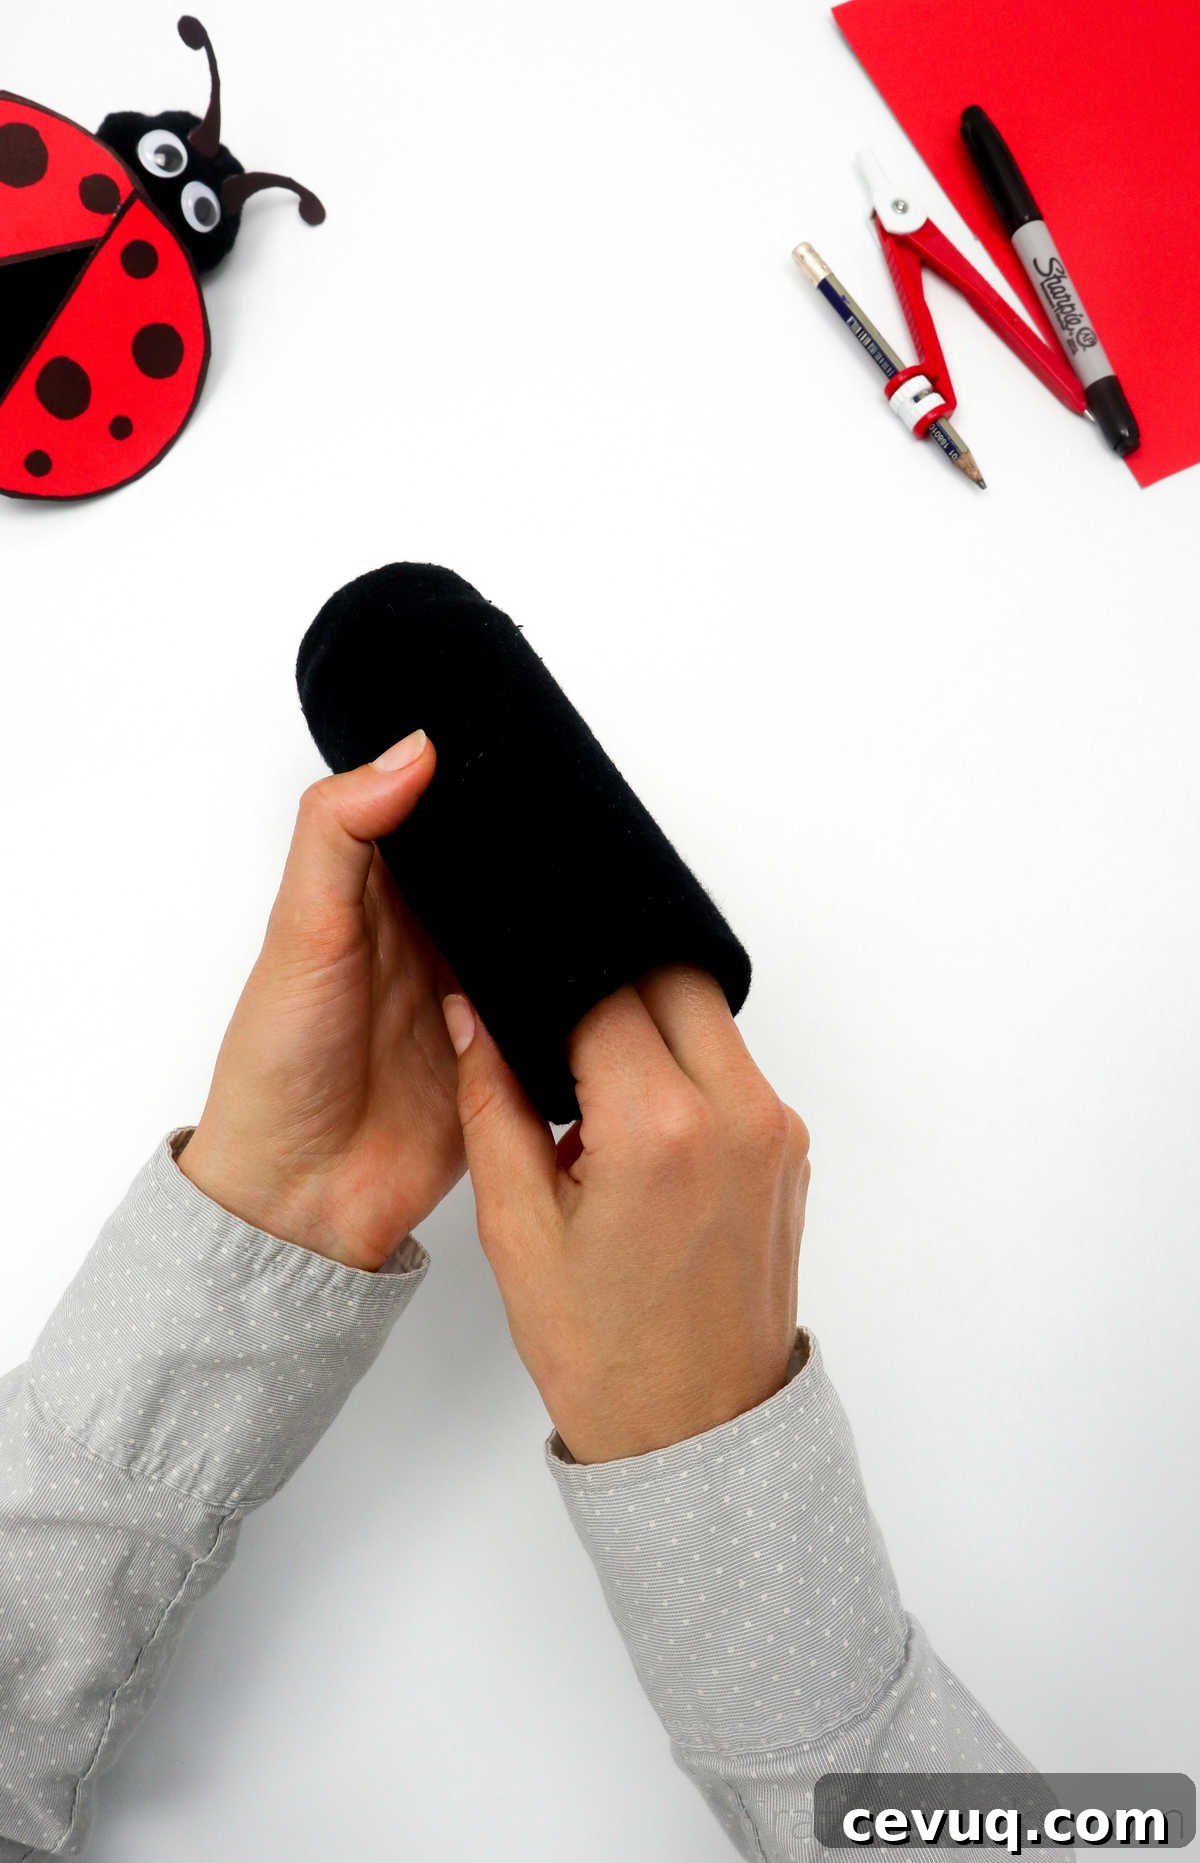
Tuck the excess sock fabric into the ends of the toilet roll. Smooth out any wrinkles so the sock fits snugly and looks neat.
Step 4 — Make the Wings
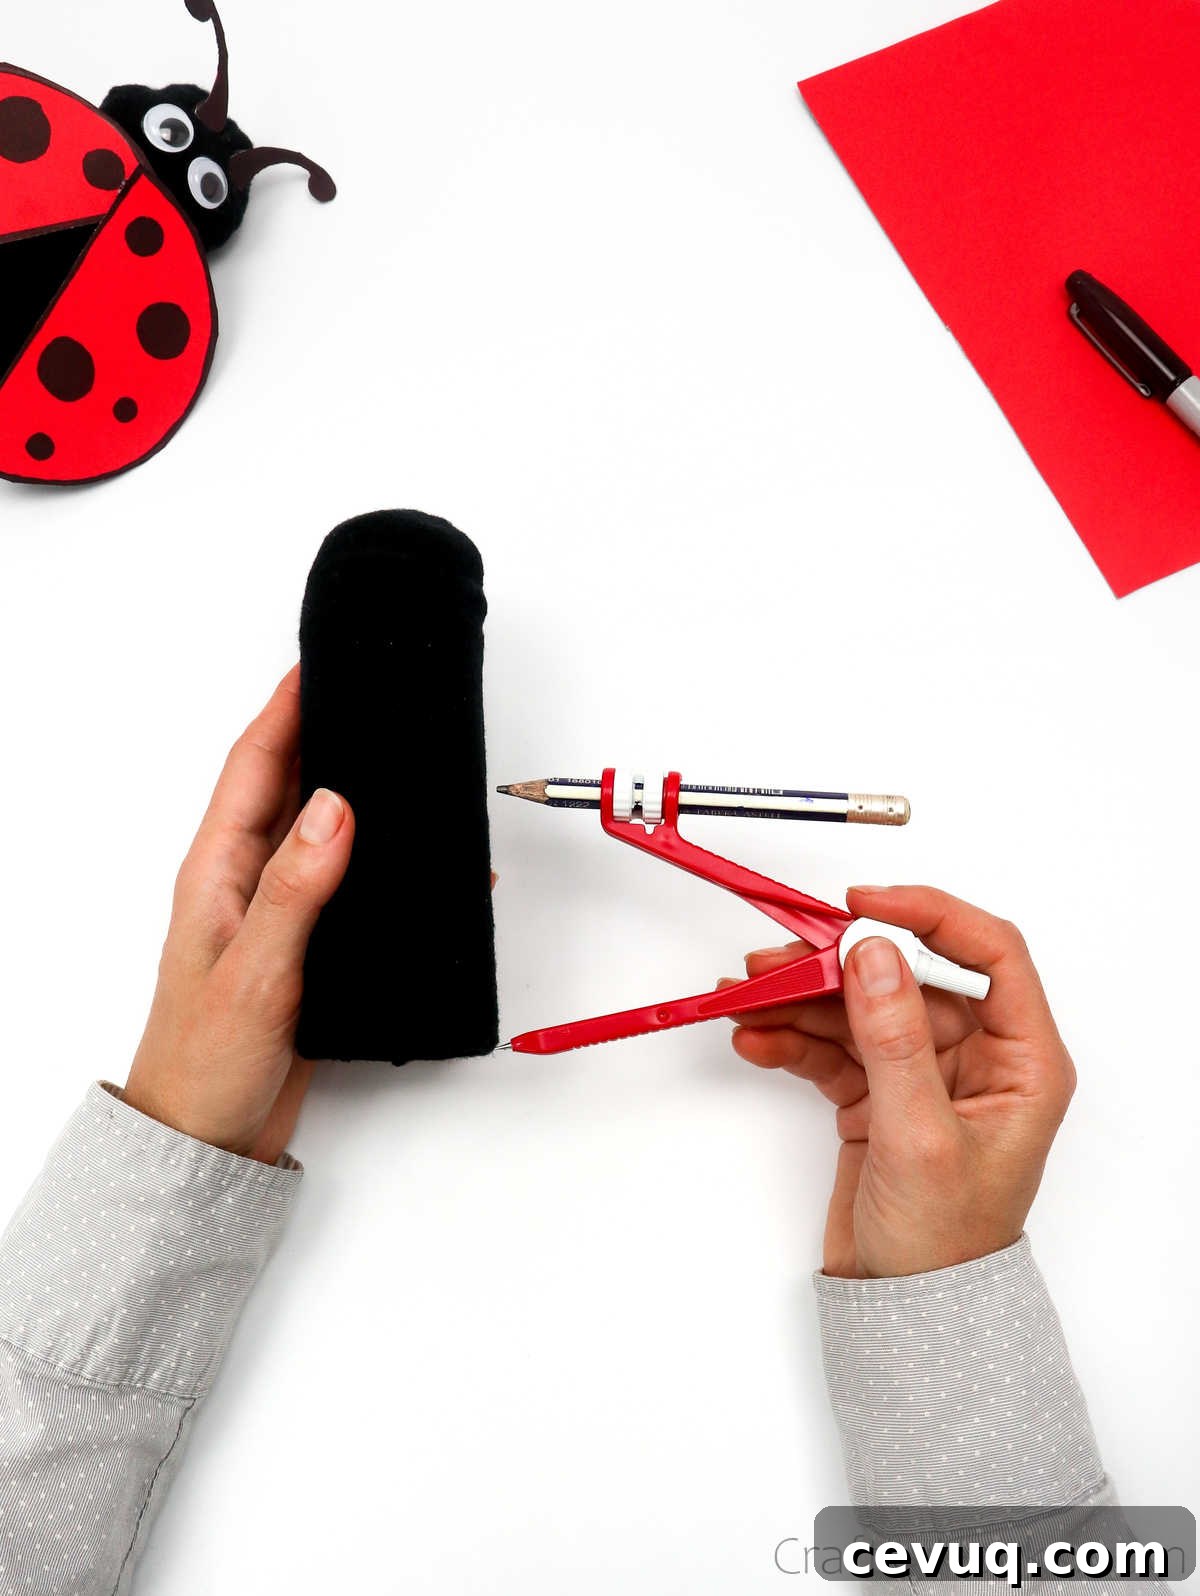
Use a compass to measure half the height of the toilet roll (or a little less for smaller wings). On the red paper, draw a circle using that radius — this will become the wings when split in two.
Step 5
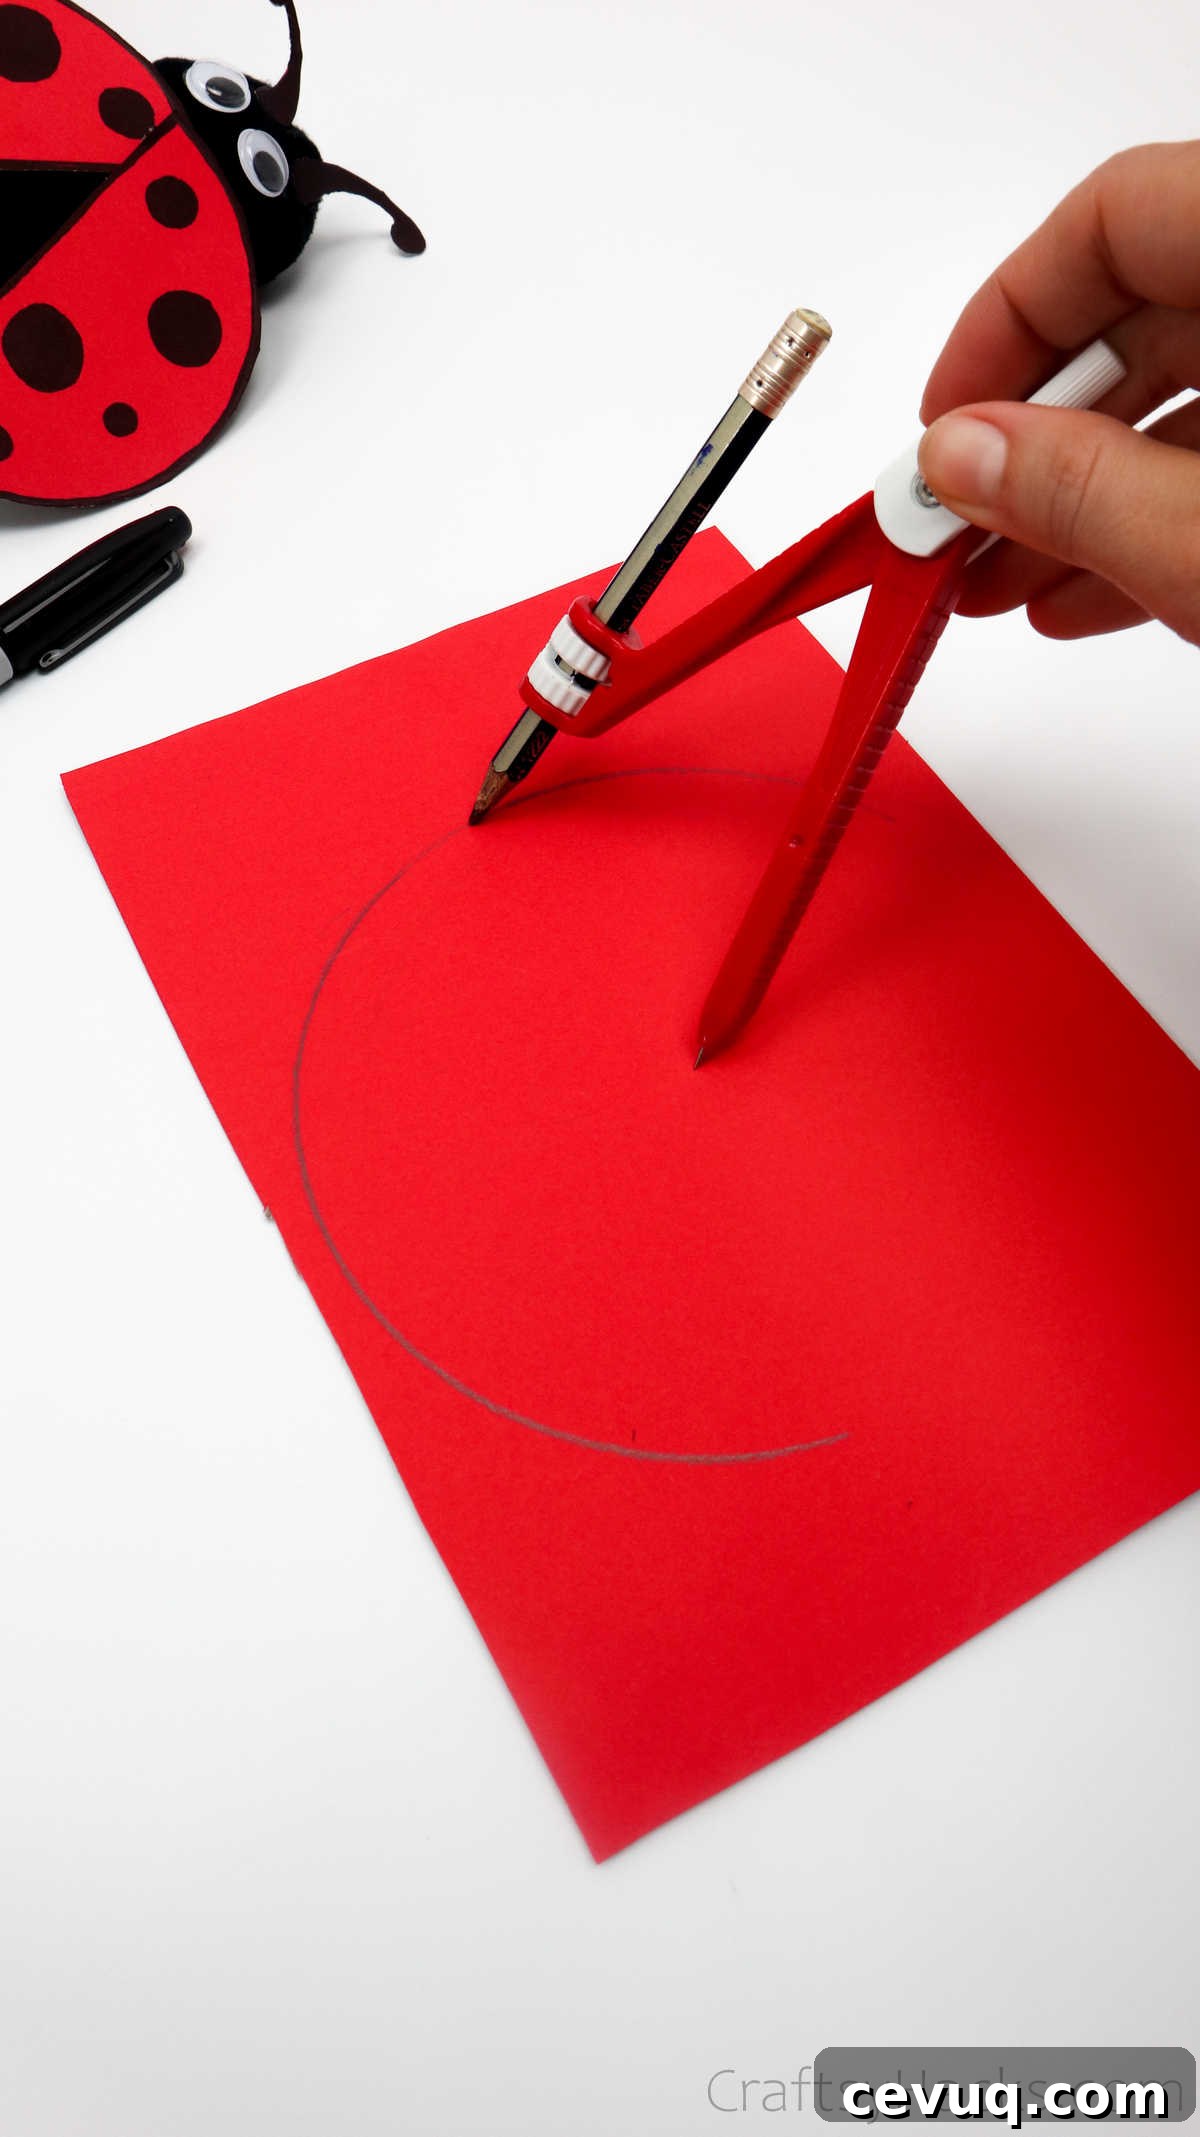
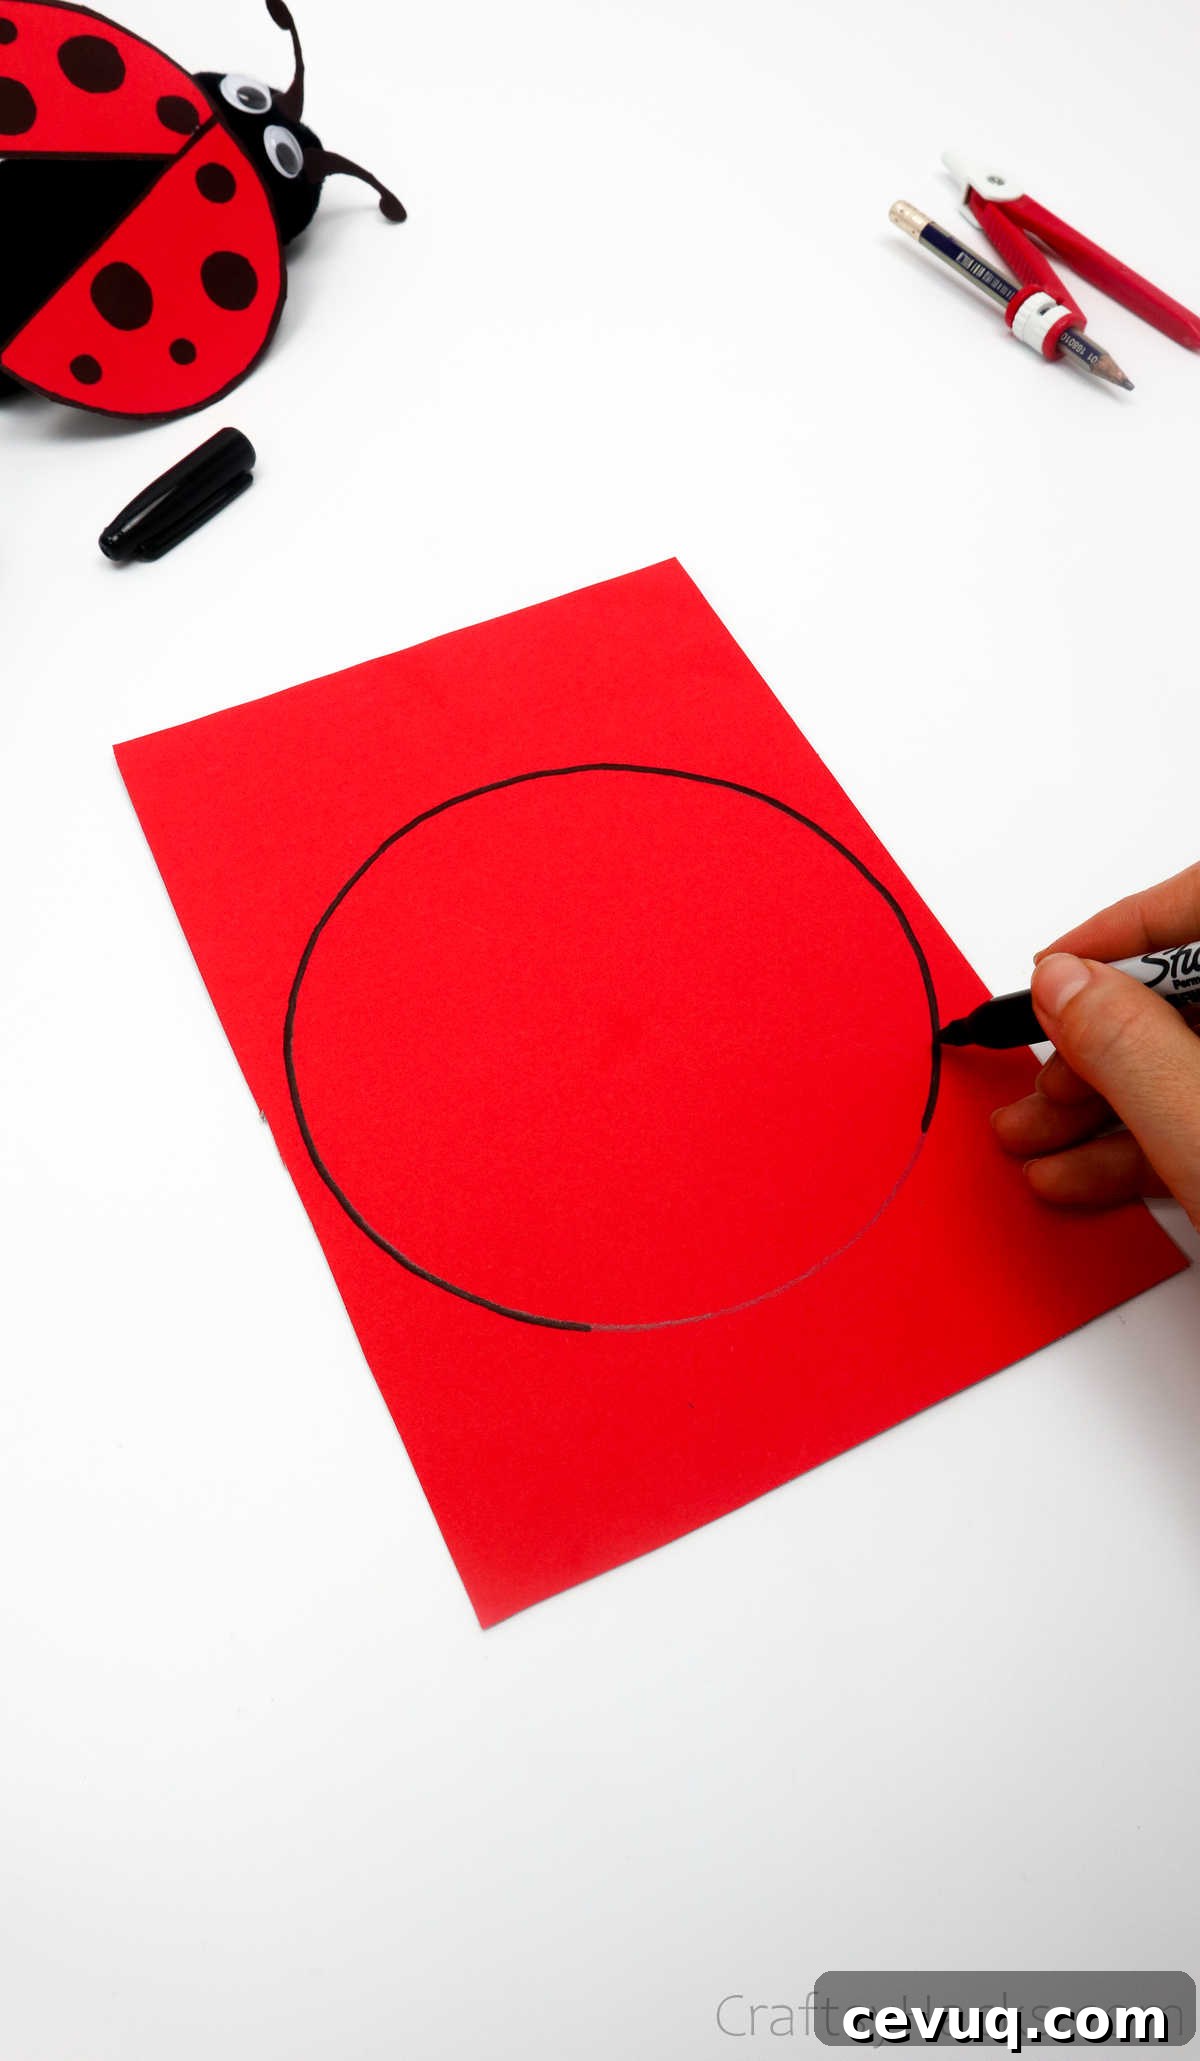
Trace the circle in pencil, then outline it with a black marker so the wing edges are bold and visible. Use thicker paper or glue the paper to light cardboard first to keep the wings from bending.
Step 6
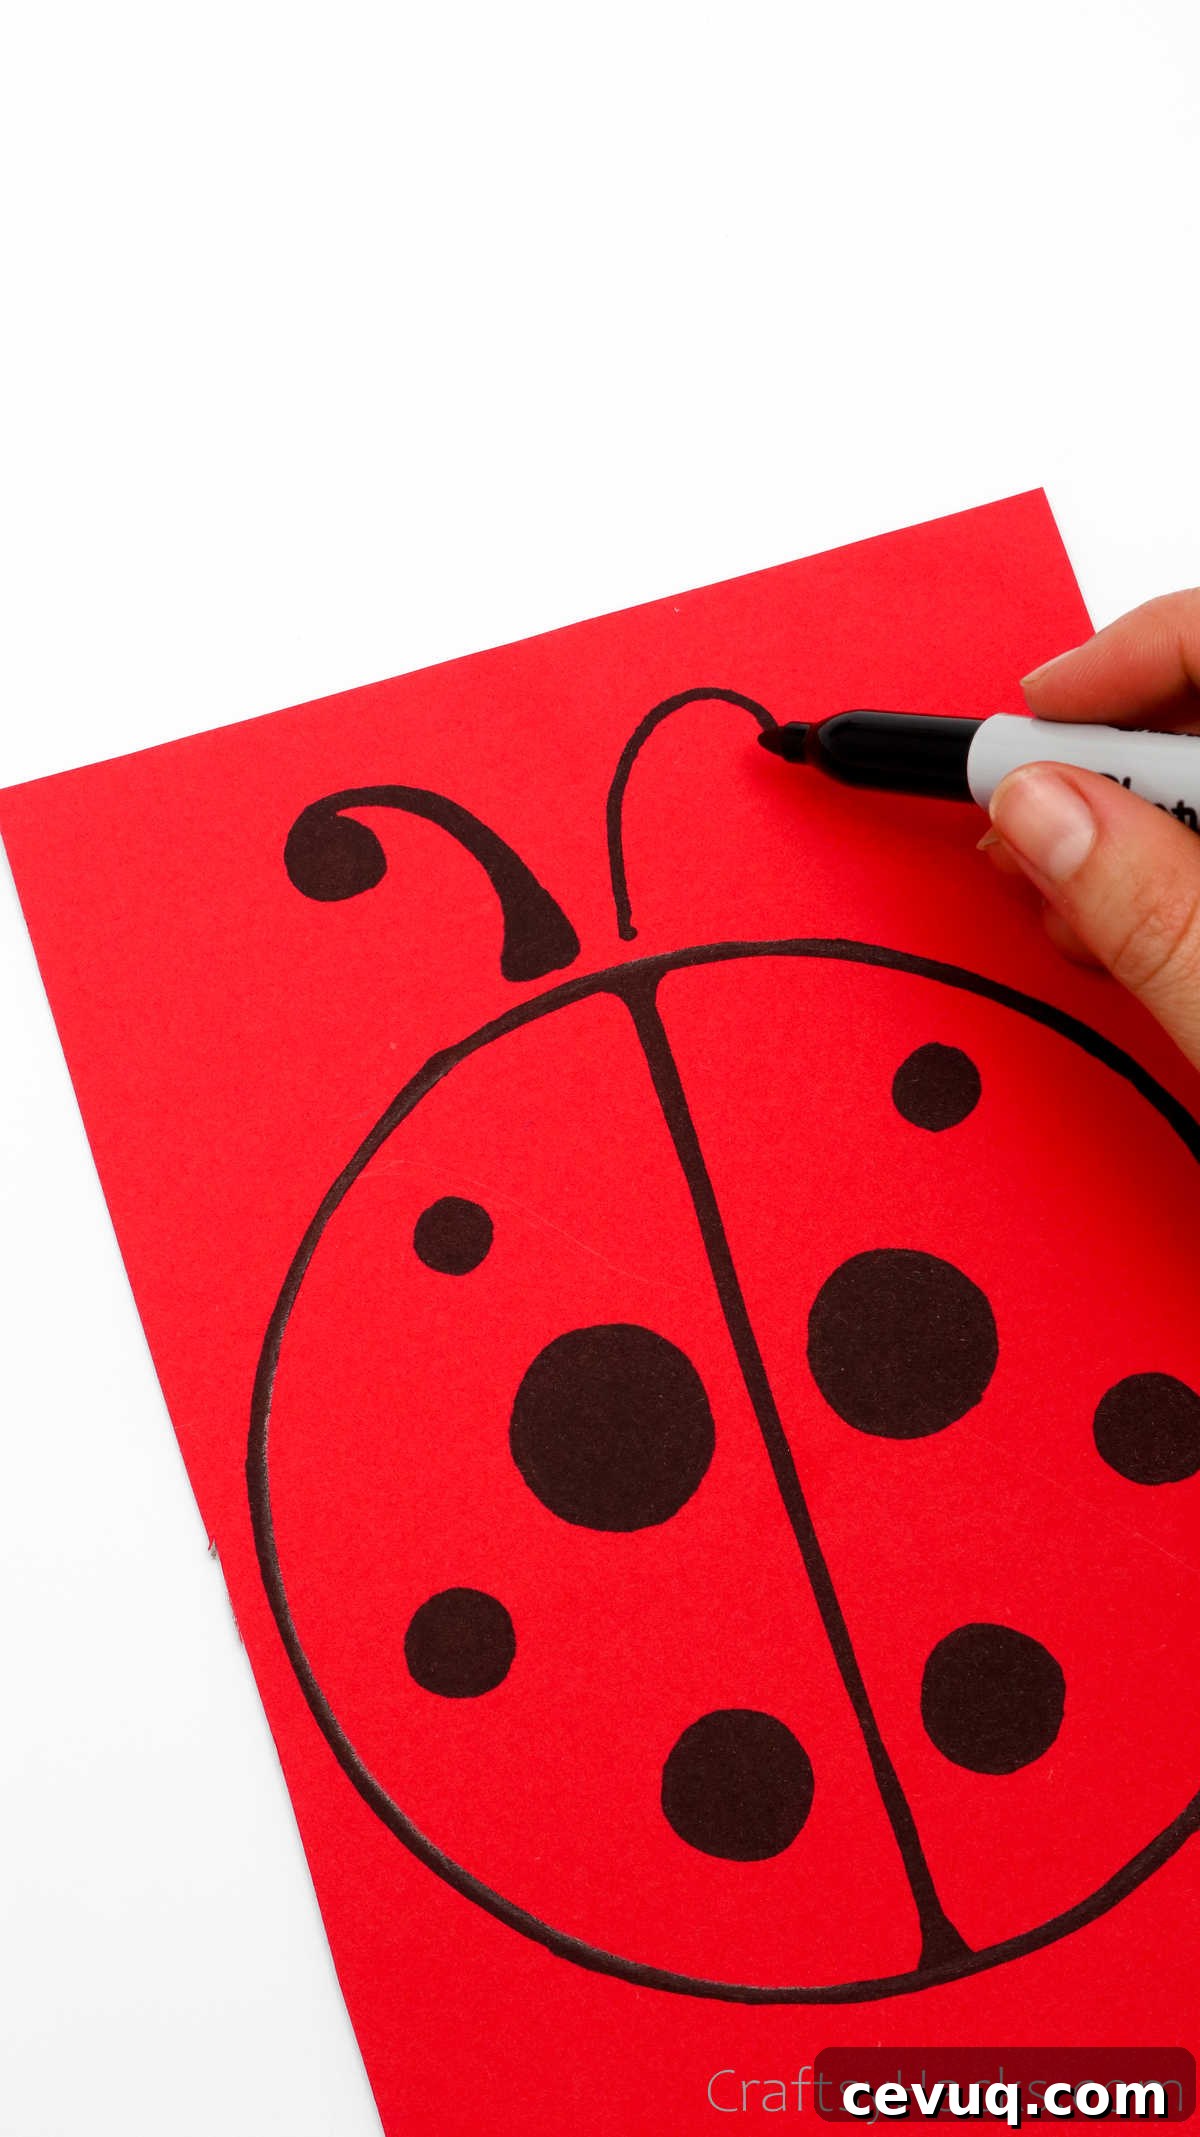
Draw a line down the center of the circle to divide it into two wings. Add several round spots on each half and fill them in with black marker to replicate typical ladybug markings.
Step 7
Draw two simple antennae shapes on the paper for cutting out later. These small details give the ladybug personality.
Step 8
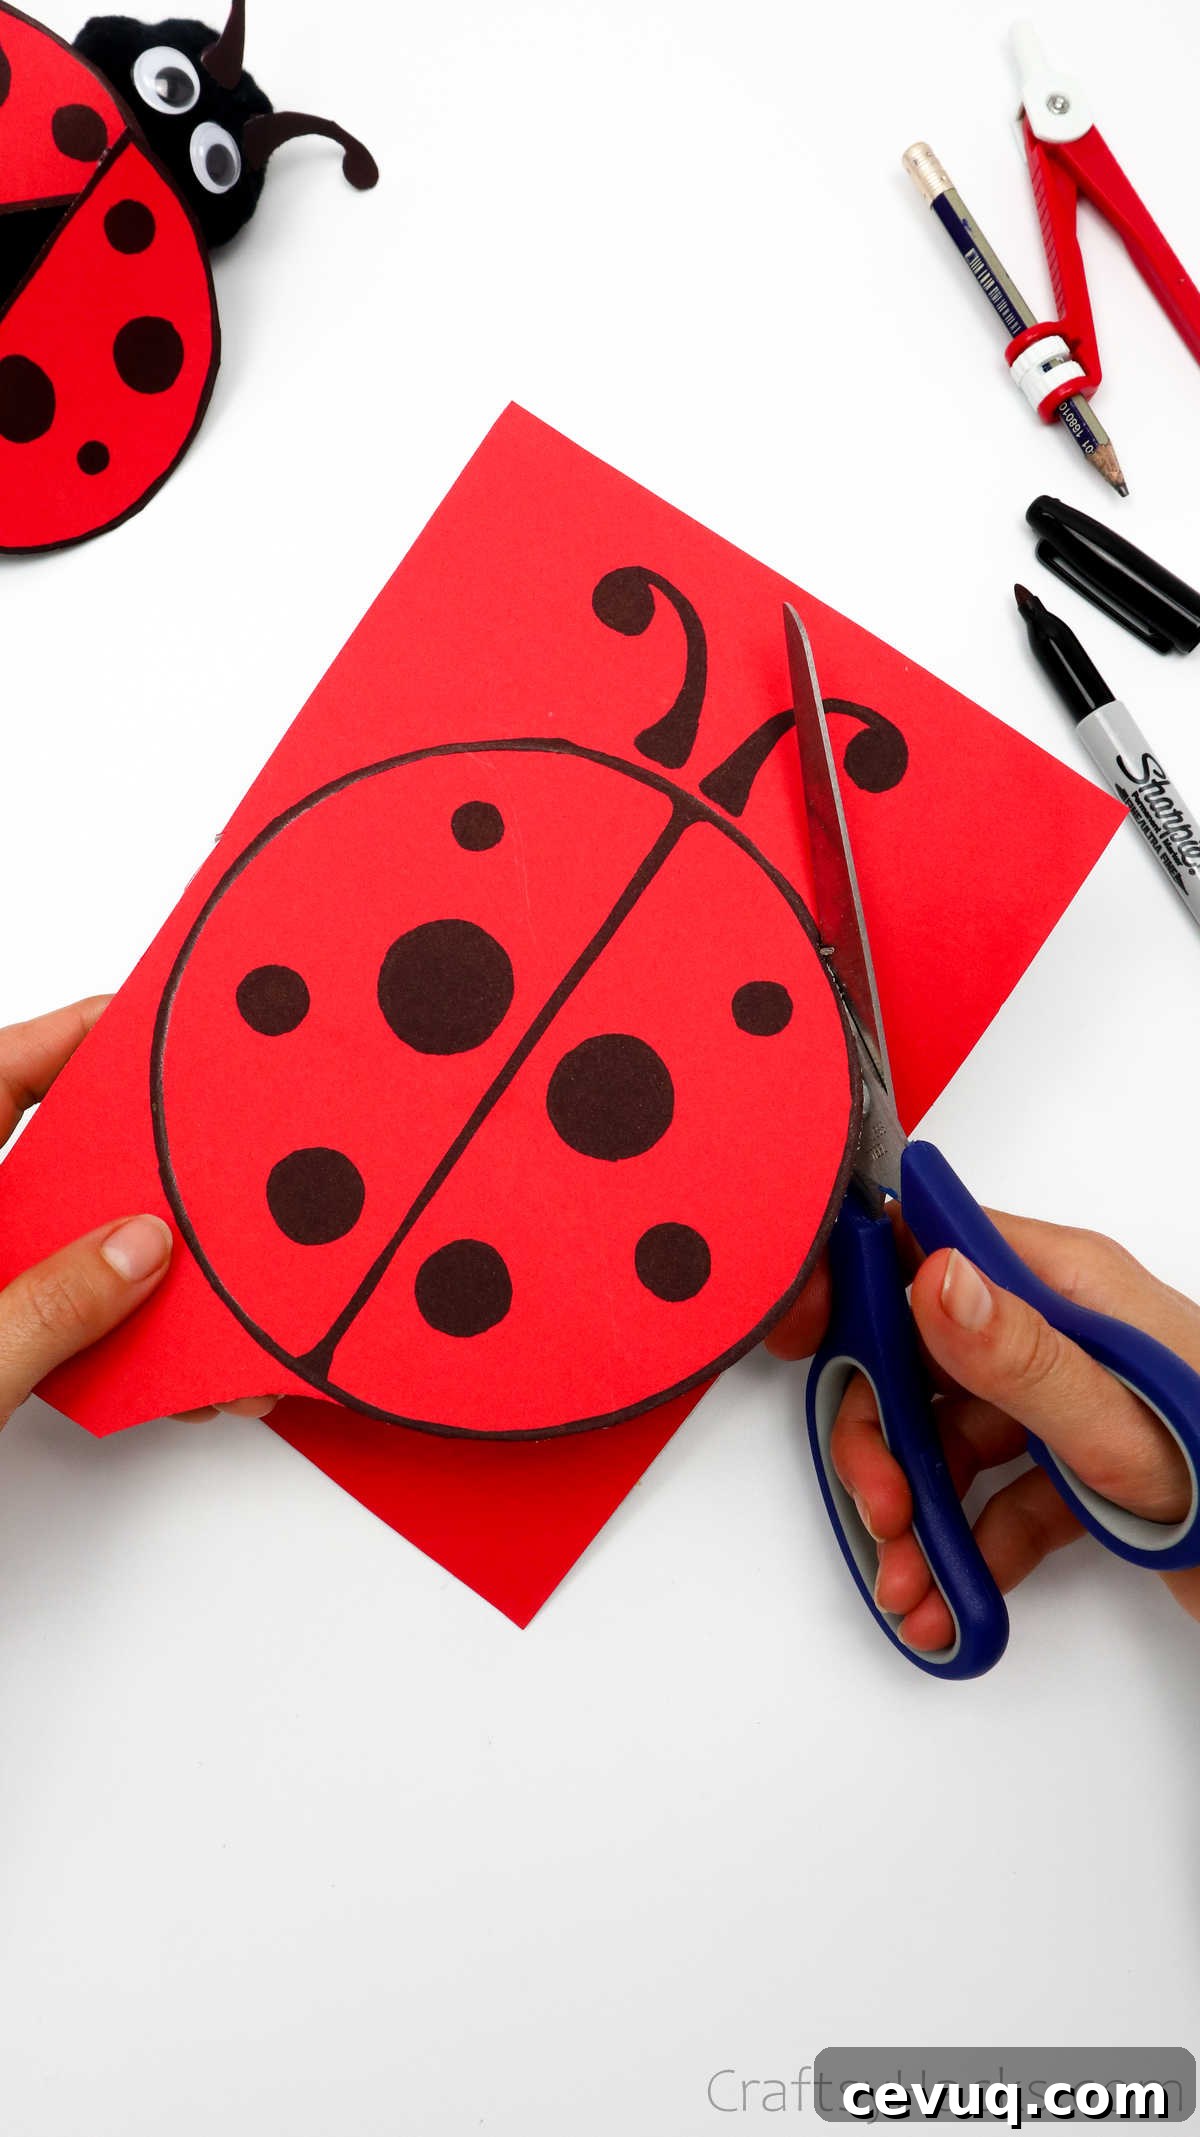
Carefully cut out the two wing halves and the antennae with scissors. Parents should help younger children with cutting to ensure safety and neat edges.
Step 9
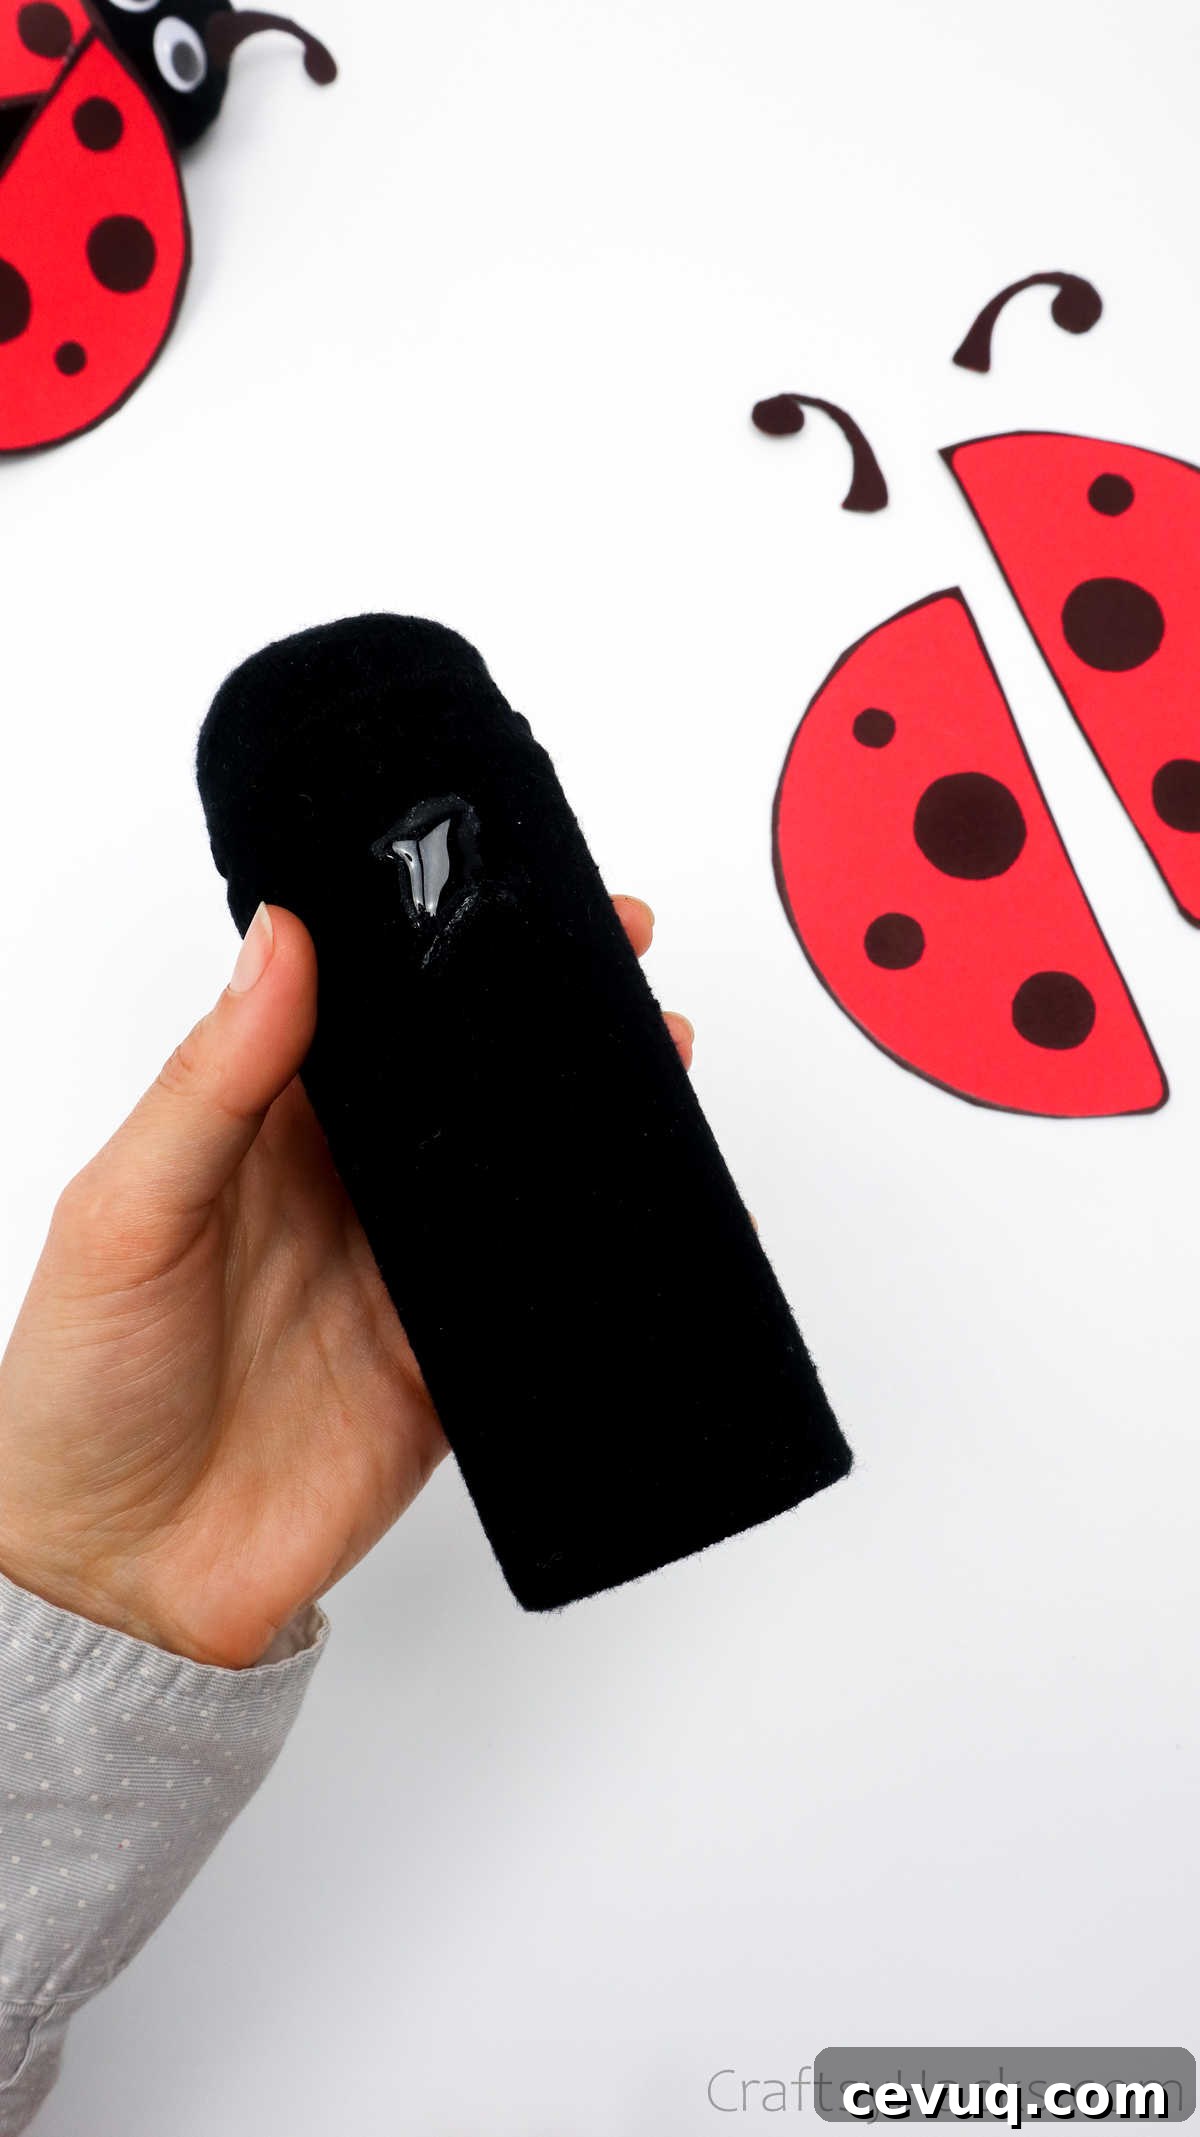
Attach the wings to the sock-covered roll using a small amount of hot glue at the top of each wing near the “neck” area. Glue only the top edge so the wings can open slightly and look natural.
Step 10
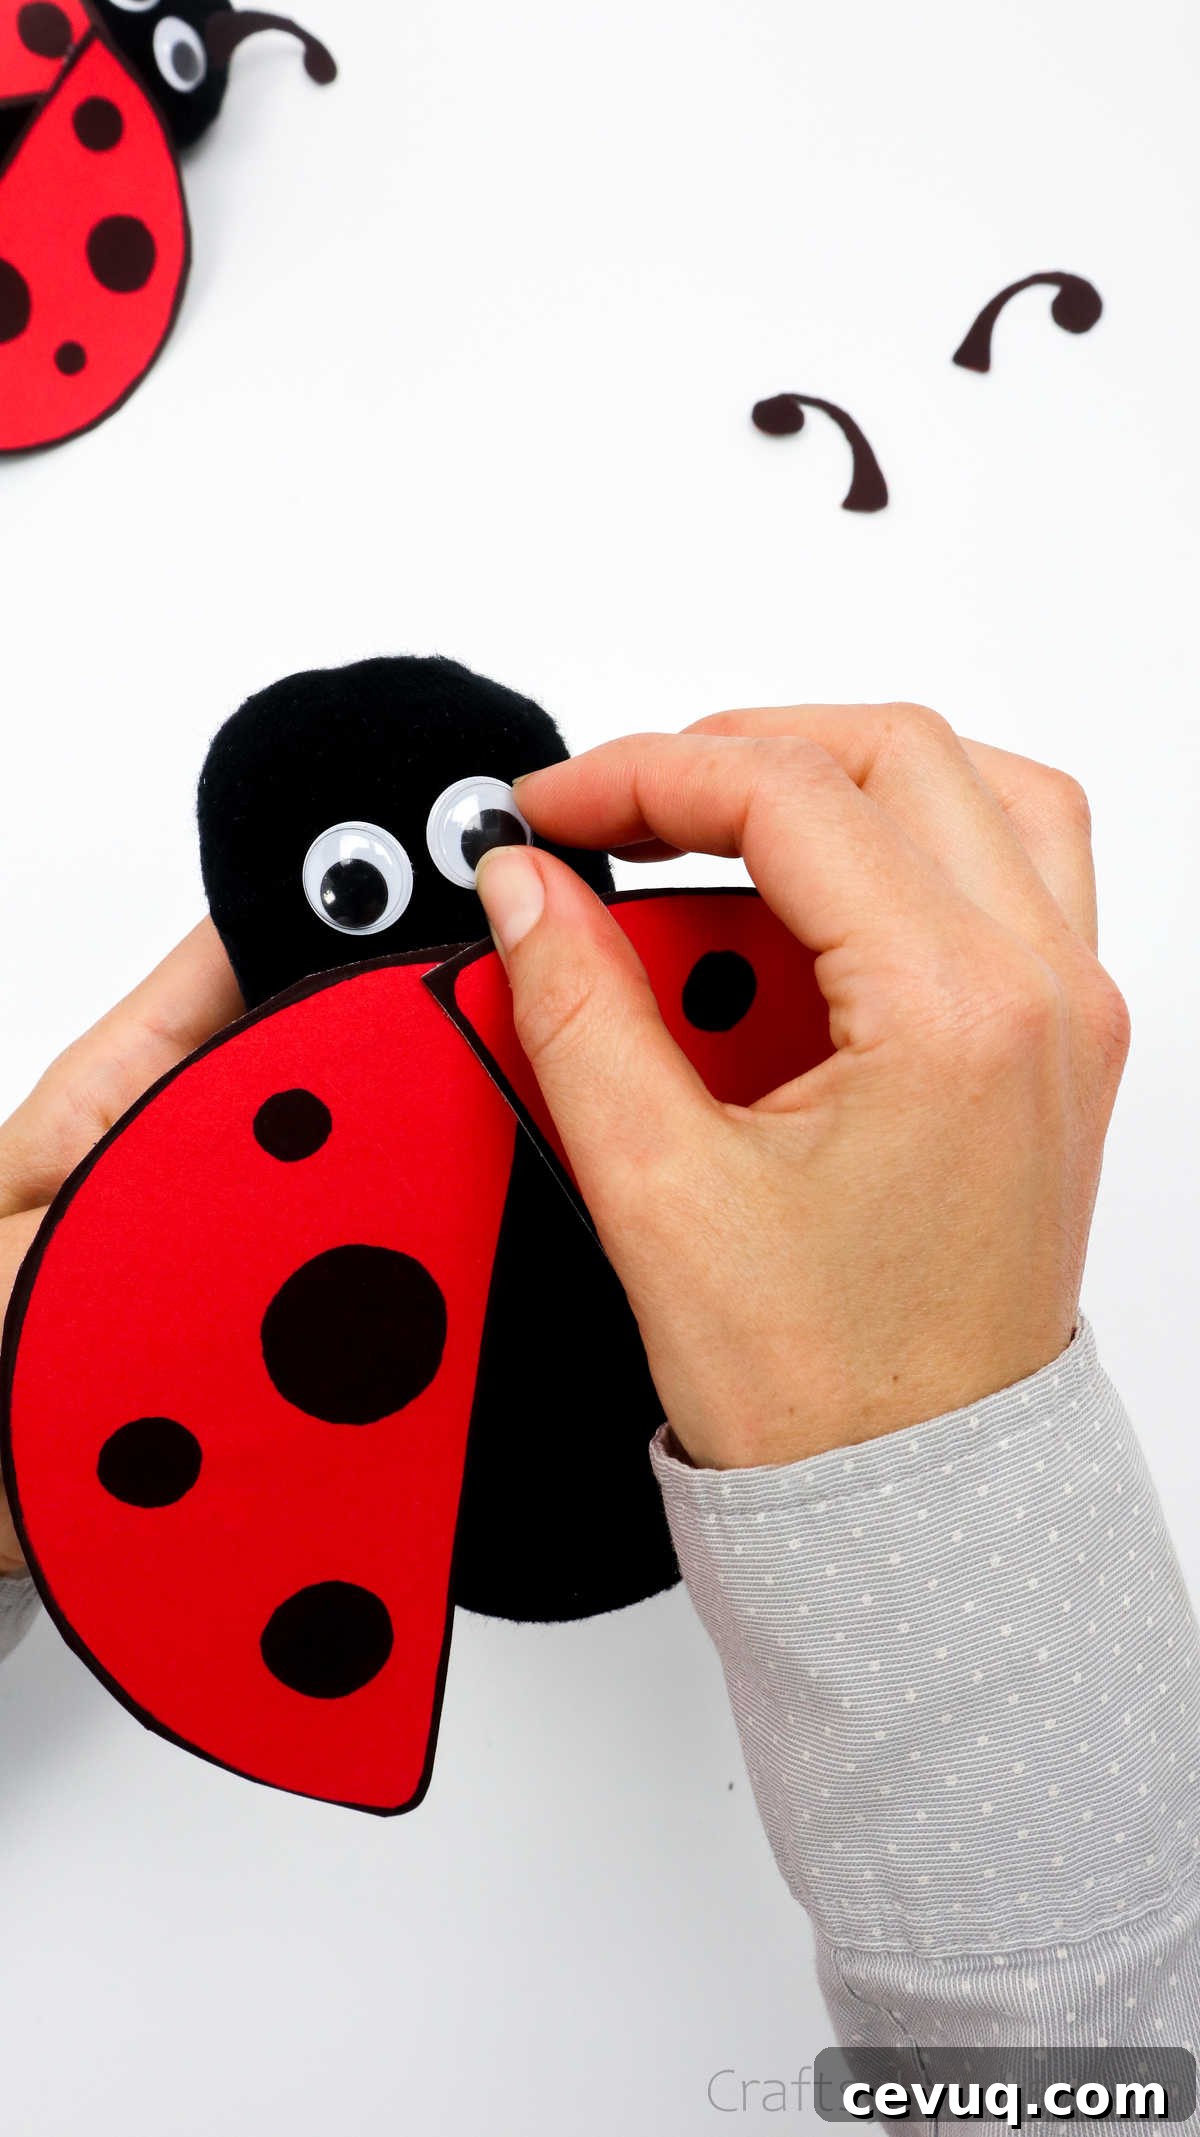
Glue two wiggle eyes onto the head area, then affix the antennae above the eyes. Press gently and hold for a few seconds to ensure the glue bonds well.
Step 11 (Optional)
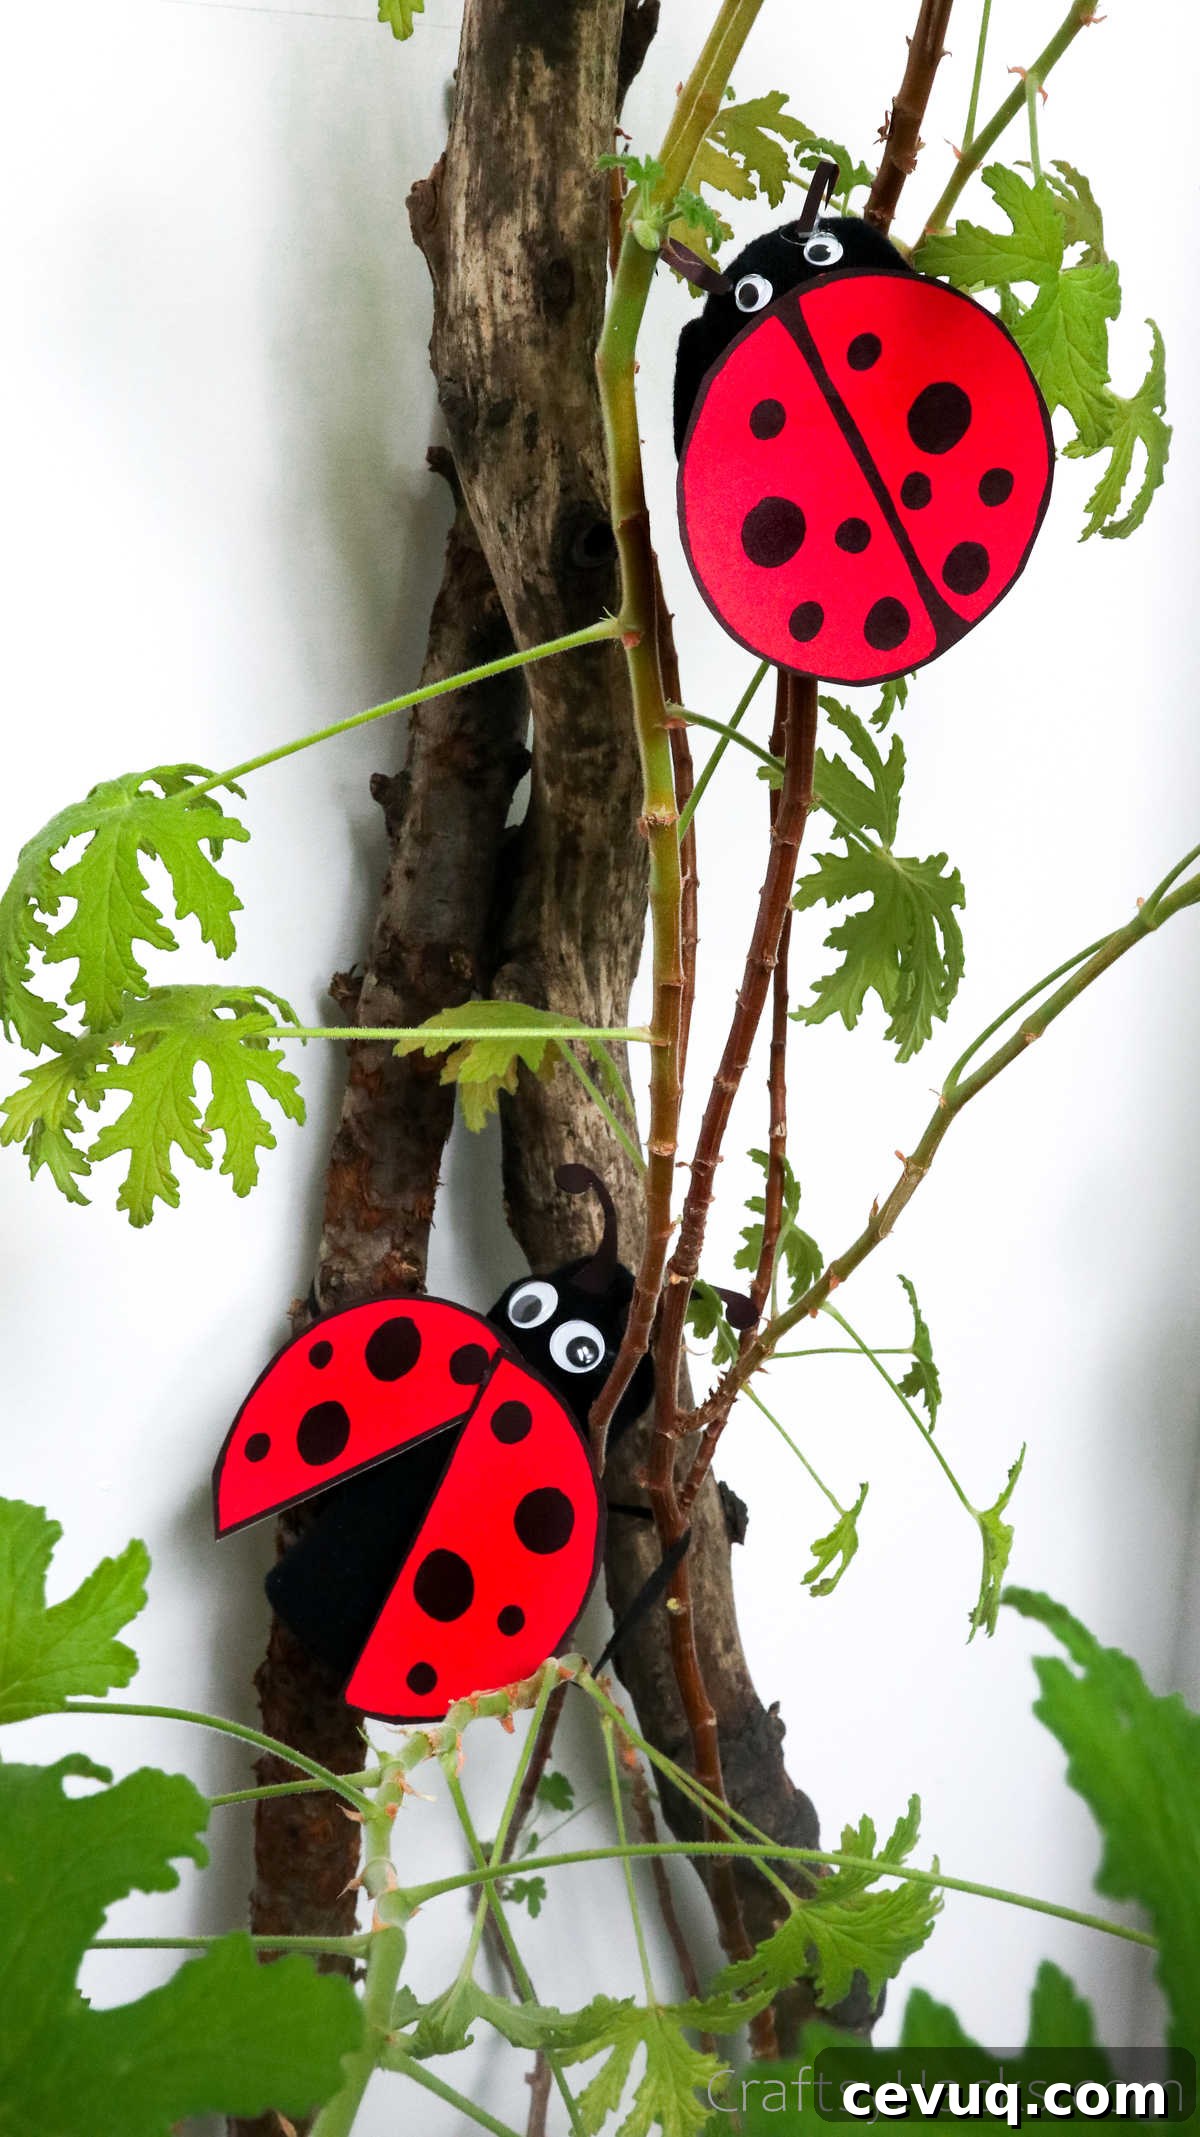
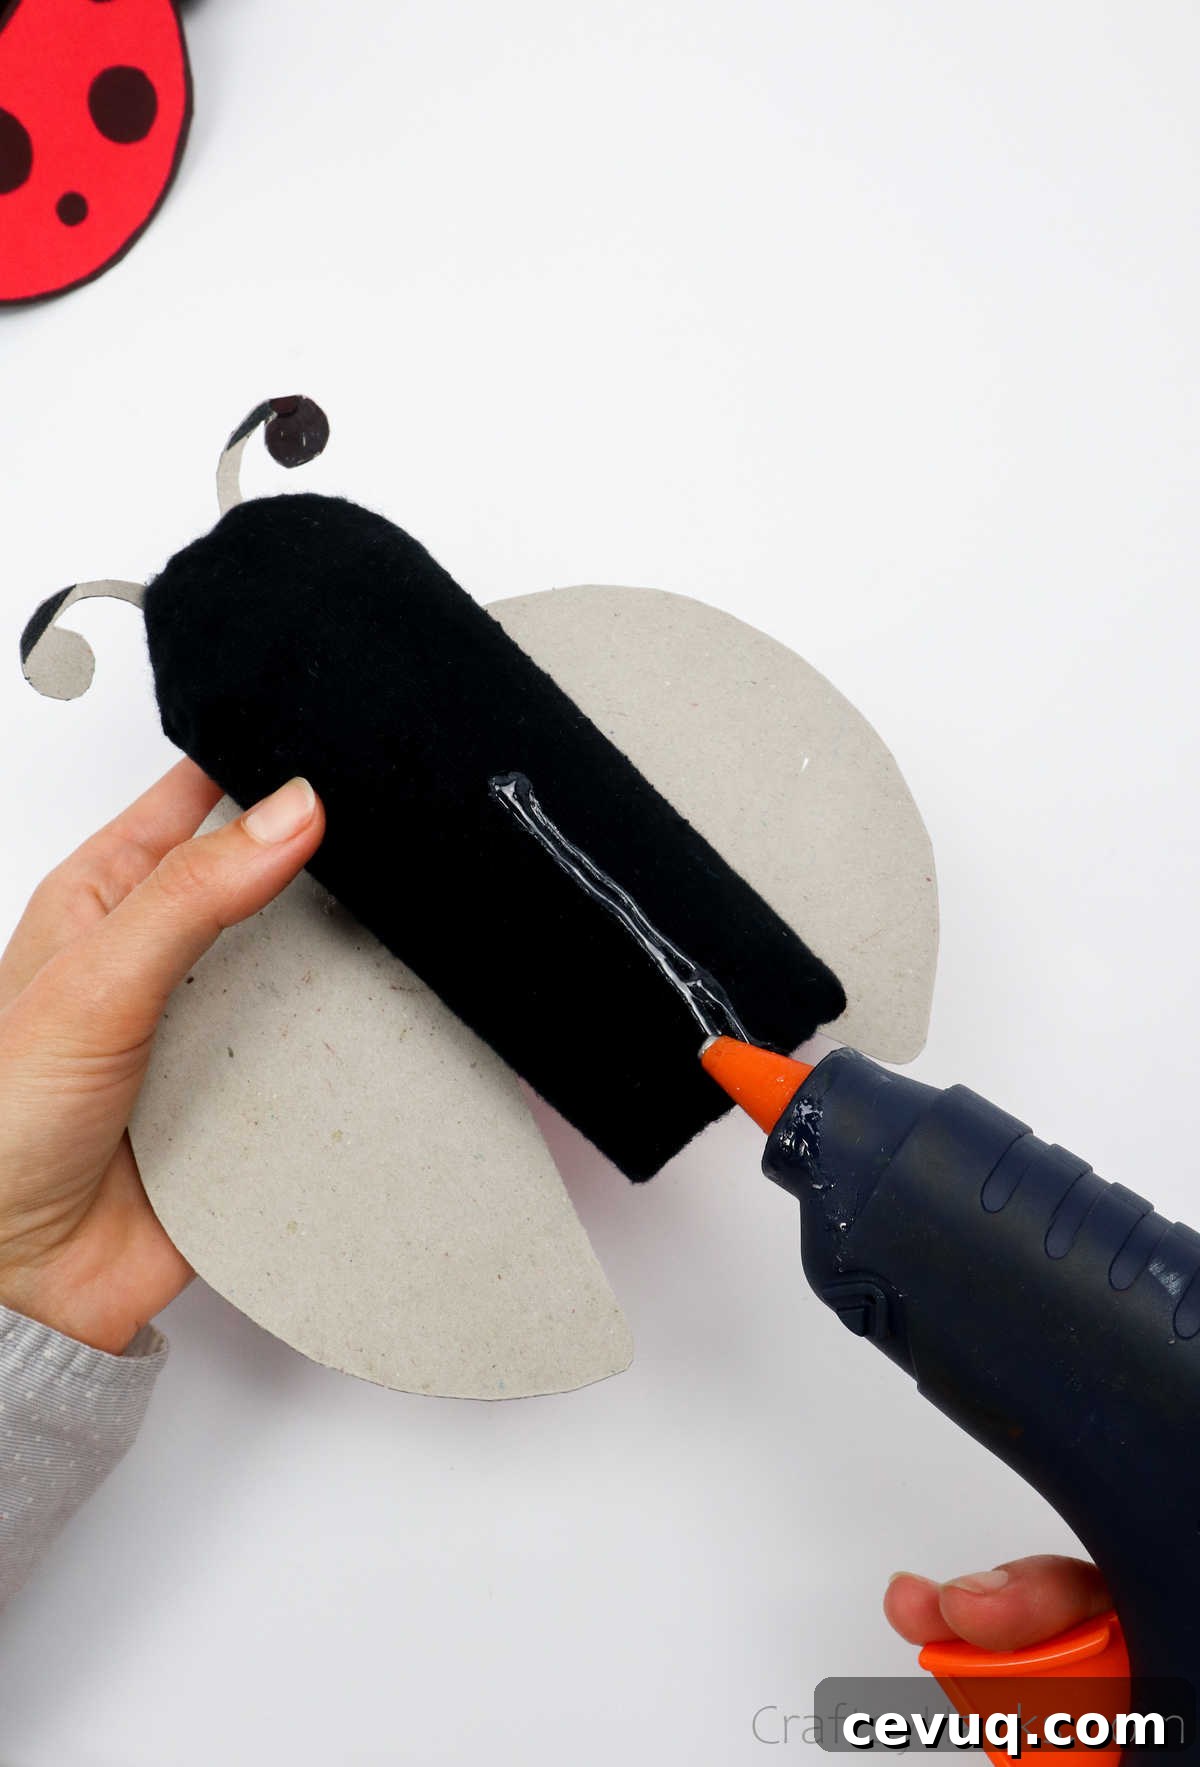
For added versatility, glue a clothespin to the back of the roll. This turns your ladybug into a decorative clip you can attach to curtains, plants, a craft board, or even a gift package.
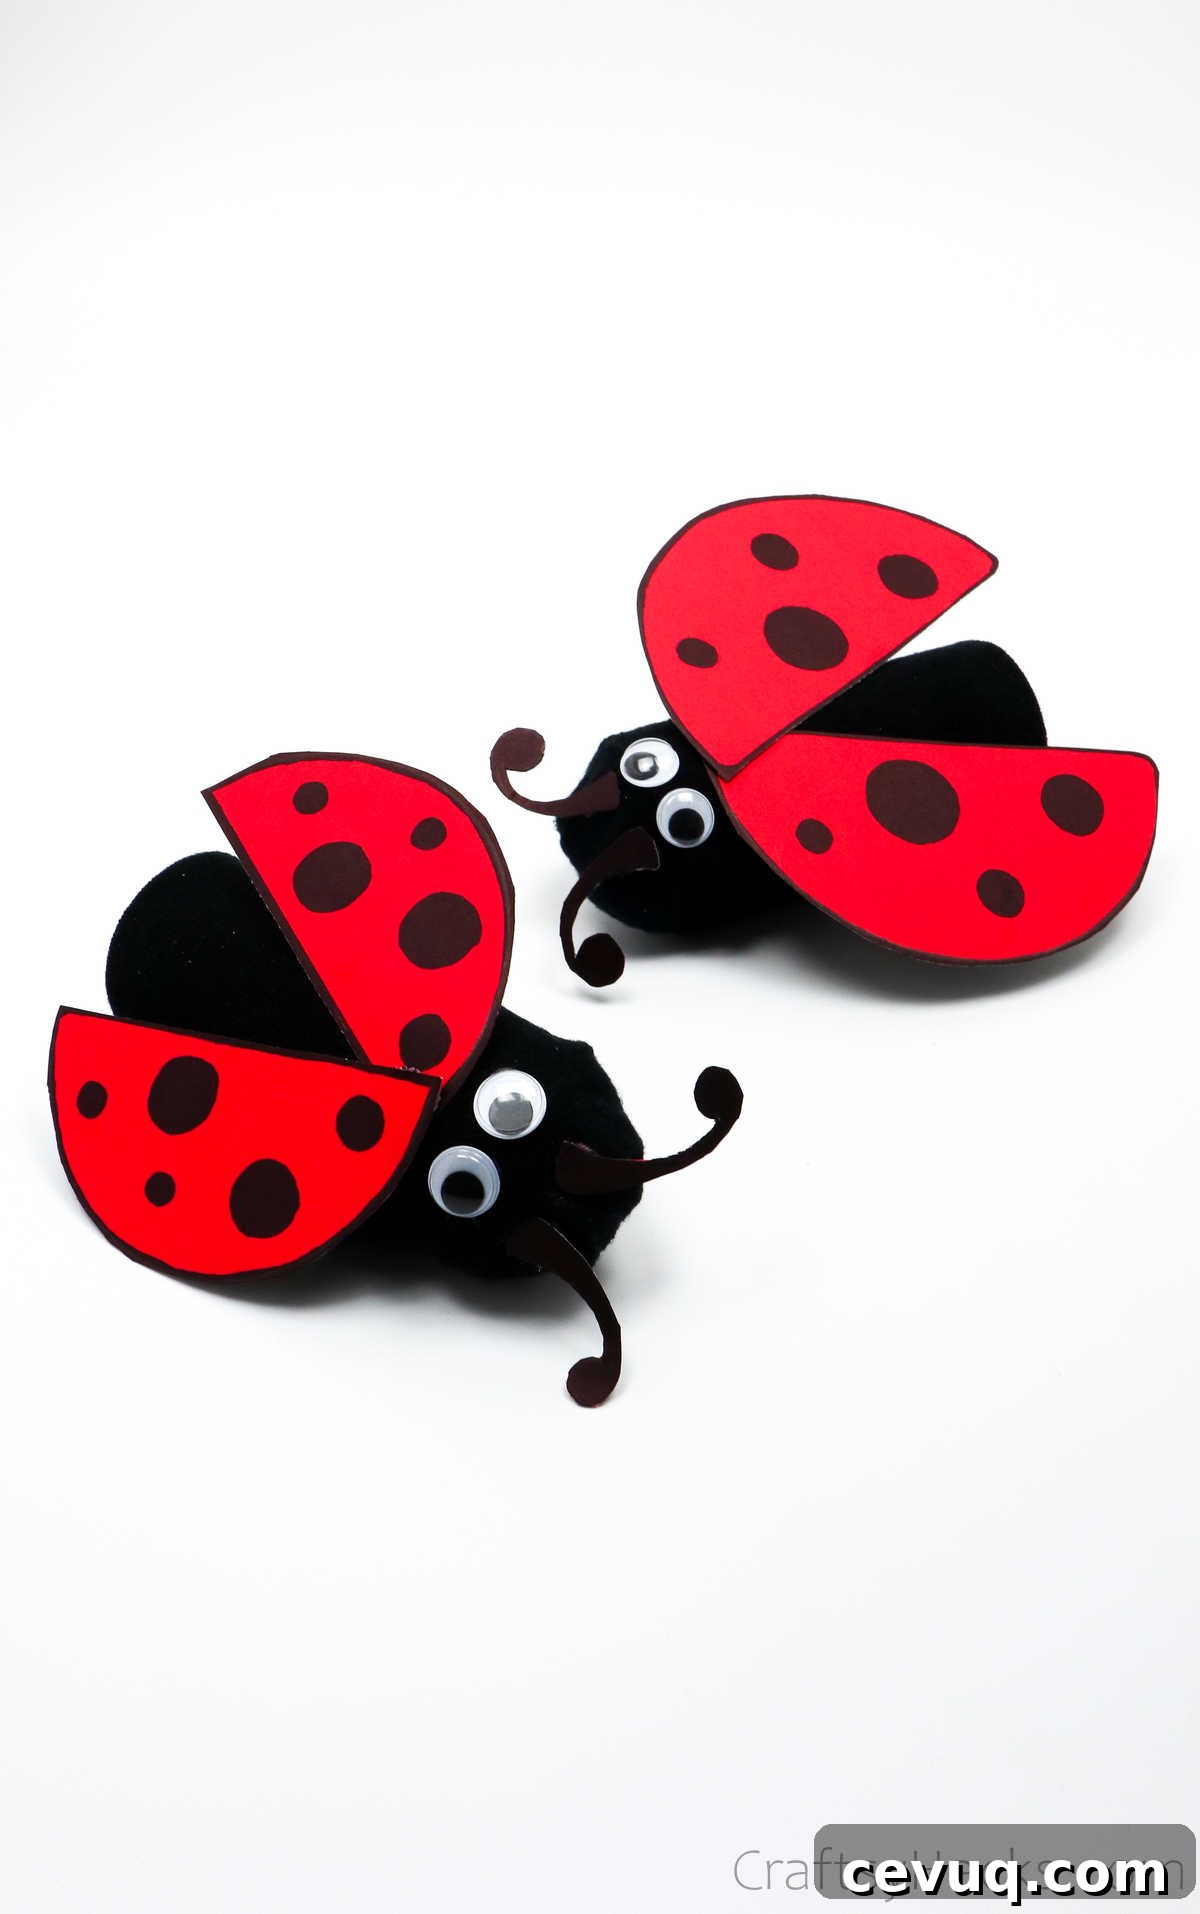
Who Can Make These Ladybugs?
This craft is ideal for toddlers and preschoolers with adult help, but older children, tweens, teens, and even adults will enjoy making variations. It’s a flexible activity to suit a wide range of ages and skill levels.
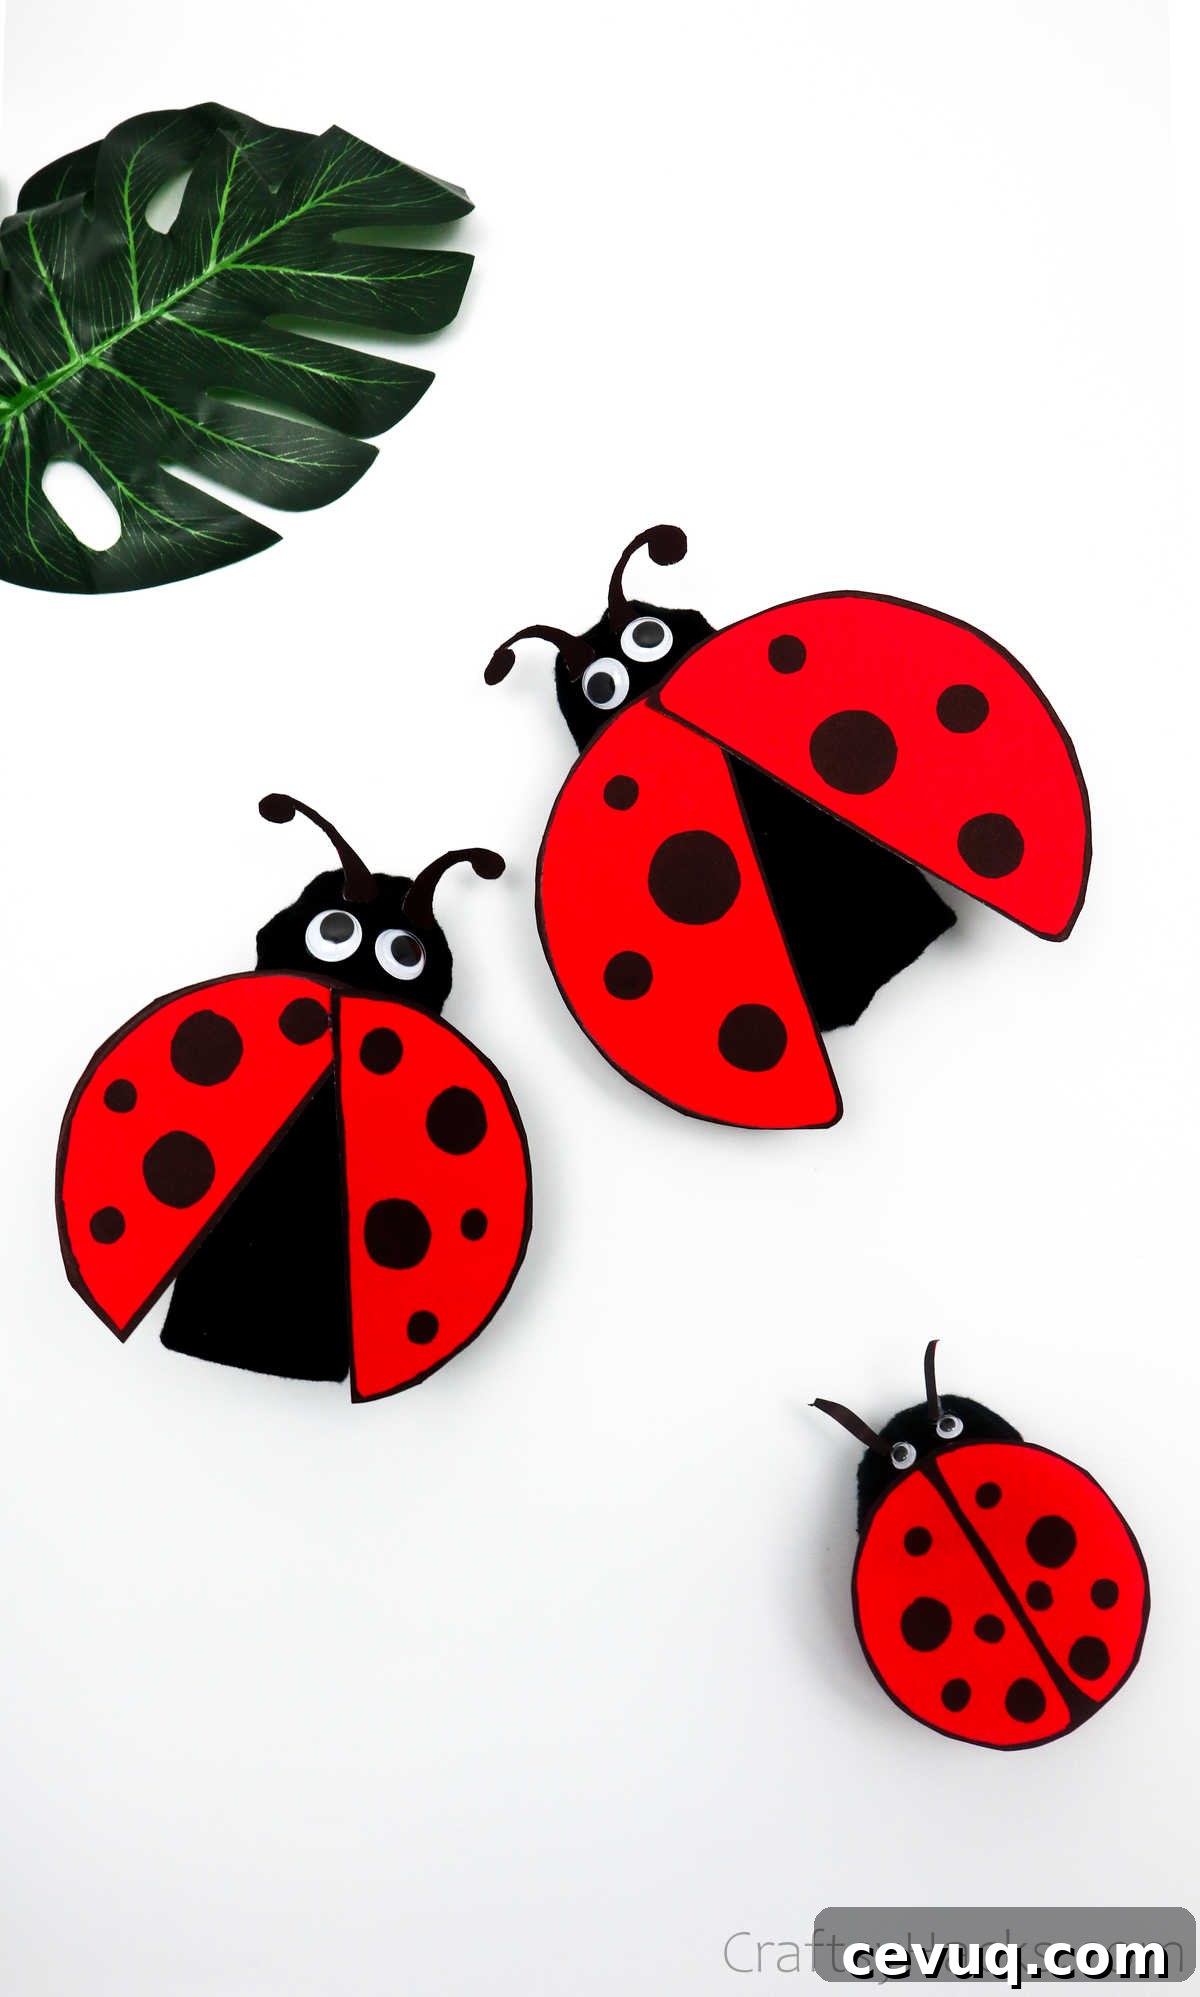
Where Can I Use These Ladybugs?
These little ladybugs make playful decorations around the home. Attach them to plant pots, hang them from a curtain with a clothespin, place them on shelves or desks, or include them in themed displays for parties, classrooms, or seasonal decor.
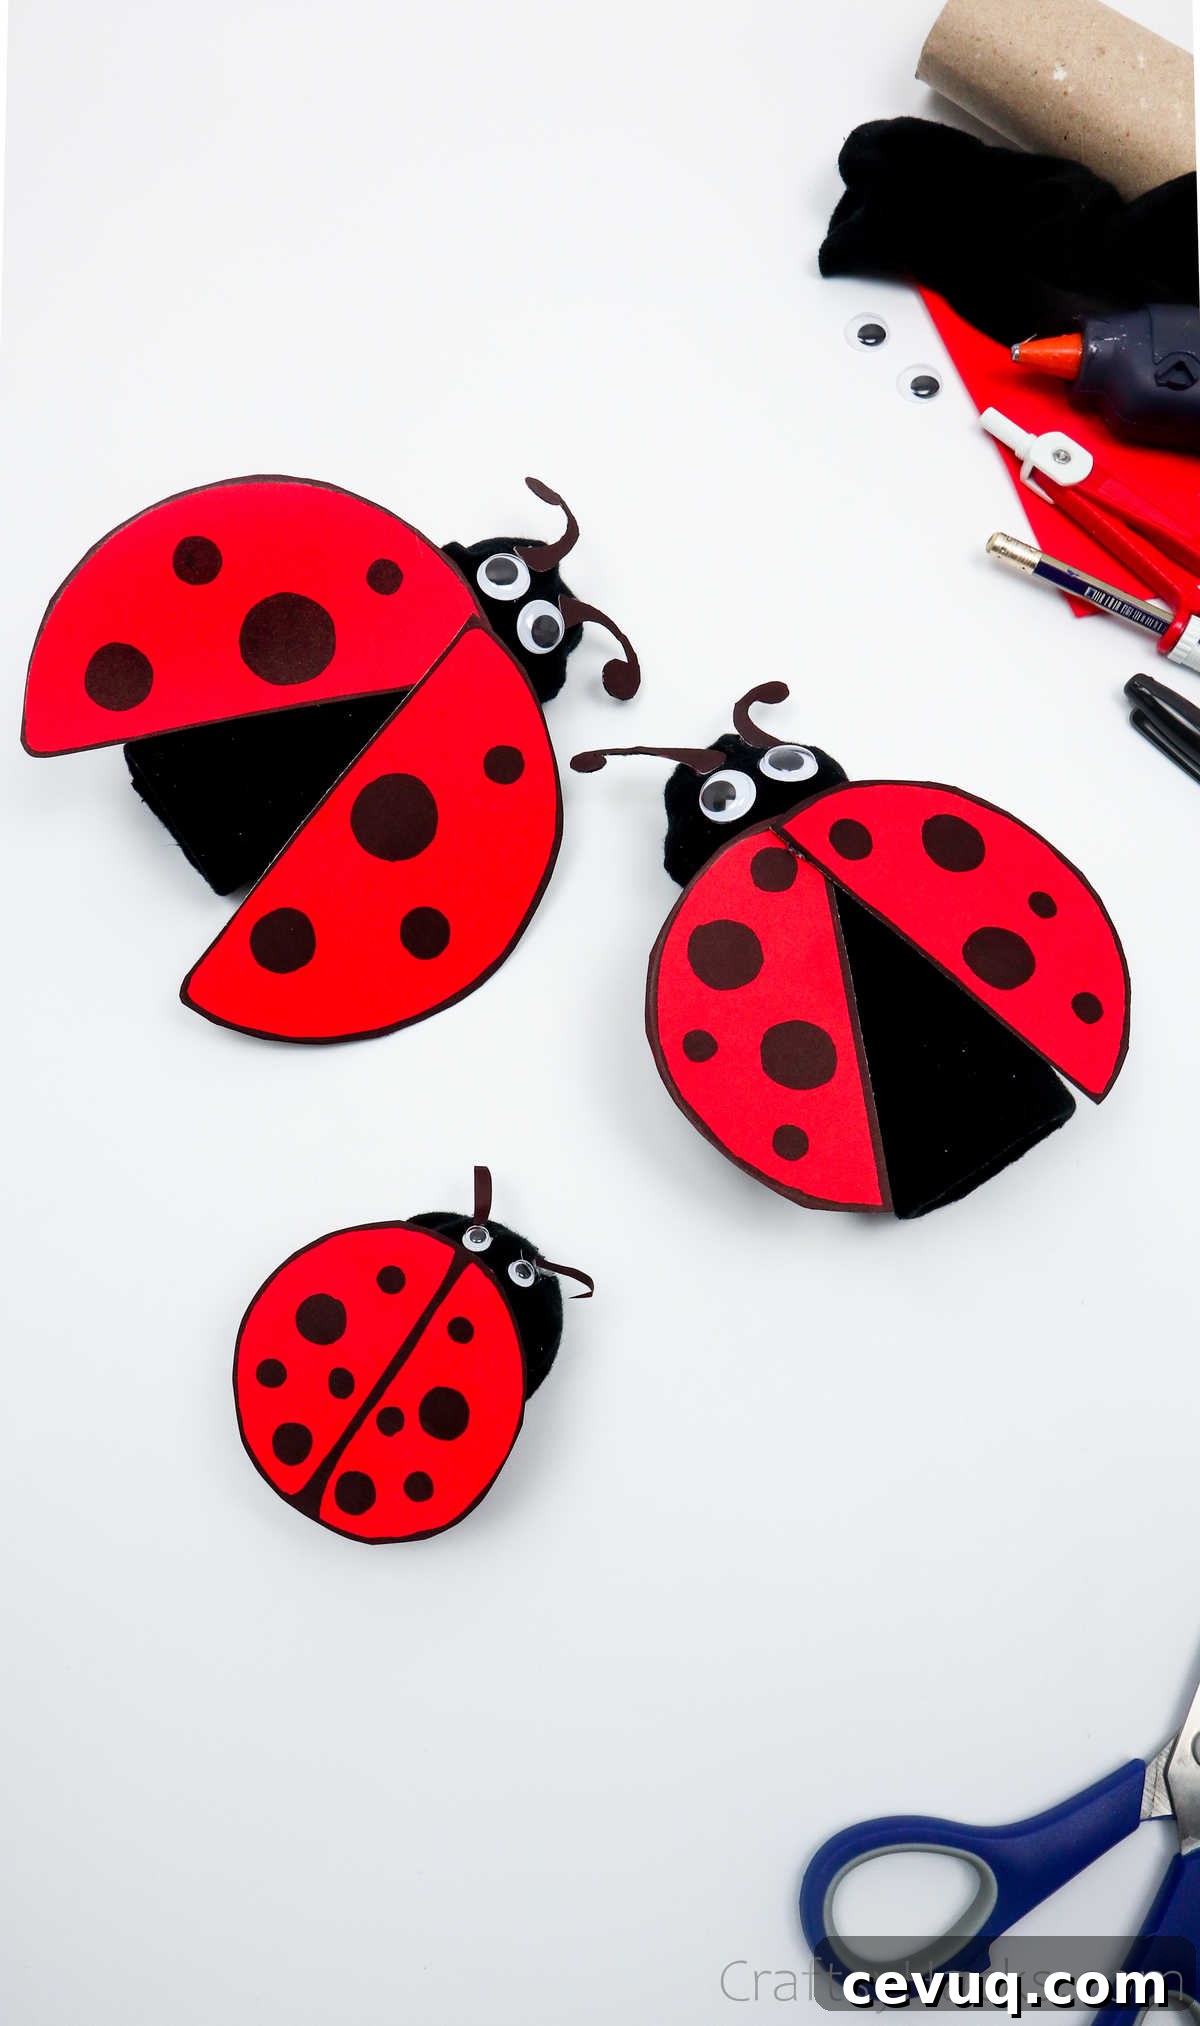
Other Crafts You Can Make
- 47 DIY projects for fun, hands-on making
- Paper squishies made from simple supplies
- Easy paper flowers for decorations
- Shoelace bracelet DIY
- Unicorn toilet roll craft and more paper roll ideas
- Construction paper craft collections
- Crafts tailored for toddlers and summer craft lists for kids
Ladybug Craft Out of Toilet Paper Roll
25 mins
5 mins
30 mins
Video Tutorial
Equipment
- Scissors
- Black marker
- Hot glue gun
- Compass and pencil
Materials
- Toilet roll
- Thick red A5 sheet of paper
- Pair of black socks
- Wiggle googly eyes
- 1 x clothes peg (optional)
Instructions
- Gather all supplies.
- Roll one sock into a ball and stuff it into the second sock, pushing it to the toe end.
- Insert the toilet paper roll into the sock until it reaches the balled sock.
- Tuck the sock ends into the roll and smooth any wrinkles.
- Use a compass to measure half the roll’s height to set the radius for the wings.
- Draw a circle on red paper using that radius, then outline it with a black marker.
- Divide the circle in half, add and fill in spots, and draw antennae.
- Cut out the two wing halves and the antennae.
- Glue the top edge of each wing to the roll so the wings can lift slightly.
- Attach googly eyes and glue on the antennae.
- Optional: glue a clothespin to the back to create a clip-on ladybug.
Leave a comment below with your rating — feedback is welcome!