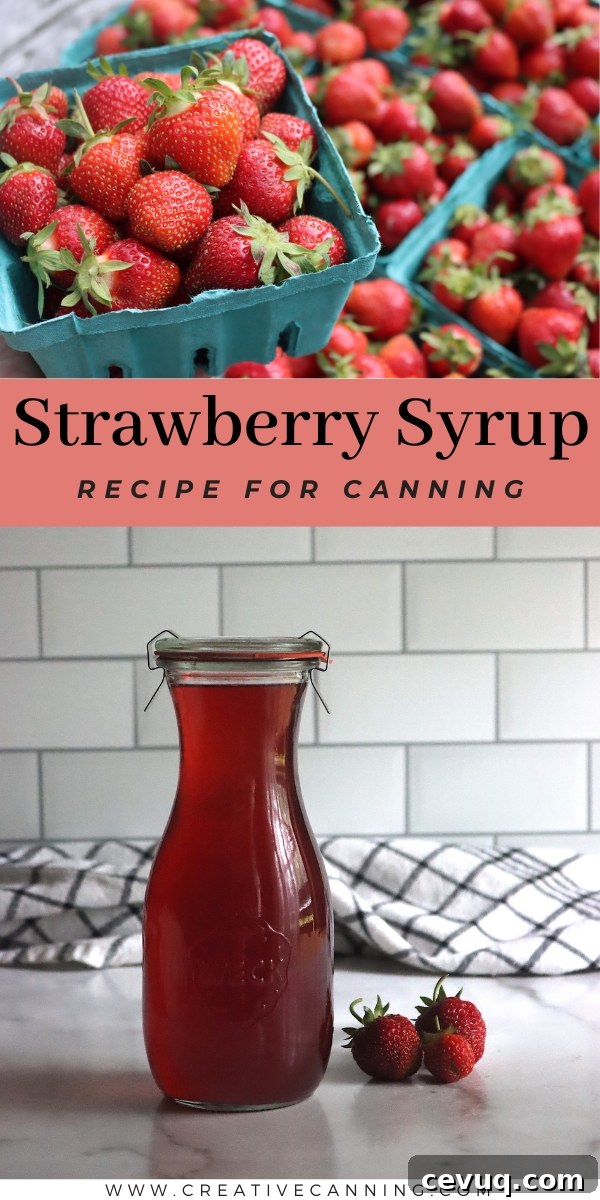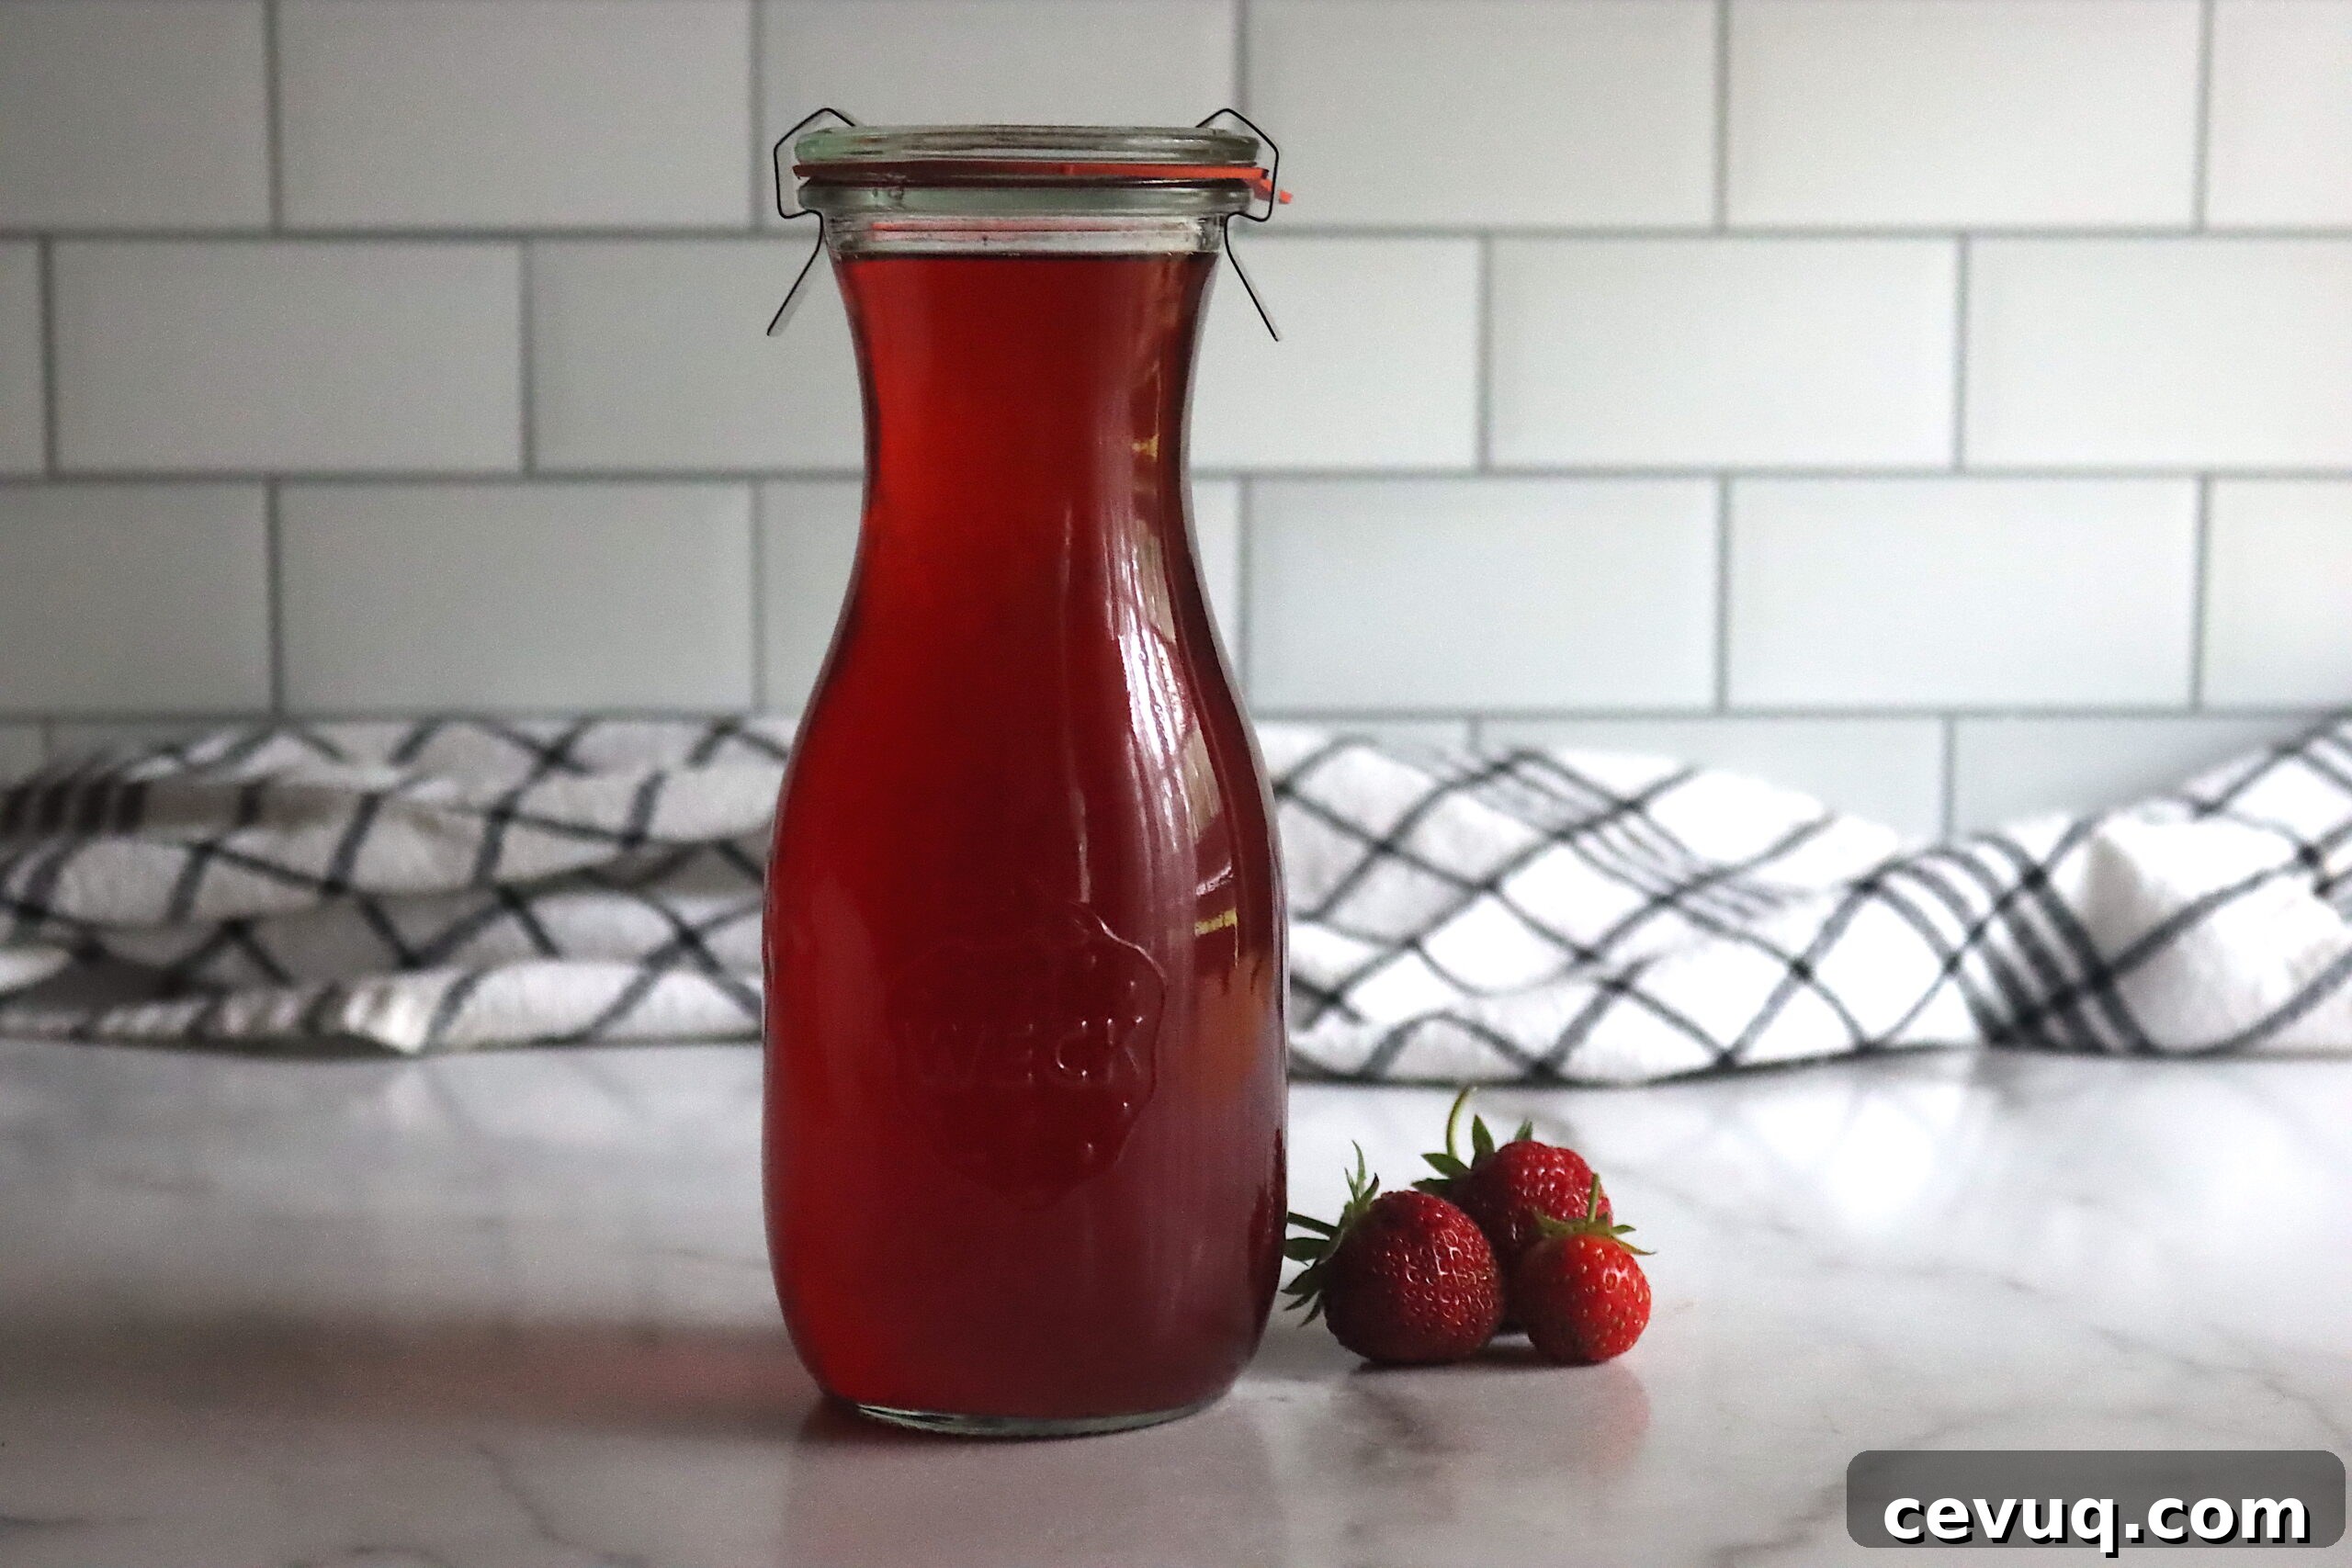
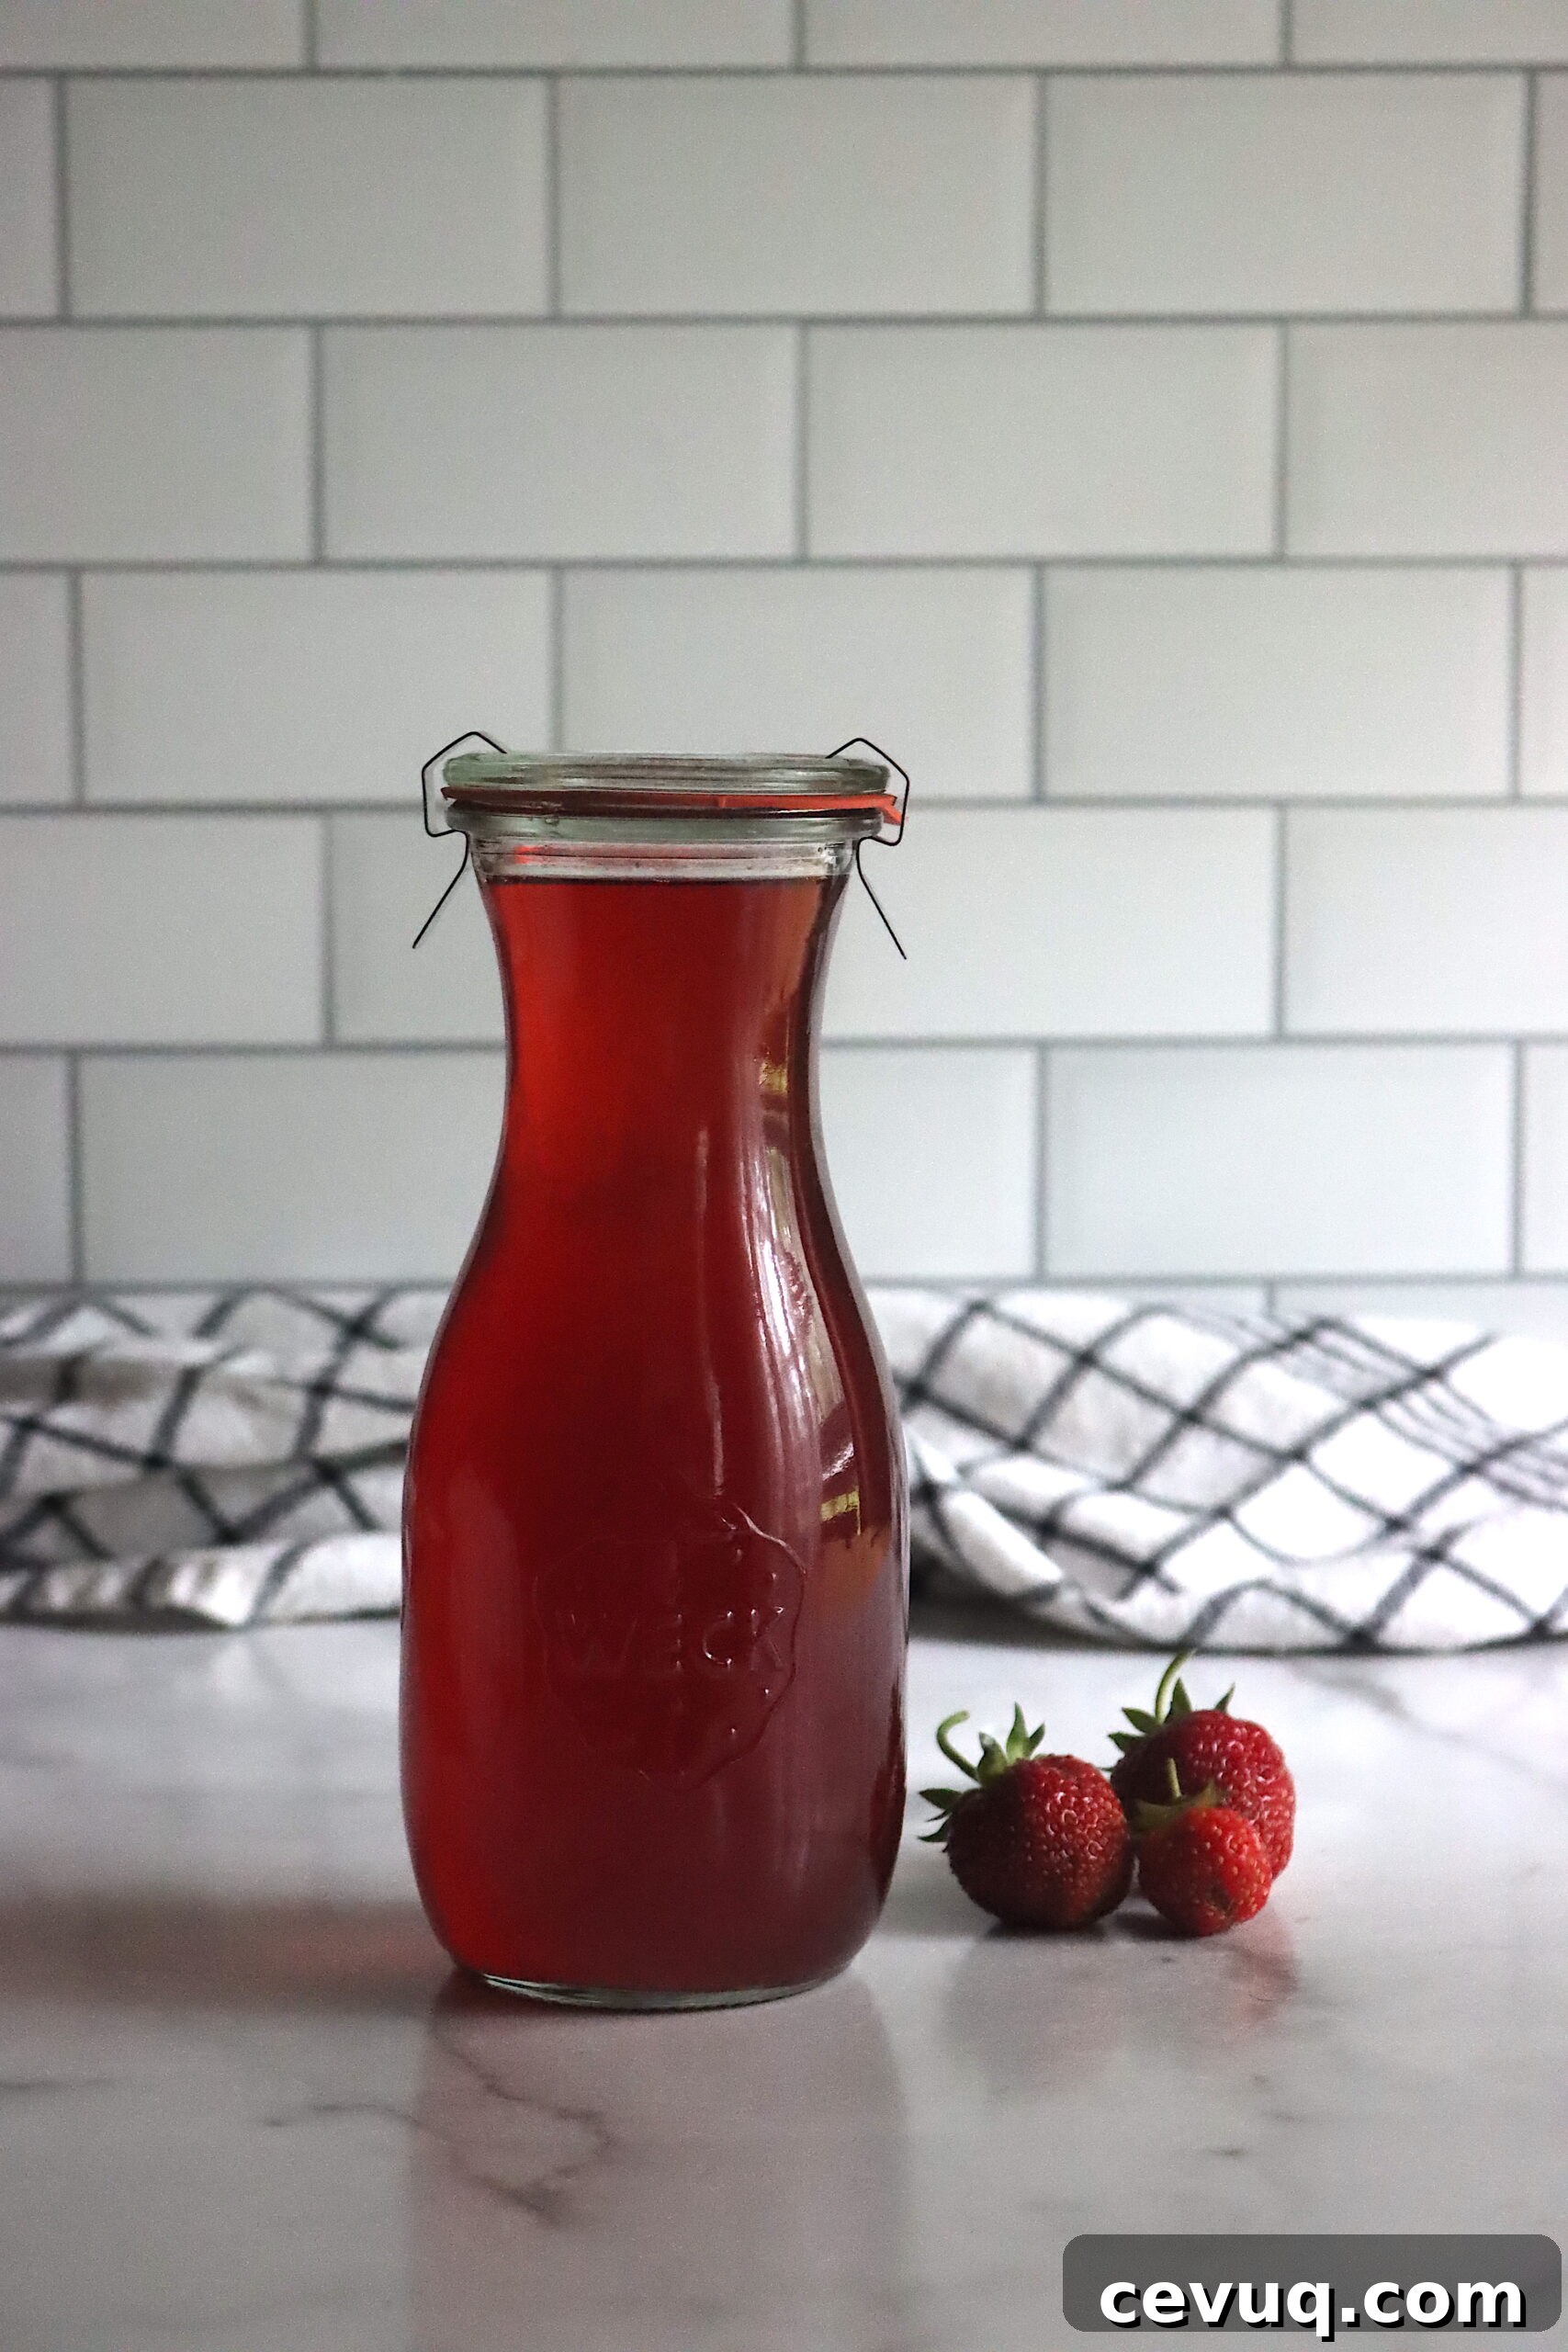
Strawberry syrup captures the bright, fresh flavor of spring strawberries in a smooth, pourable syrup that’s perfect on pancakes, blended into milkshakes and lemonade, or spooned over yogurt and ice cream.
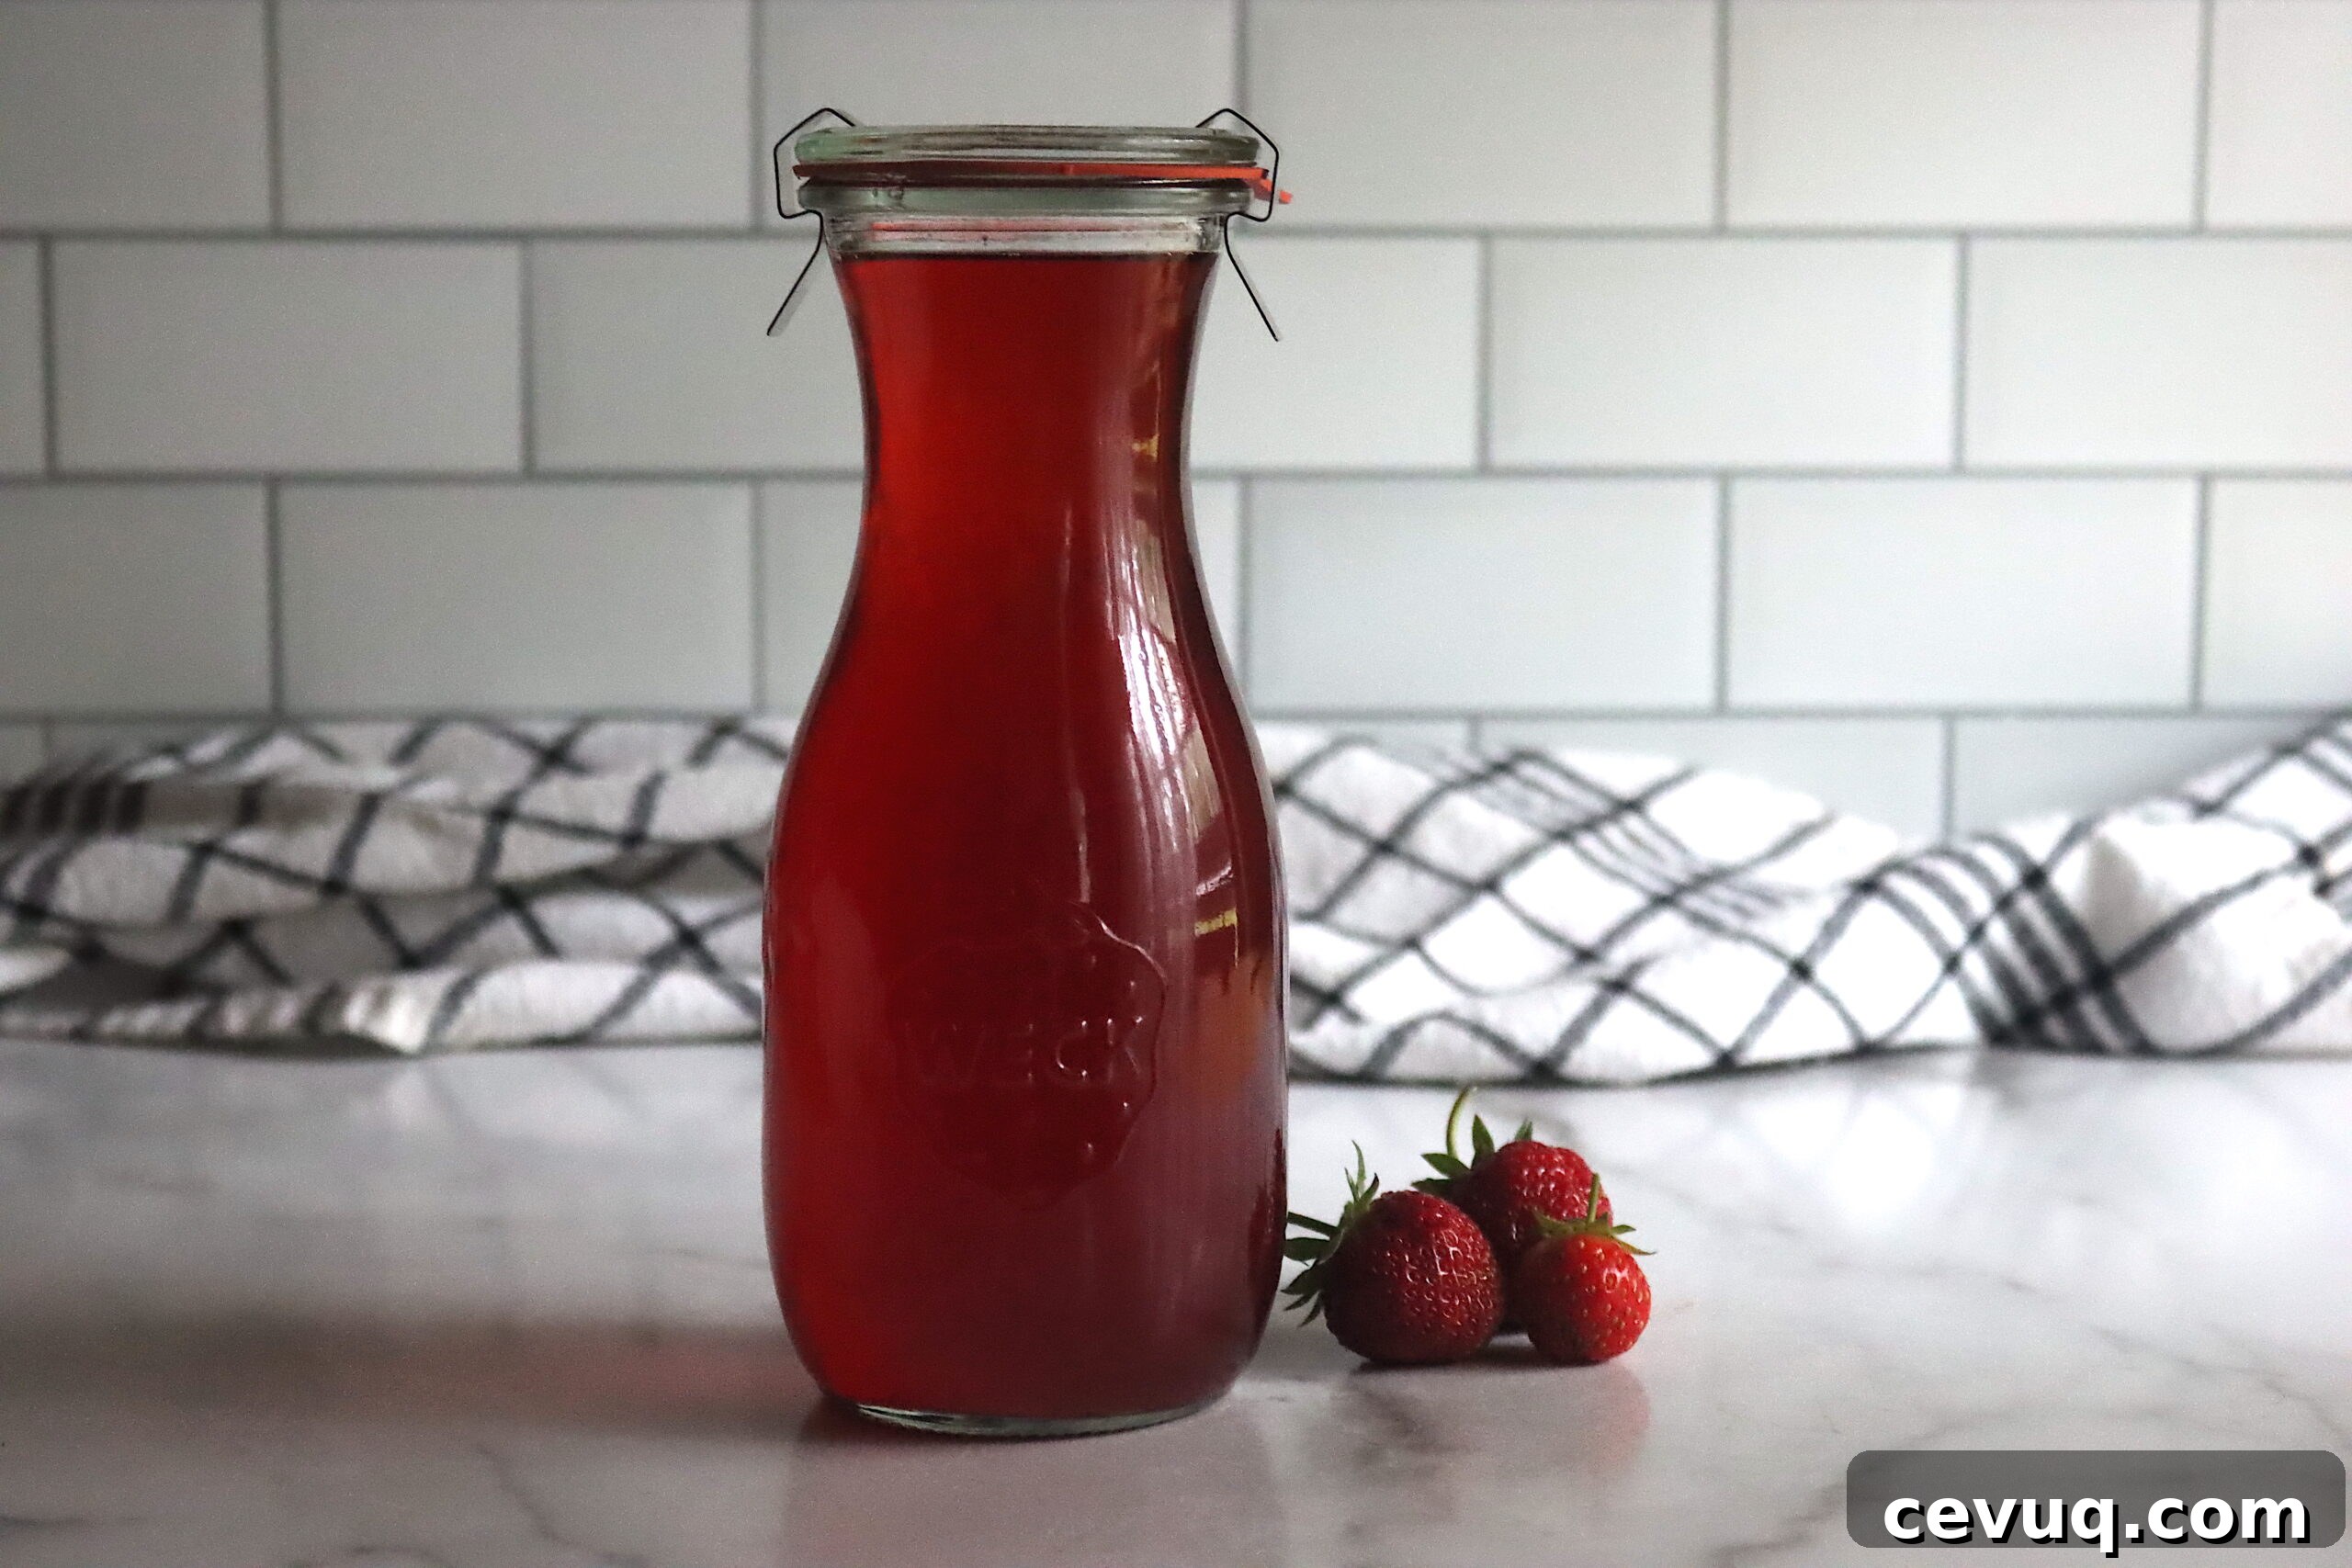
This recipe has been reviewed for safety and accuracy by a Master Food Preserver certified through the University of Cornell Cooperative Extension.
Strawberry syrup is a flexible way to preserve the season. Unlike chunky jam, syrup is seed- and pulp-free, so the pure strawberry taste pours and dissolves easily into cold drinks. You won’t need pectin or gel testing — just fruit, a little water, and sugar. If you prefer a spreadable preserve, a traditional strawberry jam is an alternative.
This recipe follows guidance for berry syrups, using a 1:1 ratio of extracted juice to sugar to produce a true simple syrup with body and pourability. You can can the syrup for shelf stability or keep it refrigerated for regular use.
Canning is optional. The syrup will keep in the refrigerator for several weeks and in the freezer for months if you leave appropriate headspace. A single batch yields about three pints (or six half-pints), and the water-bath processing time does not change if you double or triple the quantity.
Notes from My Kitchen

Strawberry season is short where I live, so I make a few jars each spring to carry that flavor through the year. Berries that are a bit too soft for fresh eating are fine for syrup since you strain out the solids. We use ours mainly in drinks — a spoonful stirred into lemonade or sparkling water is a family favorite — and it’s also lovely on pancakes and ice cream.
Quick Look at the Recipe
- Recipe Name: Strawberry Syrup
- Recipe Type: Fruit syrup
- Prep Time: About 30 minutes active (plus straining)
- Cook Time: About 15–25 minutes total
- Canning Time: 10 minutes for pints or half-pints at sea level (see altitude adjustments)
- Yield: About 3 pints or 6 half-pints
- Jar Sizes: Pints or half-pints
- Headspace: 1/4 inch
- Ingredients Overview: Strawberries, water, and sugar in a 1:1 juice-to-sugar ratio; lemon juice optional for flavor
- Difficulty: Easy — the only slow step is the passive straining
Ingredients
Strawberry syrup requires just a few simple ingredients. The process is forgiving: adjust quantities according to how much fruit you have, keeping the sugar-to-juice ratio consistent for the best texture.
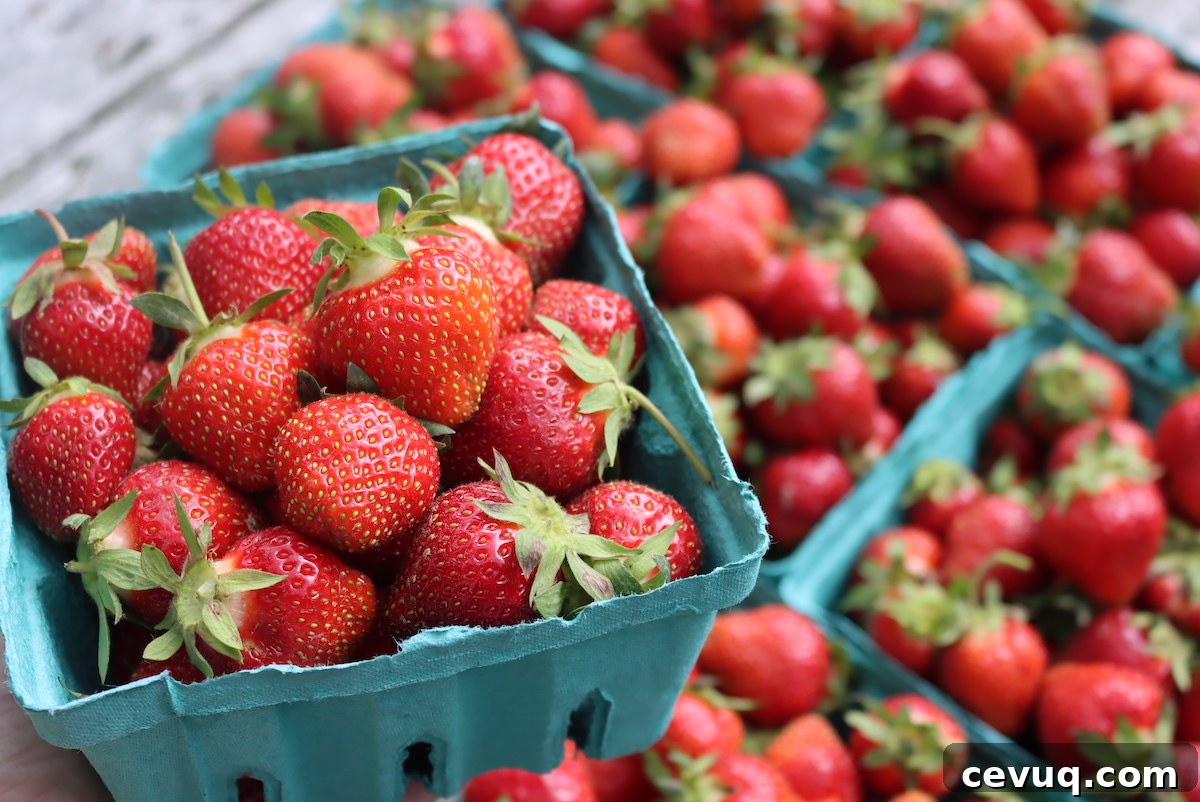
- Strawberries: Use fresh, ripe strawberries for the best flavor. Under-ripe berries yield less sweet juice, while very overripe fruit can alter the finished flavor. Slightly soft berries are fine because the solids are strained out.
- Water: A small amount helps extract juice and prevents scorching during the initial simmer. Use only the amount called for; the water becomes part of the juice.
- Lemon juice (optional): Added for brightness, not safety. Strawberries are naturally acidic enough for water-bath canning, so lemon is a flavor choice. Fresh squeezed offers the best brightness.
- Sugar: Granulated sugar in a 1:1 ratio with the measured strawberry juice creates a syrup that pours and dissolves well in cold drinks. You can reduce sugar for a lighter syrup, but the texture will change.
Rule of thumb: for every cup of strawberry juice, use one cup of sugar.
Step-by-Step Instructions
The method is straightforward: cook the berries gently with a little water, strain the juice, combine juice and sugar, then simmer briefly before packing into jars. The straining is the most time-consuming part but requires little attention.
Cook the Berries
Rinse strawberries, remove stems, and trim any bruised areas. Quarter or chop the berries, then crush them with a potato masher or sturdy spoon in batches. Place the crushed fruit in a large pot with 1 cup of water, bring to a boil over medium-high heat, reduce to a gentle simmer and cover for 10 minutes. Remove from heat, skim off any foam, and let the mixture stand uncovered for about 15 minutes to cool slightly and release more juice.
Strain the Juice
Set a fine-mesh sieve over a large bowl and ladle the cooked berries through in batches, allowing the juice to drip through. For a clearer syrup, strain again through several layers of damp cheesecloth; for a very clear finish, a final pass through a paper coffee filter will remove the finest particles. Avoid pressing the solids if you want a bright, clear syrup — pressing increases cloudiness but yields a bit more juice.
Measure the strained juice. This recipe calls for about 4 cups of juice; if you fall slightly short, top up with a splash of water or a mild juice such as apple or white grape to reach the target amount.
Make the Syrup
Combine the measured strawberry juice and an equal amount of sugar in a clean saucepan. Add the optional lemon juice if desired. Warm over medium-high heat, stirring until the sugar fully dissolves. Bring the mixture to a boil, reduce heat, and simmer for about 5 minutes, stirring occasionally. Remove from heat and skim off any foam for a smooth finish. The syrup will appear thin while hot but will thicken slightly as it cools.
Fill Jars
Ladle the hot syrup into clean jars, leaving 1/4 inch headspace. Wipe the rims, apply lids and bands, and tighten to fingertip tight. Using a canning funnel helps keep jar rims clean and makes filling easier.
Canning Strawberry Syrup
If you plan to store syrup on the shelf, process filled jars in a boiling water bath. Make sure jars are covered by at least 1 inch of water and follow the recommended processing time for your elevation. After processing, let jars rest in the canner for a few minutes, then remove and cool undisturbed on a towel for 12 to 24 hours. Check seals before storing; any unsealed jars should be refrigerated and used promptly. Properly sealed jars keep at room temperature for a year or more when stored in a cool, dark place.
Altitude Adjustments
Increase processing time with elevation: 10 minutes at 0–1,000 ft; 15 minutes at 1,001–6,000 ft; 20 minutes above 6,000 ft. Adjust times to match your local guidelines.
Serving Ideas
Strawberry syrup works beautifully in beverages: stir a spoonful into lemonade, sparkling water, or iced tea, or blend it into milkshakes and smoothies. It’s also a lovely mixer for cocktails and mocktails. Start with a small amount and increase to taste.
At the table, pour syrup over pancakes, waffles, French toast, or ice cream. Spoon it over yogurt, angel food cake, or sponge cake; pair with fresh berries and whipped cream for a simple dessert. The syrup’s brightness complements rich, creamy foods and baked goods alike.
Yield Notes
This recipe begins with roughly 3 quarts of strawberries and 1 cup of water, which typically yields about 4 cups of strained juice. Combined with 4 cups of sugar, that produces around 6 cups of finished syrup — enough for three pint jars or six half-pint jars. Actual juice yield depends on berry ripeness and size; if you come up short, top up with water or a mild juice and maintain the 1:1 sugar-to-juice ratio.
Strawberry Syrup FAQs
No. Lemon juice is optional and used for flavor. Strawberries are acidic enough for safe water-bath canning when prepared as syrup.
If you’re slightly short, add a splash of water or a mild juice such as apple or white grape to reach the 4-cup amount. If you’re far short, process another batch of berries and combine the juices. Keep the sugar at a 1:1 ratio with the final juice volume.
Yes. For a tangier syrup, add tart fruits like cranberries or cherries during cooking. To mellow the flavor, blend some apple or white grape juice with the strawberry juice. A split vanilla bean or a small amount of pure vanilla extract also pairs well.
Properly canned and sealed jars can keep at room temperature for 12–18 months. Once opened, refrigerate and use within about a month. Uncanned syrup stored in the refrigerator will keep for up to a month and up to six months in the freezer with appropriate headspace.
Once you master one fruit syrup, the same juice-and-sugar technique works for many other fruits, opening a shelf full of flavorful syrups to enjoy year-round.
Fruit Syrup Canning Recipes
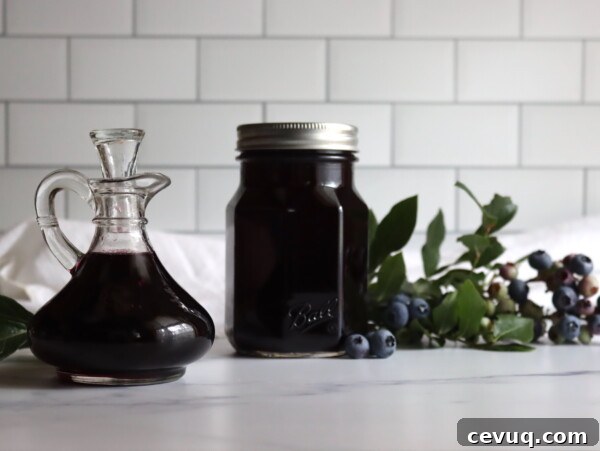
Blueberry Syrup
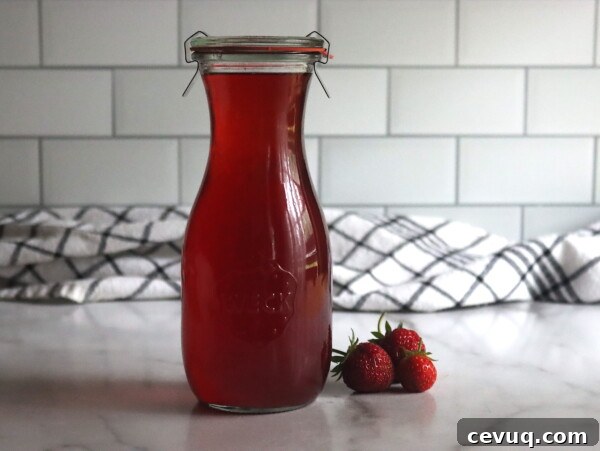
Strawberry Syrup
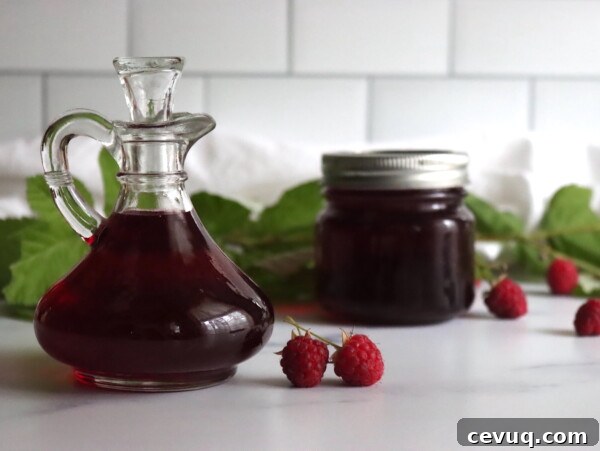
Raspberry Syrup
Find the perfect recipe
Searching for something else? Enter keywords in the site search to find more canning recipes and preserving ideas.