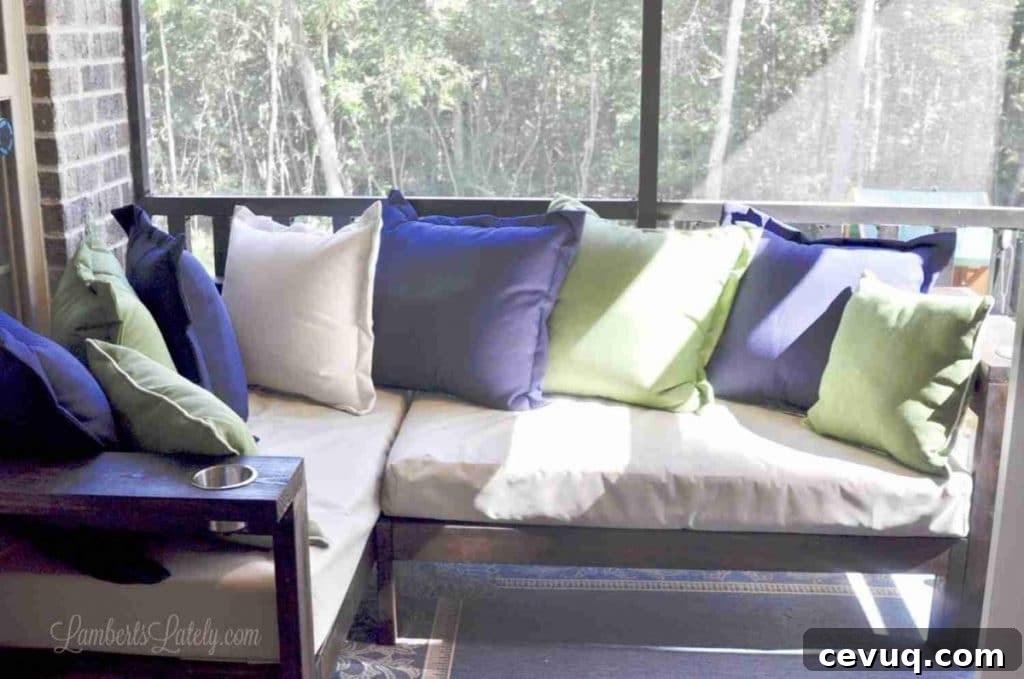
You can absolutely build your own furniture. Follow these plans to create a DIY outdoor sectional sofa made from 2×4 lumber with crib mattresses used as seat cushions. This corner-style sofa fits a porch or patio and is both practical and stylish.
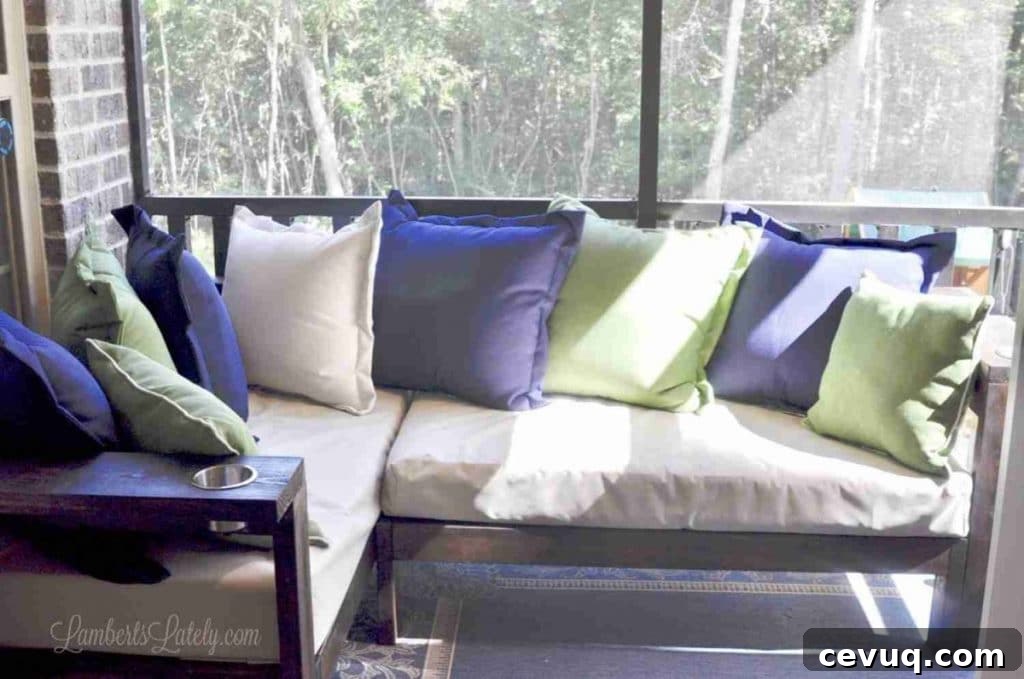
Of the many DIY projects we’ve tackled, this outdoor sectional is one of the most satisfying. Our screened porch is small and awkwardly shaped because of the windows, so once I found a 2×4 sectional plan, I knew it would be perfect. We adapted an indoor kids’ sofa design into a durable outdoor sectional using standard lumber and crib mattresses for cushions.
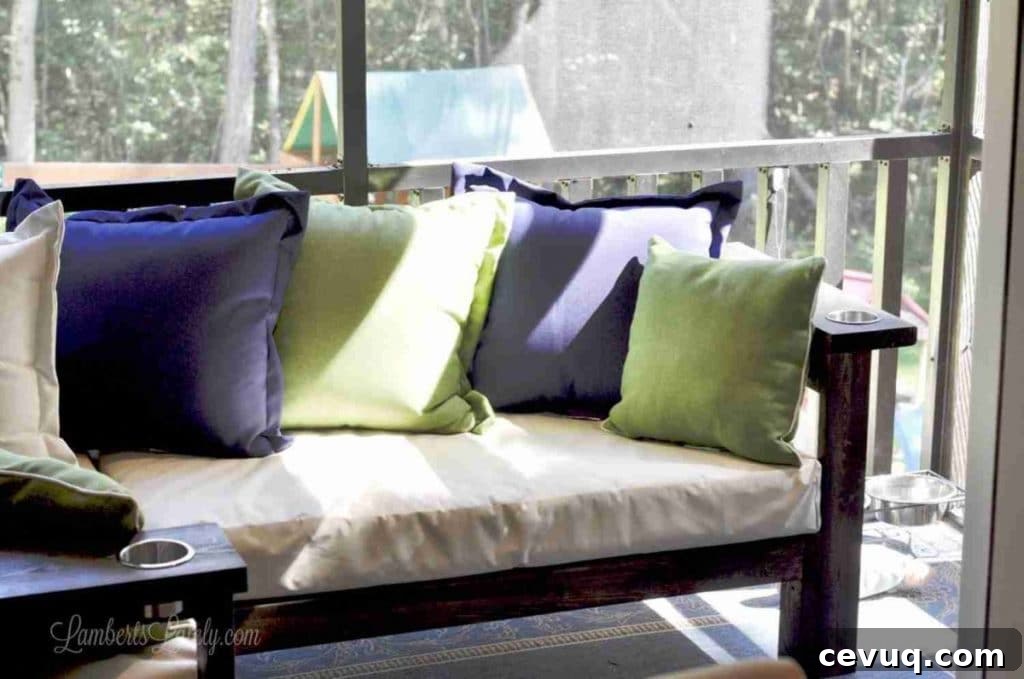
The original free plans guided the build; we made a few sensible modifications and added tips to make assembly easier and the final piece more practical outdoors. Below you’ll find a clear, step-by-step walkthrough of what we did, plus instructions for making weather-friendly crib mattress covers.
Supplies Needed
Gather these materials and tools before you begin.
For the sectional frame
- 15 – 9′ 2×4″ studs
- 1 – 8′ 2×8″ (used for widened arm tops in our modification)
- Cordless drill
- Miter saw
- Kreg pocket hole jig (highly recommended)
- 2.5″ pocket hole screws (about 132 total)
- 2.5″ self-tapping screws
- 3½″ hole saw (optional, for cup holders)
- 2 marine-style drink holders (optional)
- Rubber mallet
- Wood filler
- Hand sander
- Wood stain (1 quart)
- Disposable sponge brushes (for stain)
- Spray polyurethane or exterior sealer (3 cans recommended)
Note: These quantities build two couch sections plus three arm pieces that assemble into the L-shaped sectional. The original tutorial includes materials for a single couch and a single arm.
For crib mattress cushions
- 2 crib mattresses (clean used mattresses are fine)
- 4 yards outdoor canvas fabric (about 2 yards per mattress)
- Cutting mat, rotary cutter, and sewing ruler (optional but helpful)
- Sewing machine and straight pins
- Industrial-strength Velcro
Total Cost
Estimate: Around $200 for lumber and hardware (not counting power tools). Crib mattresses (used) are about $25 each, so expect roughly $100 for cushions. Add a budget for outdoor pillows and sealants; total cost for the complete solid-wood outdoor sectional is about $350–$450 depending on materials and finishes.
How to Make a DIY Outdoor Sectional Sofa: Step-by-Step Instructions
Step 1: Measure lumber and make cuts
Measure and make all cuts before assembly to keep the build organized and efficient. Below is the cut list we used for two couch sections and three arm pieces. All cuts assume 9′ 2×4 studs unless noted.
For two sectional pieces
- 4 pieces @ 26″ – back legs
- 4 pieces @ 23.5″ – side aprons
- 4 pieces @ 12″ – front legs
- 6 pieces @ 48.5″ – front/back connecting pieces
- 2 pieces @ 51.5″ – tops
- 20 pieces @ 25.5″ – support slats
For three arms
- 6 pieces @ 26″ – legs
- 6 pieces @ 27.5″ – sides
- 1 piece @ 30.5″ – top for middle arm
- 2 pieces @ 30.5″ – 2×8 tops for side arm rests (our modification to create wider end tops)
Organize cuts by stud to minimize waste; many of the pieces nest efficiently on a 9′ board. If you have 104.5″ studs, most cuts will still fit.
Step 2: Drill pocket holes
This project uses many pocket holes to hide fasteners and create clean joins. Position the pocket hole jig about 1.25″ from the end of each board. Place two pocket holes on each end of the boards that will join—typically one at roughly one-third in and one at two-thirds across the end—so the wood between holes remains strong.
- Drill pocket holes on all 20 support slats (25.5″)
- Drill pocket holes on the 4 side apron pieces (23.5″)
- Drill pocket holes on the 3 connecting pieces (48.5″)
- Drill pocket holes on the 6 side pieces (27.5″)
A jig that drills two holes at once can save significant time. Use a clamp to hold the jig steady while drilling.
Step 3: Assemble the sectional couch
Follow the original assembly sequence for framing, but use these tips to improve accuracy and appearance:
- When assembling side frames, support the legs with another straight 2×4 under the assembly so the legs sit level while fastening.
- Orient pocket holes so they will be hidden in the final assembly—two of each set facing one way, two facing the opposite way—so holes end up inside the frame.
- To install support slats, stack one unfinished couch on top of the other and place 2x4s under the upper seat to hold the slats in position while you screw them in. The slats stabilize the structure once installed.
- For the outer arm tops, we used 2×8 boards to create a wider surface area that doubles as a small end table. The middle arm top remains a 2×4 to align with the rest of the tops.
Step 4: Add optional cup holders to sofa ends
Optional but highly recommended: drill holes for marine-style cup holders in the wider 2×8 arm tops. Use a 3½” hole saw (or size matched to your cup holders) and set the hole center approximately 4″ back from the front and 3″ from the side. Tap marine drink holders into the holes with a rubber mallet after finishing for a professional look and secure cup storage.
Step 5: Sand, stain, and seal
Fill any exposed screw holes with wood filler and sand the entire piece smooth. Light sanding removes splinters and prepares the surface for stain. Apply stain using disposable sponge brushes or rags; let the stain sit briefly for a deeper finish and wipe excess away. For outdoor durability, apply an exterior-grade spray polyurethane or polycrylic—spray finish saves time and ensures even coverage in the many nooks of the design. If this piece will see direct weather, consider a heavier outdoor sealer or epoxy for long-term protection.
Step 6: Make outdoor-friendly covers for crib mattresses
Crib mattresses are a perfect size for these seats. Most crib mattresses measure roughly 27.25″ × 51.625″ × 6″. For outdoor use, cover each mattress in outdoor canvas fabric (about 2 yards per mattress at 60″ width).
Cover-making process summary:
- Lay a 2-yard fabric piece flat and place the mattress centered on top with the fabric’s right side facing up.
- Measure 1″ out from each mattress corner and cut away those corner squares so the fabric forms a cross shape.
- Fold opposing cut edges together, pin, and sew a 1″ seam for each corner to form boxed corners. Trim a 1″ strip from the longer piece where needed to reduce bulk.
- Turn the cover right-side out, pull it onto the mattress, then fold the excess fabric on the underside like wrapping a present.
- Secure the wrap with industrial-strength Velcro strips placed on the short ends, at the corners, and centered along the long sides so the cover holds tightly to the mattress.
These covers will be tidy and water-resistant; back cushions can be bought on sale or made using the same outdoor fabric.
Final Results
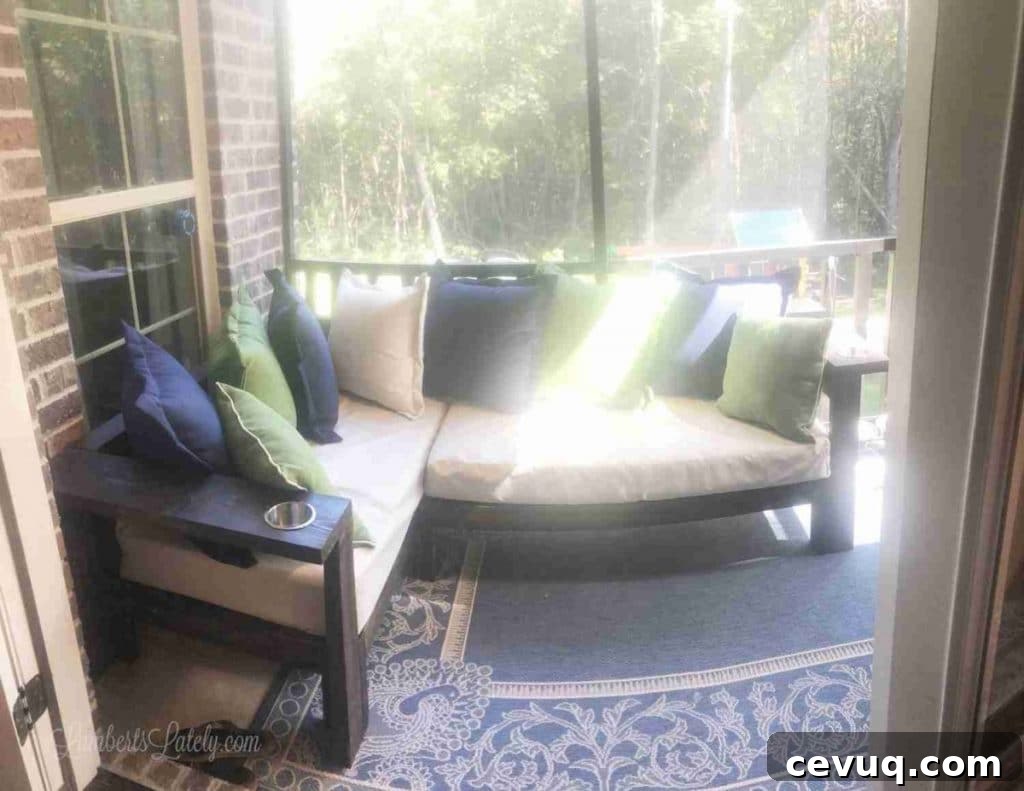
This sectional has become a favorite spot on our porch—comfortable and built to last. It required time and patience but delivers a durable, custom outdoor sofa for a fraction of the cost of comparable furniture.
5 Year Update
After five years on our screened porch, the sectional shows minimal wear. The stain has held up well; resealing would refresh it. The build has proven durable and comfortable—only the sealer choice is something we’d change if repeating the project.
FAQs
How do you weatherproof outdoor furniture?
If the piece will experience rain, direct sun, or snow, use a heavy-duty outdoor sealer. An exterior-rated epoxy or marine-grade sealer will provide the best long-term protection for stained wood.
Can I use this sectional sofa indoors?
Yes. The original plans were designed for indoor use. If used indoors, you can skip outdoor fabric and use regular crib sheets or custom cushions.
Is making outdoor furniture cheaper?
Generally yes. This build cost roughly $350–$450 for a solid-wood sectional with cushions—considerably less than comparable ready-made outdoor sectionals.
What kind of wood did you use for the couch?
We used common pine for this project. Pine stains nicely and is affordable. If you plan to leave wood unstained or want natural weather resistance, consider cedar or another rot-resistant species and be sure to seal it thoroughly.
Do I need to use wood glue?
We did not use wood glue; the pocket screws alone have held up well. If you prefer added strength, a bead of exterior-rated wood glue at joints is optional.
More Outdoor Projects
- How to Paint a Little Tikes Car
- How to Clean a Wood Deck
- How to Make a Mesh Wreath for Beginners