
Hi there!
I love rustic decor and handmade seasonal projects. There’s something comforting about the imperfect, worn look of rustic pieces — they feel cozy and approachable, and they’re forgiving if your handiwork isn’t flawless. I’d wanted to make wooden pumpkins for a long time, and last weekend I finally did. We had leftover lumber and my husband cut a 2×4 into several blocks for me. What started as a few scrap pieces of wood quickly became a little collection of rustic Jack-o’-lanterns and one playful Frankenstein friend.
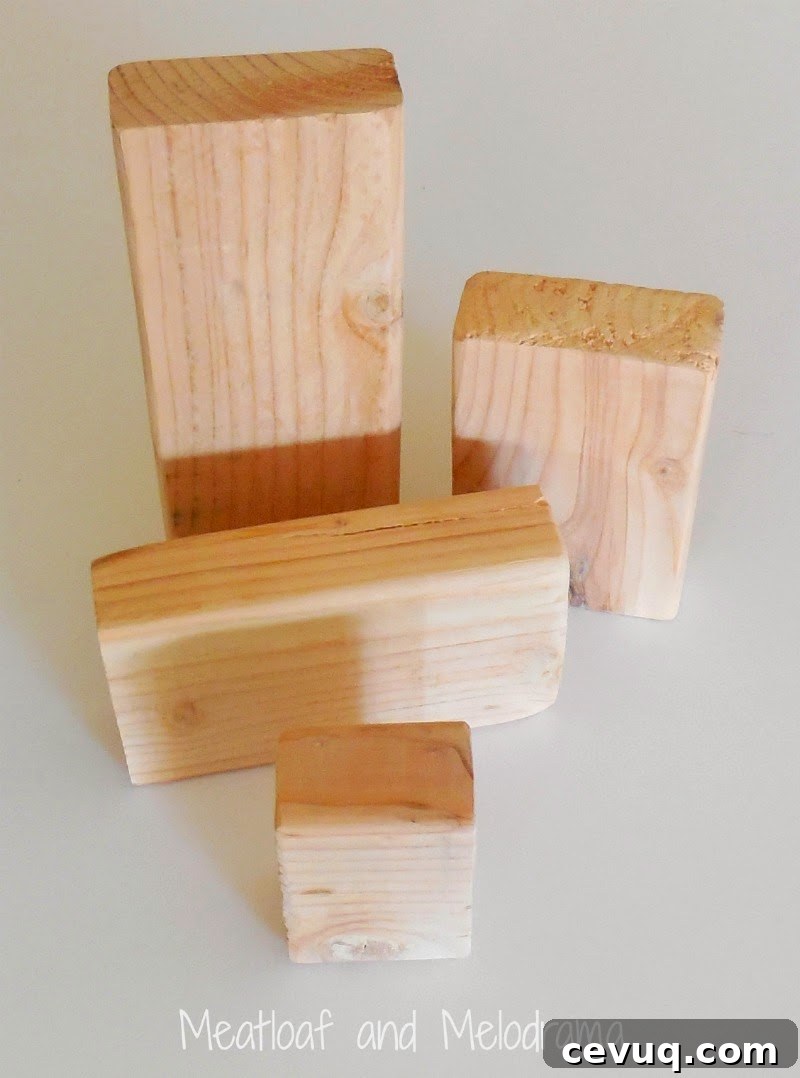
The process was simple and satisfying. My husband cut the 2×4 into four blocks and sanded the edges smooth. Sanding removes rough spots and makes the paint adhere better, but it also preserves the rugged texture that gives these pieces their rustic charm.
I decided to make a little pumpkin family, so I painted three of the blocks a warm, vintage orange. To give them depth and an aged look, I shaded the edges with a dark brown wash. One block had a deep gouge in it; instead of hiding it, I embraced that imperfection. The cut looked like a scar, so it inspired a different idea.
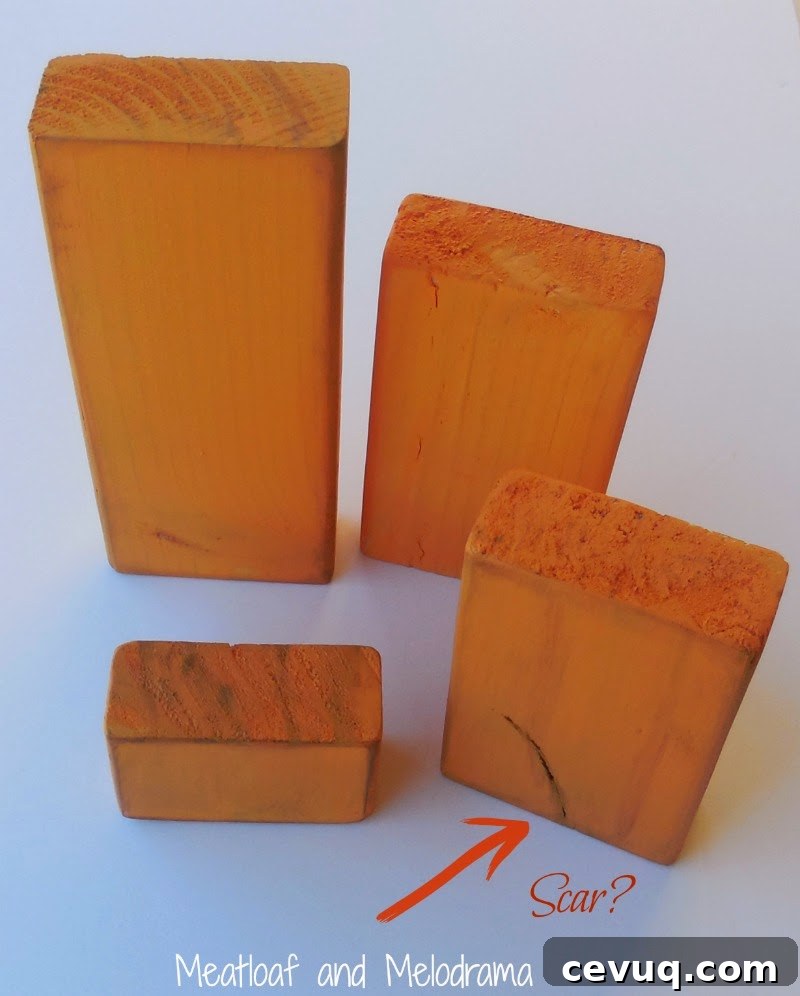
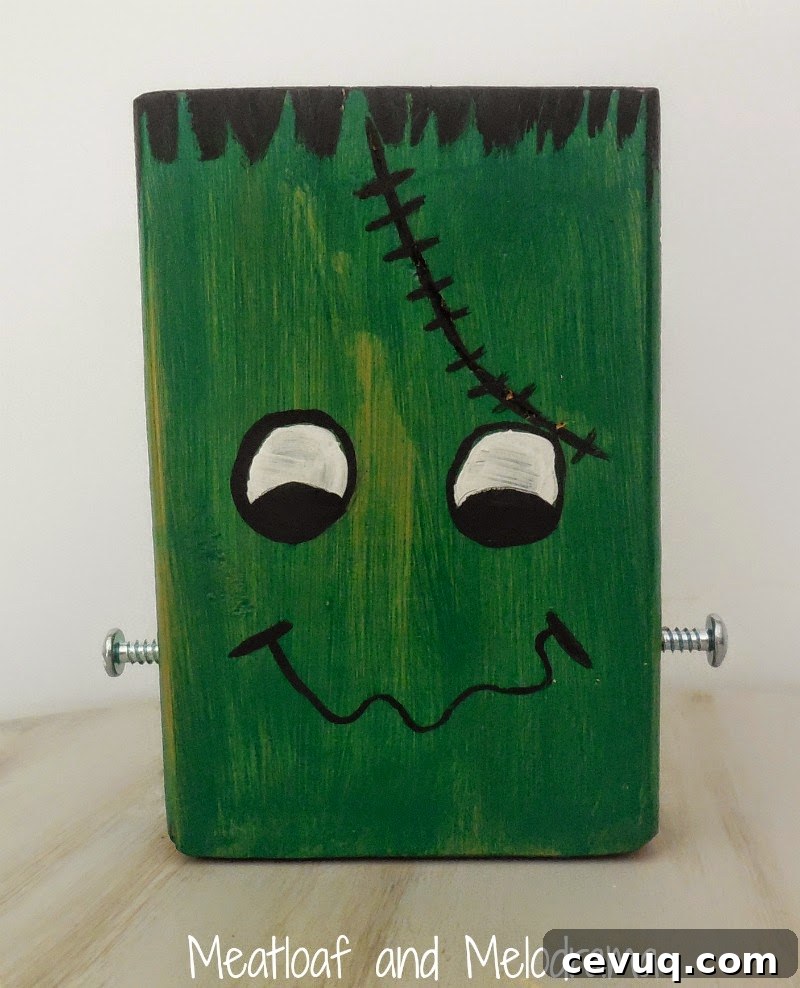
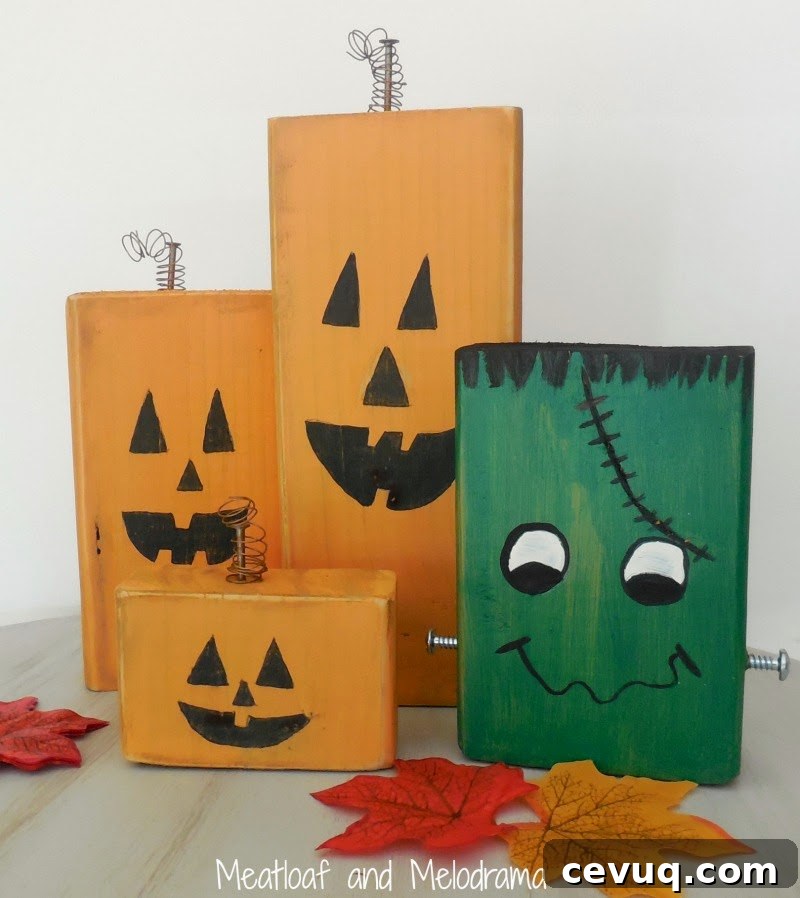
I flipped that particular block upside down, painted it green and turned it into a friendly Frankie. I painted stitched scars, added subtle shading for contour, and screwed two small bolts into the sides of the neck to evoke the classic Frankenstein look. A little light distressing completed the transformation and kept the style consistent with the rest of the group.
For the pumpkin faces I painted simple eyes, noses and mouths — classic Jack-o’-lantern expressions that read clearly from across a room. After the paint dried, I lightly sanded the edges and surfaces to expose a bit of the wood beneath. That gentle distressing is what gives these pieces their aged, industrial feel.
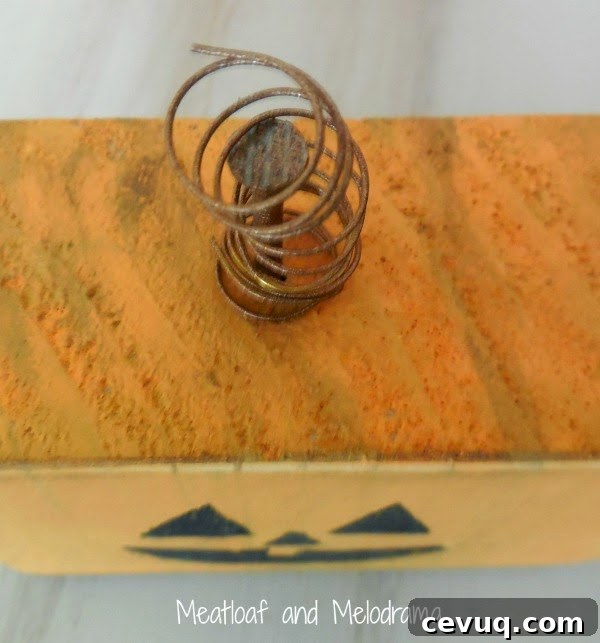
I wanted stems that matched the rustic-industrial vibe, so I made stems from nails topped with coiled wire springs. I coiled the wire until it looked like a small spring and then spray-painted both the nails and the wire with a copper-toned metallic paint to simulate a rusty patina. Once dry, I hammered the nails into the top of each pumpkin and added the wire springs as finishing touches. The metallic tones complement the warm orange and the muted green nicely.
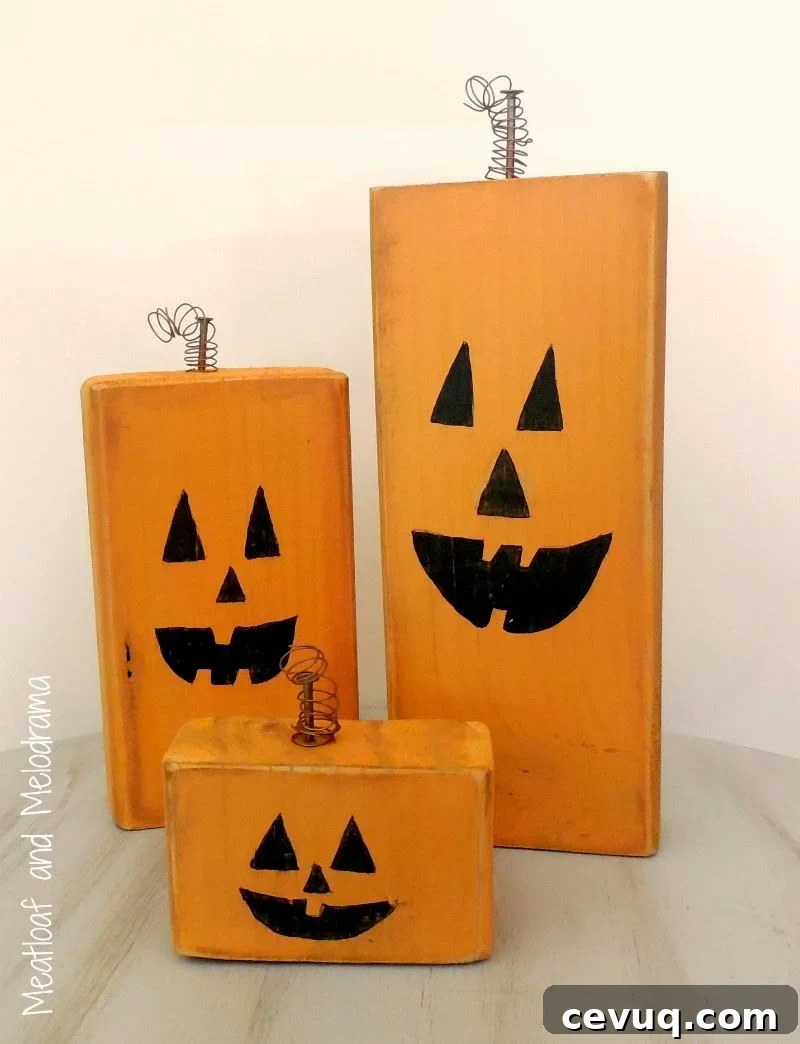
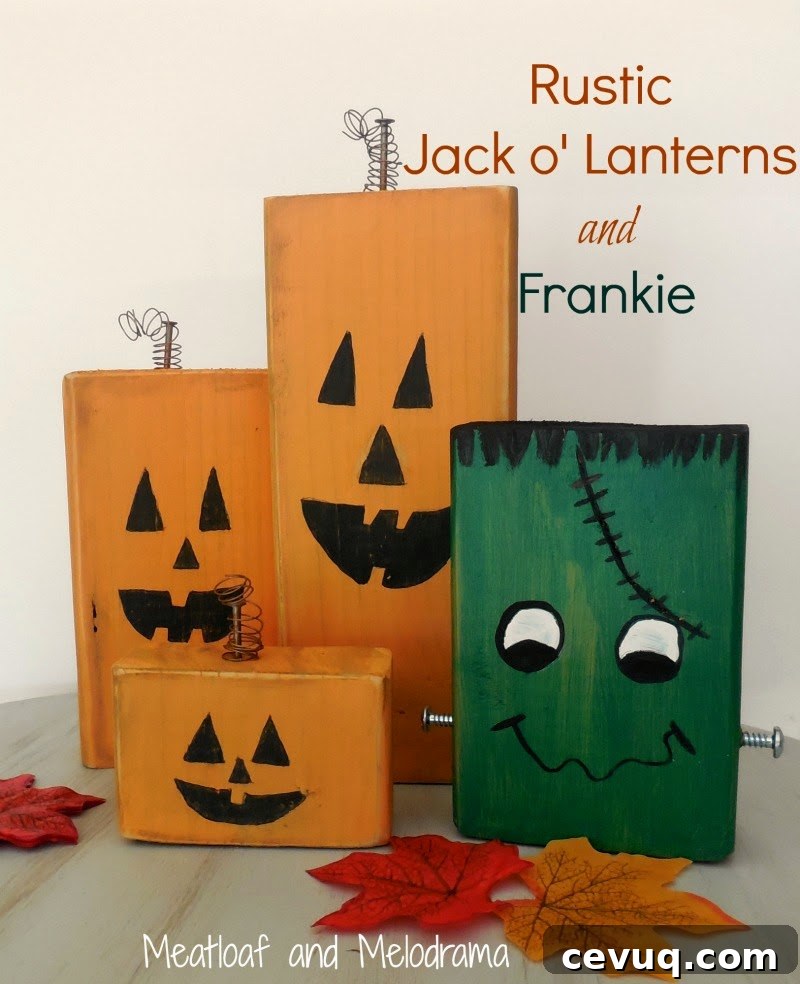
And here are the pumpkins with Frankie included. They look sweet grouped together and would work well on a mantel, entry table or as part of a centerpiece. You can skip the nails and wire if you prefer a softer look, but I like how those small industrial elements contrast with the hand-painted faces.
A quick note on safety: these are decorative items, not toys. Because the stems include nails and small metal parts, keep them out of reach of small children. The best part of this project is that I used materials we already had on hand, so these four decorations cost almost nothing to make. It’s a fun, budget-friendly way to add handmade charm to your Halloween decor.
Thanks for reading, and enjoy crafting your own rustic seasonal pieces!
Dee 🙂
Sharing At