If you want to master barbecue on a kamado grill, learning how to set your Big Green Egg for low and slow cooking is essential. Whether you’re smoking brisket, pork butt, spare ribs, or beef ribs, consistent results begin with a proper setup, unrestricted airflow, and a deliberate approach to bringing the cooker up to and holding the right temperature.
The ideal temperature window for classic low-and-slow barbecue on the Big Green Egg is generally between 200°F and 275°F. Within this range, tough cuts have time to break down connective tissue, render fat, and develop the deep smoky bark and tenderness pitmasters seek.
This guide explains how I prepare my Big Green Egg for long cooks—covering charcoal arrangement, wood placement, airflow management, and temperature control—so you can reproduce great barbecue reliably.
Quick Answer: How to Set Your Big Green Egg for Low and Slow Cooking
To set your Big Green Egg for low-and-slow: clear old ash to restore airflow, fill the firebox with quality lump charcoal, add a few slow-burning wood chunks for smoke, install the convEGGtor for indirect cooking, and bring the cooker up slowly to the 200°F–275°F range using small vent adjustments. Once stable, the Egg’s ceramic body holds steady for hours with minimal adjustments.
Why Low and Slow Works
Low and slow isn’t just a slogan—it’s the method that turns tough, collagen-rich cuts into tender barbecue. Brisket, pork shoulder, and beef ribs contain lots of connective tissue and collagen. When cooked too hot, muscle fibers tighten and moisture is forced out, leaving dry meat.
Cooking in the 200°F to 275°F range allows collagen to gradually convert into gelatin, producing juicy texture and a luscious bite. The lower end (about 200°F–225°F) gives a gentler cook and more time for smoke to penetrate, while the higher end (250°F–275°F) helps render fat faster and darken the bark.
The Egg’s ceramic construction excels here: it stores heat evenly, uses fuel efficiently, and preserves moisture better than most metal cookers.
Clean out the Big Green Egg
Step 1: The Foundation of Airflow
Start by removing ash from the firebox and draft door. Airflow is the lifeblood of temperature control. A blocked firebox chokes the fire and can cause unstable temps or even a “dead fire” during an overnight smoke.
The Deep Clean
Clear ash and debris from the draft door and firebox holes. Scrape the ceramic base with your ash tool and make sure bottom grate holes are open. Clogged holes lead to uneven burning and hot spots.
Managing Your Firebox: Tools of the Trade
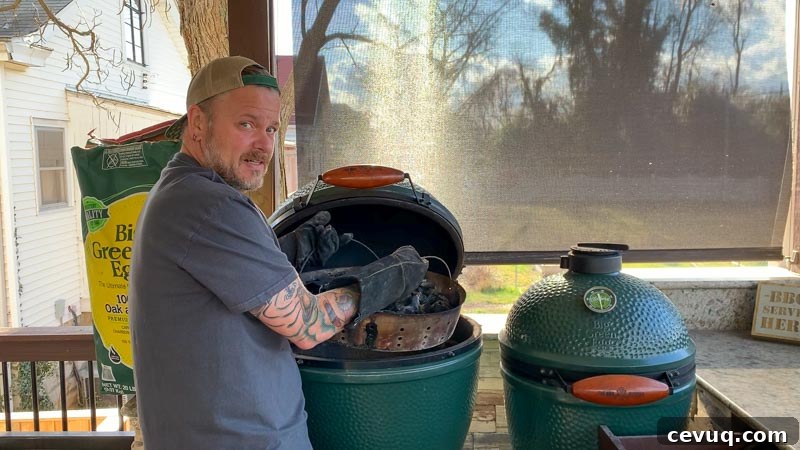
There are a few ways to organize the firebox for easier cleanup and reliable airflow. A stainless fire bowl or a mesh kick-ash basket are useful options: they let ash fall through while keeping reusable charcoal in place, speeding cleanup and preserving airflow.
If you use the stock cast-iron grate, be diligent about clearing ash and poking through holes so air can flow freely.
Load Your Fuel: Lump Charcoal
Step 2: Loading the Fuel for the Long Haul
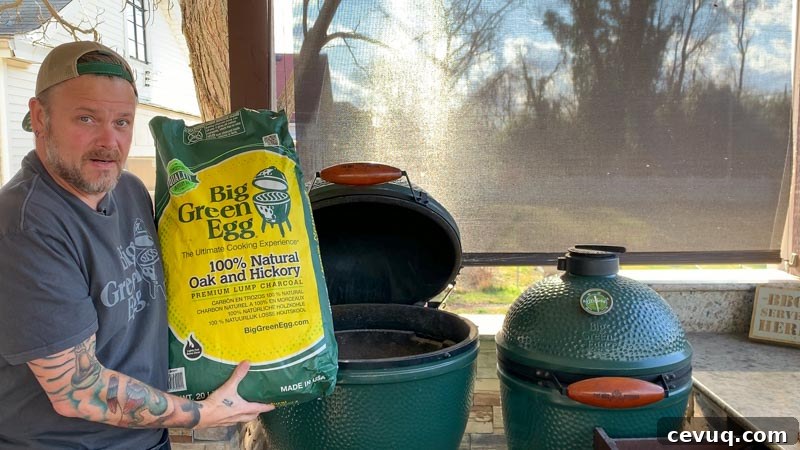
With air passages clear, build a fuel bed using high-quality lump charcoal. For long cooks—eight hours or more—you need a bed that burns consistently. Avoid briquettes; they produce excess ash and can clog airflow. Lump charcoal is simply carbonized wood and leaves much less ash.
Choosing Your Fuel: The Lump Advantage
Large, dense lumps retain heat and burn long, reducing the need to add fuel mid-cook. If possible, select a hardwood lump that produces minimal ash and a steady burn.
The “Vertical Stack” Technique
Load charcoal using a size-gradient rule: place the largest pieces at the bottom to keep air channels open as the fire progresses, then add medium and small pieces above. For long cooks, fill up to the top of the firebox so you have enough fuel to last the duration.
Step 3: The Smoke Profile—Quality Over Quantity
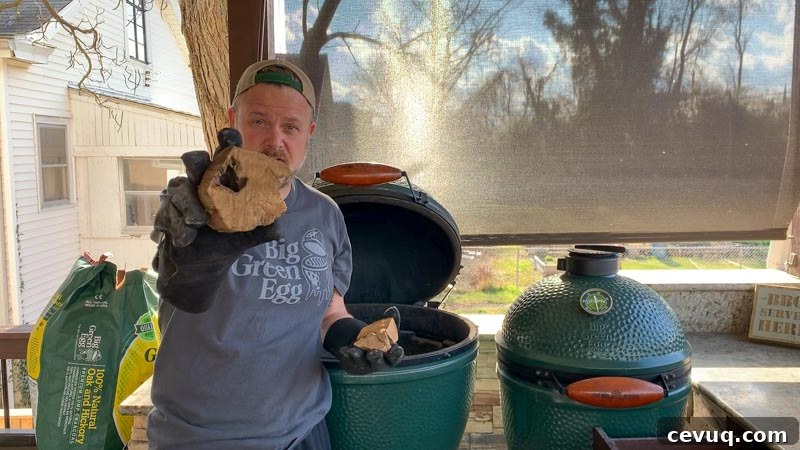
Add wood chunks rather than chips for low and slow cooks. Chunks burn slowly and consistently, offering a clean smoke flavor that lasts. Use just 2–3 fist-sized chunks for a long cook—thin blue smoke, not billowing white smoke, is the goal.
- Placement: Bury one chunk just under the surface of the charcoal and place the others on top near the center so they light gradually as the fire spreads.
- Three-Hour Window: The first three hours are when meat accepts smoke best—once the surface temperature climbs above roughly 140°F–150°F and bark forms, smoke absorption declines.
Those initial chunks will generally provide all the smoke you need for a balanced profile throughout a long cook.
Light Your Fire: Ignite the Lump Charcoal
Step 4: Lighting for Precision Control
Light the charcoal in one small spot in the center. Igniting only the center lets the fire slowly migrate outward, promoting a stable, gentle burn that’s easier to control. Lighting too many spots risks a rapid temp rise; since ceramic retains heat, cooling a hot Egg is difficult.
Ignition Options
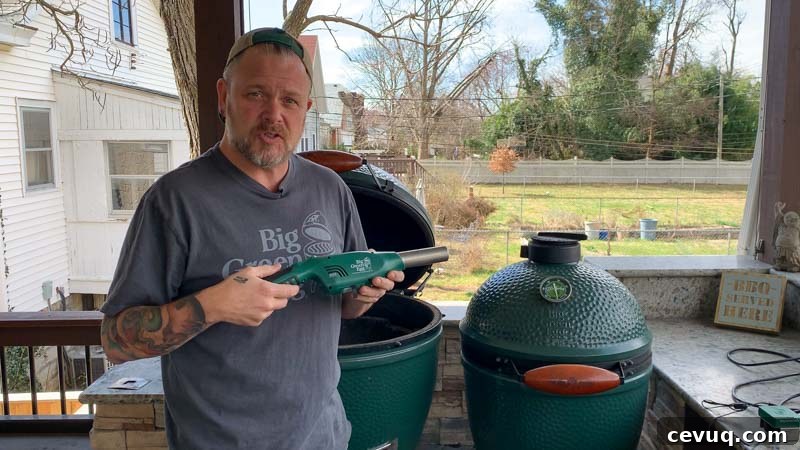
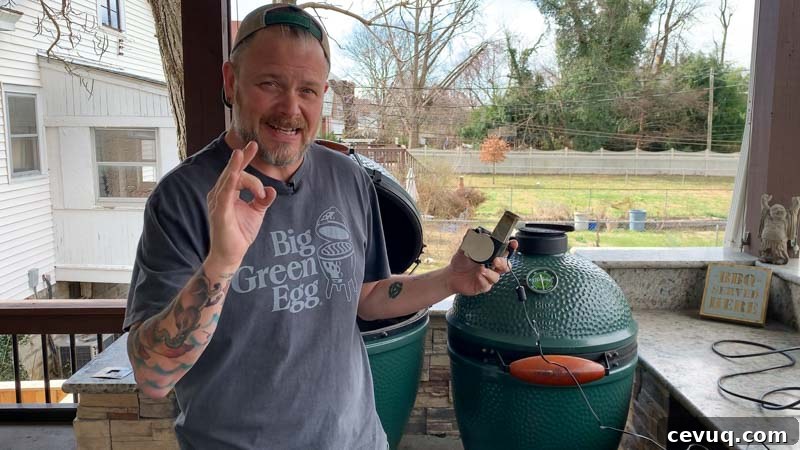
There are several reliable ignition methods: electric air-based lighters that rapidly ignite coals, natural starter cubes, a small oil-soaked paper towel as a DIY wick, or paraffin starters. Choose a method that provides a clean, steady ignition without chemical taste.
Temperature Control: Get Dialed in
Step 5: Mastering Temperature Control
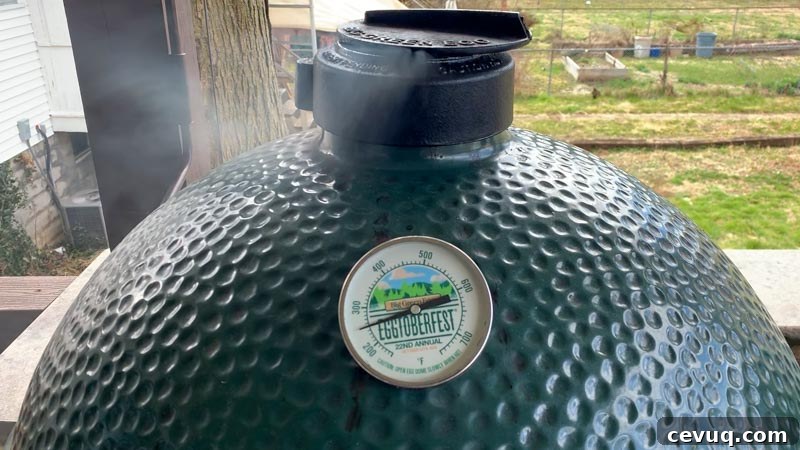
Once the dome is closed and the fire established, balance oxygen to reach a steady 225°F–250°F. Automatic controllers that use a variable-speed fan can simplify long cooks by monitoring pit temperature and supplying small bursts of air to maintain setpoints. These devices are particularly useful for overnight cooks.
- Manual Method: If you prefer to manage vents manually, be patient—vent adjustments take 15–20 minutes to show on the gauge. Make small changes and wait.
- 25-Degree Rule: When the dome thermometer is about 25°F below your target, begin closing the vents to slow the temperature rise.
The Setting
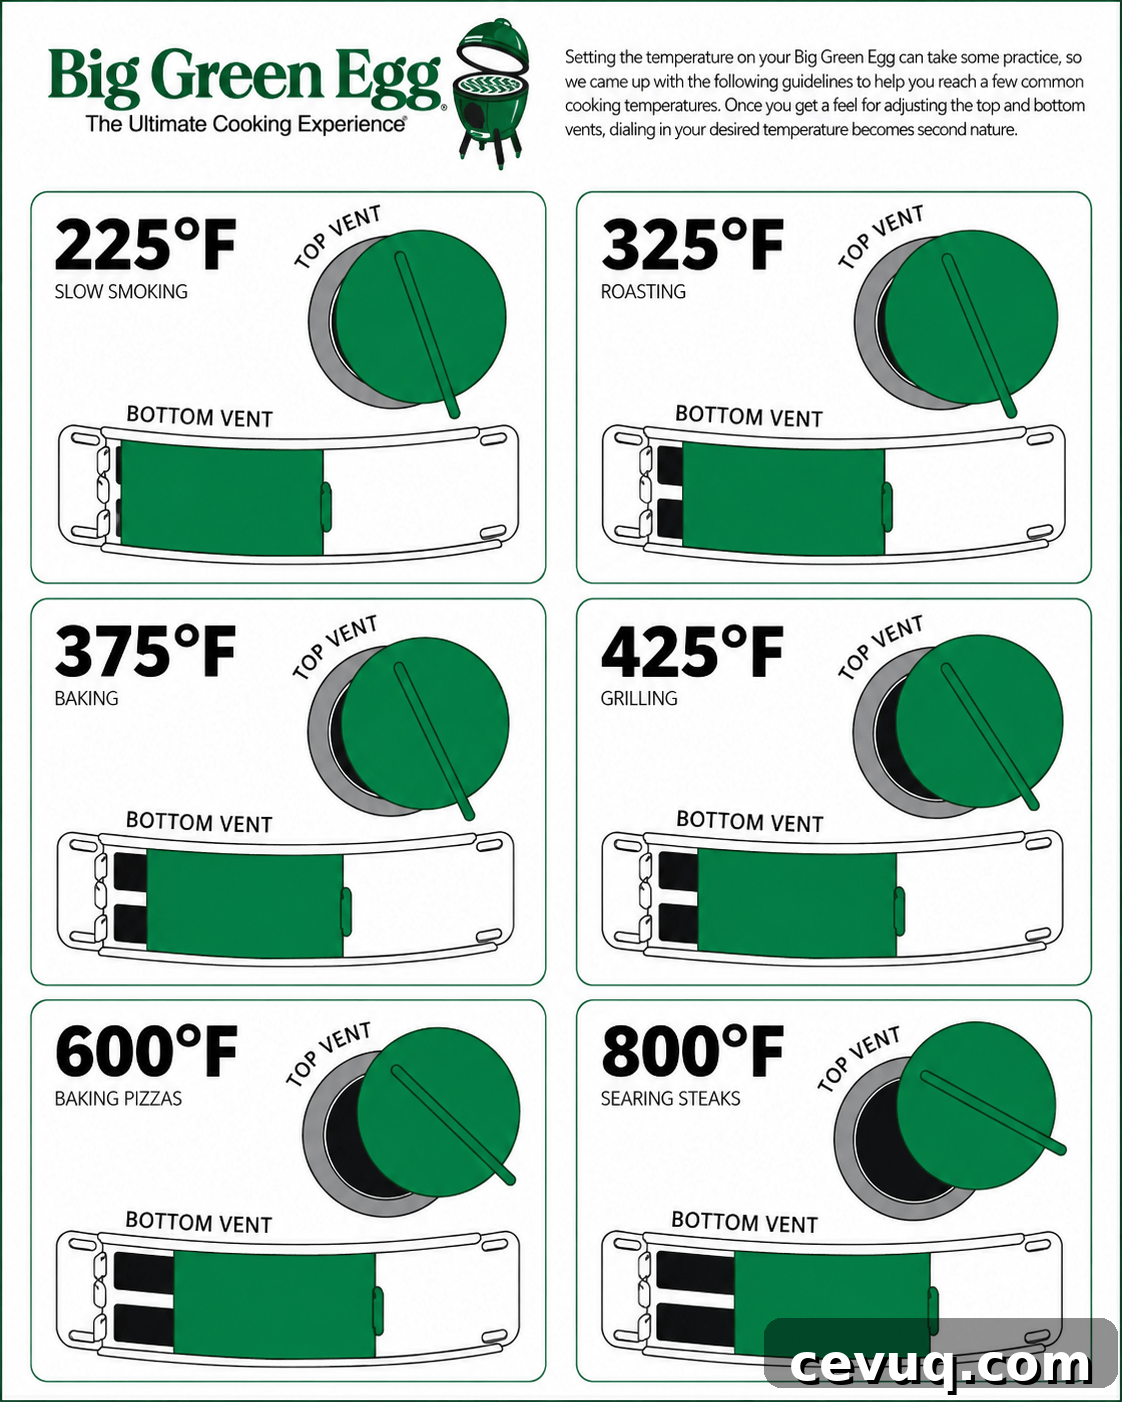
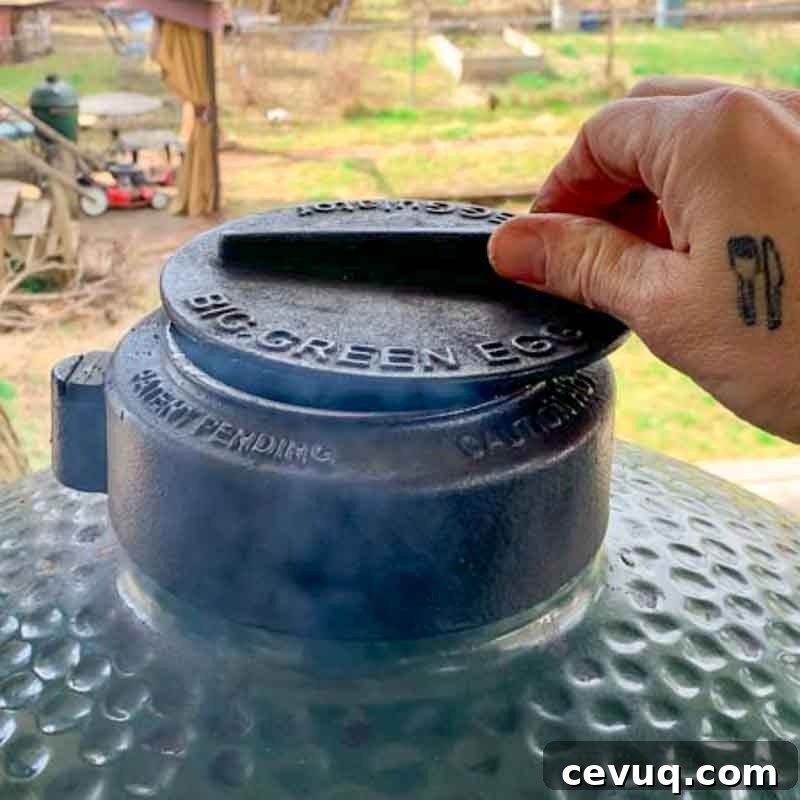
For low and slow, the bottom vent should be nearly closed—about a 1/4-inch crack—while the top vent should also be barely open. These small openings let just enough oxygen feed the coals to maintain a low, steady output.
Adjusting Your Vents
Step 6: The Art of the Approach—Adjusting the Vents
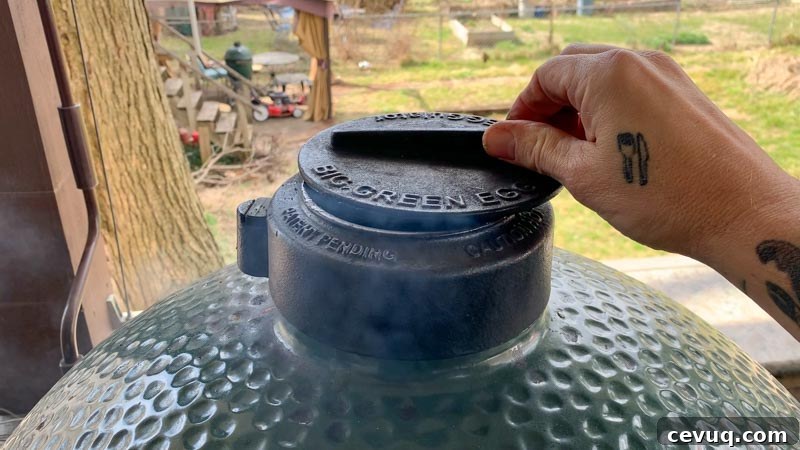
Don’t wait until you hit the target temperature to close vents; the Egg will keep climbing because of heat retention. Start restricting airflow when you’re within about 50°F of your target, closing the top vent to about 90% to create a small, controlled draft.
Fine-Tuning the Draft
Think of the bottom vent as the volume control and the top vent as the fine-tuner. Make small top-vent adjustments to stop temperature creep. If the temp drifts high, a tiny top vent tweak usually brings it back.
With these steps followed, you can reliably hold a target temperature—250°F is a common sweet spot—and complete eight- to twelve-hour cooks without adding more fuel. Enjoy the patience and reward of a properly managed low-and-slow barbecue.
Common Vent Settings for the Big Green Egg